What Is a DIY Rubbish Compactor and Why Are Homeowners Talking About It?
If your trash situation feels like a never-ending battle, you are not imagining things. Household waste builds up fast, and the constant trips to the bin, the overflowing bags, the recycling that somehow multiplies overnight — it adds up. That is where a DIY rubbish compactor enters the conversation. At its core, a rubbish compactor is a device, either built or purchased, that compresses waste into a smaller, denser volume. The DIY version takes that concept and applies it with a more hands-on, cost-conscious approach. Whether you are working with a salvaged hydraulic press, a heavy-duty lever mechanism, or a simple foot-pedal design, the goal is the same: less volume, fewer bags, fewer trips, less mess.
How Does a DIY Rubbish Compactor Actually Work?
The mechanics behind a rubbish compactor are straightforward once you break them down. Most DIY versions rely on one of three compression methods. Manual lever systems use physical force applied through a handle or arm, creating downward pressure on the waste inside a contained bin or box. Hydraulic or pneumatic designs use fluid or air pressure to drive a plate down into the waste chamber, which compresses materials far more efficiently than hand force alone. Some homeowners even rig up simple screw-press designs using threaded rods, which are inexpensive and surprisingly effective for soft materials like food packaging and cardboard. The compacted material is typically held inside a lined container or bag and removed once full. The result is a significantly reduced waste volume, often by 50 to 75 percent depending on the material type.
Key Components You Need to Build One
Building a functional DIY rubbish compactor does not require a mechanical engineering degree, but it does require some planning. Most successful builds share a few essential components that determine how well the unit performs over time.
- A sturdy outer frame, typically welded steel or heavy-duty timber, that can withstand repeated compression force without warping
- A compression plate or ram, usually a flat piece of metal that applies even pressure across the waste chamber
- A mechanical actuator such as a lever arm, threaded rod, or hydraulic jack that drives the compression plate downward
- A lined containment bin that holds the waste and can be easily removed and replaced
- Safety features including a locking mechanism to prevent accidental compression during loading
Material selection matters significantly here. Galvanized steel resists corrosion from food waste and moisture, which is exactly what you want in something that will be handling household garbage on a daily basis. If you are going the timber route, sealed or treated wood helps extend the life of the frame considerably.
The Real Advantages of a DIY Rubbish Compactor
Cost savings are usually the first thing people mention, and they are legitimate. A commercial trash compactor for residential use can run anywhere from several hundred to several thousand dollars. A well-designed DIY version can be built for a fraction of that cost. Beyond the budget angle, there is the waste reduction benefit, which has real environmental and practical value. Fewer trash bags means less plastic waste and lower ongoing costs. Fewer trips to the curb means less effort on your end. For households that generate a high volume of lightweight packaging, paper, or cardboard, the compactor pays dividends almost immediately. There is also the customization factor. A DIY build can be sized to fit your specific space, whether that is under a kitchen counter, inside a garage, or in a utility room. Commercial units do not always offer that flexibility.

Common Drawbacks You Should Know Before You Build
No home improvement project is without its complications, and a DIY rubbish compactor is no exception. The most consistent challenge homeowners report is hygiene management. Compacted waste can produce liquid, odor, and residue that requires regular cleaning of both the compression mechanism and the containment area. If the unit is not properly sealed or ventilated, smells can become a persistent issue inside the home. Structural durability is another concern. A poorly designed frame can bow or crack under repeated load, especially if heavier materials like glass or dense food waste are being compacted. It is worth noting that glass should generally not be compacted in a DIY unit since it creates sharp shards that can damage the mechanism and pose a safety risk. Finally, some municipalities have specific regulations around waste compaction equipment, so it is worth confirming with your local authority before building or installing one.
Safety Considerations for DIY Compactor Builds
Safety is not an area to cut corners on. A compression mechanism that generates meaningful force can cause serious injury if something goes wrong mid-operation. Finger guards and loading shields are essential design elements that prevent hands from entering the compression zone. Any motorized version — and yes, some ambitious homeowners wire up electric motors to drive the compaction plate — should include a dead man switch or a secure two-hand operation requirement to prevent accidental activation. Locking pins that secure the compression plate in the open position during loading are a simple but highly effective precaution. If you are sharing your home with children, accessibility controls become even more important. The unit should never be operable without a deliberate and sequential set of actions that a small child cannot easily replicate.
Maintenance Tips to Keep Your Compactor Running Smoothly
A DIY rubbish compactor, like any mechanical system in your home, benefits enormously from consistent maintenance. Lubricating moving parts, particularly any threaded rods, hinges, or pivot points, should happen every few months at minimum. The compression plate and interior walls need to be wiped down regularly to prevent bacterial growth and corrosion. Check your frame welds or fasteners periodically for signs of stress, especially if you are compacting heavier materials. The liner or bin inside the unit should be cleaned each time it is emptied rather than simply replaced with a new bag over old residue. A diluted bleach solution works well for sanitizing the interior and neutralizing odor-causing bacteria. Taking fifteen minutes every month to run through a basic maintenance checklist will dramatically extend the working life of your build.
Where a DIY Rubbish Compactor Fits Into a Broader Home System
It is easy to think of a rubbish compactor as a standalone gadget, but it actually slots into a broader picture of how your home manages resources and systems. Waste management is a daily function that connects to your kitchen, utility spaces, plumbing, and even pest control. A well-functioning compactor reduces the frequency of overflowing bins, which can attract pests and create unsanitary conditions near food preparation areas. When you think about your home as a collection of interconnected systems, adding a waste compaction solution becomes part of a smarter, more efficient household operation. That holistic thinking is also what drives homeowners to protect those systems with coverage plans that account for mechanical failures across the whole house, not just one appliance at a time.
When to Consider a Commercial Unit Instead
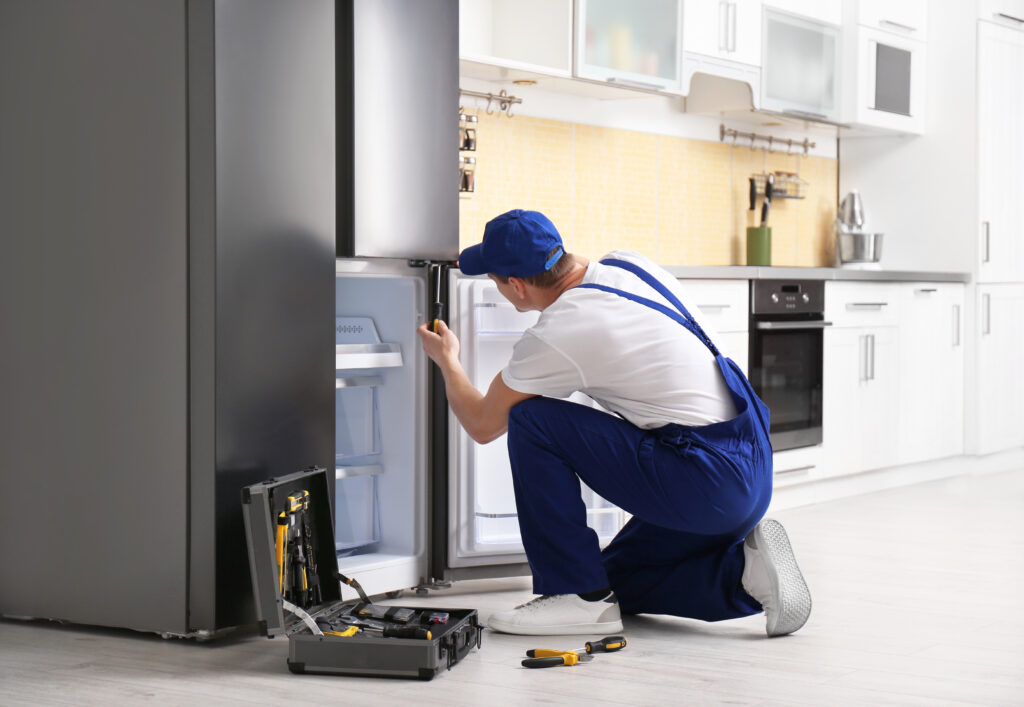
There is a point at which the DIY route stops making sense. If your household generates very high volumes of dense waste, or if you want something with a warranty, precise engineering tolerances, and a fully enclosed mechanism, a commercial residential compactor may be the better investment. Built-in trash compactors from major appliance brands integrate directly into cabinetry, operate electrically, and offer measured compression cycles. They are designed for long-term use and come with manufacturer support. That said, they also come with the same risks any home appliance carries — mechanical failure, component wear, and repair costs that can appear without warning. Whatever direction you choose, DIY or commercial, understanding the maintenance and failure patterns of your chosen solution is critical to getting the most out of it over time.
How Armadillo Home Warranty Fits Into Your Waste Management and Home Protection Strategy
Here is where things get practical. A DIY rubbish compactor handles the waste. But what handles the unexpected breakdowns in the rest of your home? Appliances and systems fail at the worst possible times, and repair costs can be genuinely disruptive. That is the gap that Armadillo home warranty coverage for household appliances and systems is designed to fill. From your HVAC system to your built-in kitchen appliances, Armadillo provides coverage that takes the financial unpredictability out of homeownership. If you have invested the time and effort to improve your home with smart additions like a rubbish compactor, it makes sense to extend that same protective thinking to everything else under your roof. You can get a free home warranty quote to protect your home appliances and systems in just a few minutes, and the coverage is straightforward without the confusing fine print that makes other warranty products frustrating. Armadillo is built for homeowners who think proactively about their home, which sounds like exactly the kind of person who builds their own rubbish compactor in the first place.

Frequently Asked Questions About DIY Rubbish Compactors
Below are answers to the most common questions homeowners ask when exploring DIY rubbish compactor builds and how they fit into overall home management.
What materials can you safely compact in a DIY rubbish compactor?
Soft materials like food packaging, cardboard, paper, plastic bottles, and food scraps are ideal candidates. Avoid glass, hard metals, and hazardous materials, as these can damage the compression mechanism and create safety hazards.
How much does it cost to build a DIY rubbish compactor?
Most DIY builds range from approximately fifty to three hundred dollars depending on the materials used and the complexity of the design. Hydraulic or motorized versions typically cost more than simple lever or screw-press designs.
Is a DIY rubbish compactor safe to use indoors?
Yes, provided it is properly designed with appropriate safety features including compression guards, locking mechanisms during loading, and adequate ventilation to manage odor. Placement in a utility room, garage, or under-counter area is common.
How much can a DIY rubbish compactor reduce waste volume?
Depending on the materials being compacted and the force applied, a well-built DIY unit can reduce waste volume by 50 to 75 percent, which meaningfully reduces the number of trash bags used over time.
Do I need a permit to build a DIY rubbish compactor?
In most cases, no permit is required for a non-motorized DIY unit. However, if you are installing a powered version with electrical components, local building codes may apply. Always confirm with your municipality before installation.
How often does a DIY rubbish compactor need maintenance?
Basic maintenance including lubrication of moving parts, interior cleaning, and structural inspection should occur every one to three months. The containment liner or bin should be cleaned every time it is emptied to prevent bacterial buildup and odor.
Can a DIY rubbish compactor attract pests?
If the unit is not properly sealed or cleaned regularly, food residue can attract insects and rodents. Using a tightly fitting lid, maintaining cleanliness, and emptying the compacted waste frequently will significantly reduce this risk.
What is the difference between a DIY compactor and a built-in trash compactor appliance?
A built-in trash compactor is a manufactured appliance with engineered components, electrical operation, and a manufacturer warranty. A DIY version is custom-built, typically lower cost, and manually operated, but requires more hands-on construction and maintenance effort.
Does a home warranty cover a built-in trash compactor?
Coverage depends on the specific home warranty plan. Many plans do include built-in kitchen appliances such as trash compactors. Reviewing your plan details or speaking with your provider will clarify what is and is not included.
Is building a DIY rubbish compactor worth it for an average household?
For households that generate significant lightweight waste and want to reduce bin trips and bag costs, the investment of time and materials is generally worthwhile. The payback period is relatively short, and the ongoing operational cost is minimal.