What Homeowners Need to Know About Grouting a Shower Floor
A properly grouted shower floor does more than just tie the bathroom together visually—it plays an essential role in safeguarding your home. If you’re a homeowner contemplating a shower upgrade, mid-redesign, or simply navigating routine bathroom maintenance, understanding the function and process of grouting can inform smarter decisions. Especially from a home warranty perspective, a well-maintained shower floor can significantly reduce preventable water damage. Here’s a closer look into what grouting is, how it works, the materials involved, its pros and cons, and what homeowners need to pay attention to. Let’s demystify this foundational aspect of your bathroom.
What Is Grouting and Why Does It Matter for Shower Floors?
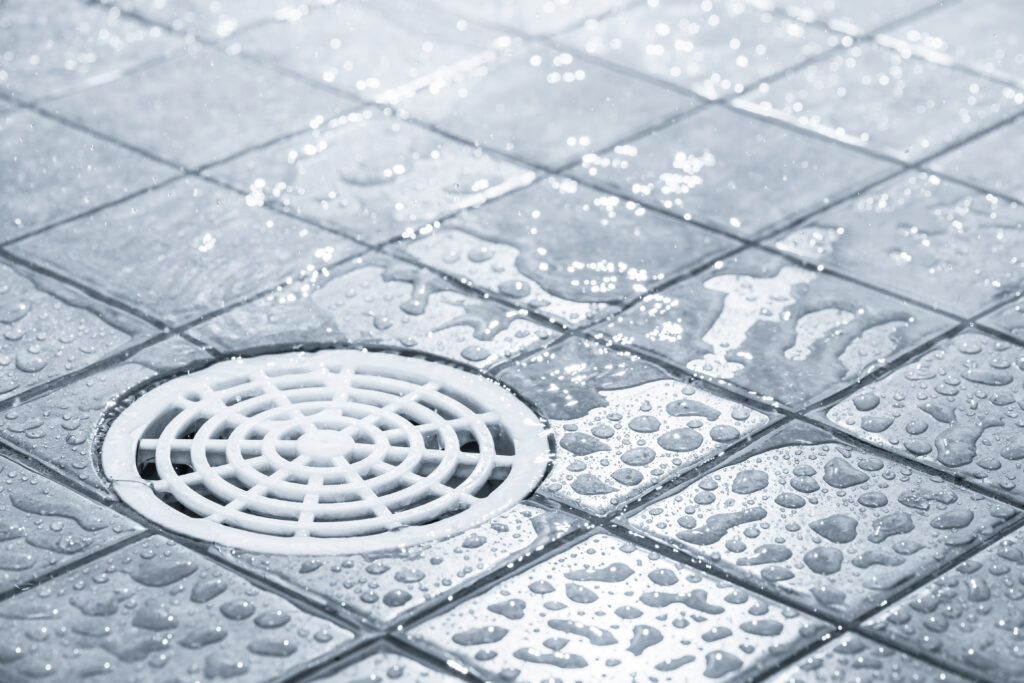
Grouting refers to the process of filling the spaces between tiles. In the case of a shower floor—typically composed of porcelain, ceramic, or natural stone tiles—these joints need a sealed, durable filler to prevent moisture from seeping into the subfloor. Unlike caulking, which is flexible and used for expansion joints, grout is rigid once cured and intended for structural integrity and water resistance within tiled surfaces. Not only does grout help keep the tile layout in place, but it also keeps the area sanitary and simplifies cleaning. From a home system maintenance standpoint, grouting contributes directly to structural preservation, surface longevity, and water containment—all critical elements for insurance adjusters, warranty providers, and responsible homeowners alike.
How the Grouting Process Works
The process of applying grout starts after tiles are laid and spaced correctly. Typically, homeowners or contractors choose between sanded and unsanded grout, depending on the tile gap size and tile material. Sanded grout contains fine sand particles, making it suitable for wider joints, whereas unsanded grout works better for smaller joints under 1/8 inch and more delicate tile finishes. After mixing the grout to a peanut butter-like consistency, it’s applied using a rubber float, worked diagonally across the joints to fully embed it. Excess is wiped off with a damp sponge shortly afterward, and once dry (usually 24 hours), it’s sealed to prevent mold and water infiltration. Though each step might seem straightforward, precision matters. Poor technique or low-quality materials can lead to cracking, accelerated wear, and ultimately water damage beneath your shower floor—one of the leading causes of moisture-related coverage disputes in home warranties.
Advantages of a Properly Grouted Shower Floor
Investing time and attention into grouting fosters a range of long-term benefits. One of the top advantages is water resistance. Properly sealed grout helps prevent water intrusion that can compromise subflooring and lead to mold growth in wall cavities—both expensive problems not typically covered if labeled as neglect in home warranty policies. A clean grout line also enhances the overall hygienic environment of the bathroom, preventing bacteria and mildew accumulation. Visually, grout provides a crisp, polished look that aligns tiled floors and minimizes imperfections. Functionally, grout stabilizes floor tiles, reducing the chance of movement or uplift over time. For homes under a warranty plan, keeping shower floors properly grouted can significantly extend the lifespan of the surrounding systems and fixtures, sustaining a more predictable and cost-effective homeownership experience.
Common Drawbacks and Maintenance Challenges
Despite its practical value, grout has its limitations. Over time, grout can discolor, chip, or crack—particularly in high-moisture environments like showers. Even properly installed grout needs routine care and occasional re-sealing to remain water-resistant. Unsealed grout can absorb moisture, stain easily, and become a breeding ground for mildew. Once cracks form, water can seep into the layers beneath, loosening tiles and damaging the substrate. Notably, if you’re relying on home warranty protection and a hidden leak is traced back to failing grout that hasn’t been maintained, your warranty provider may determine the damage results from neglect—putting you on the hook for repair costs. Additionally, regrouting is labor-intensive. It involves removing the old grout without damaging the tile, fully cleaning the joints, reapplying new grout, drying, and sealing—making it more than a passive DIY task for most homeowners.
When and How Often Should You Regrout a Shower Floor?
There’s no one-size-fits-all schedule, but most professionals suggest inspecting grout quarterly and re-sealing it every one to two years, depending on shower usage and ventilation. Regrouting becomes necessary when signs of wear appear—visible cracks, recurring mold, persistent discoloration, or failing waterproofing. In homes with poor ventilation or high bathroom humidity, degradation may happen faster. From a home warranty claims perspective, any preventative step you take to preserve waterproofing—like timely regrouting—can keep related failures covered instead of denied. If your grout lines show minor wear but aren’t entirely failing, applying a grout colorant sealer can refresh appearance and reseal at the same time. Otherwise, full removal and reapplication are the safest bets to restore your shower’s defenses.
Choosing the Right Grout for Your Shower Floor
Selecting the correct grout type depends on tile material, spacing, and water exposure. Cement-based grouts are common and cost-effective, but they require sealing and tend to be more porous. Epoxy grout offers superior stain and water resistance, making it ideal for high-moisture environments like shower floors, though it is more difficult to apply and more expensive. Unsanded grout is typically used for glass tiles or softer stone, where scratching is a concern. For natural stone, always confirm that the grout used is compatible and won’t lead to discoloration or etching. If you’re working with a professional contractor, insist on a detailed breakdown of grout type and quality during installation. If you’re handling it yourself, follow manufacturer instructions meticulously and prioritize sealing. A good grout fit not only improves performance but also ensures your shower installation remains within acceptable maintenance practices under typical home warranty plans.
Maintaining Peace of Mind with Armadillo Home Warranty
Shower floors may seem like small installations, but when improperly grouted or neglected, they can lead to large-scale issues—from warped subflooring to hidden mold and costly repairs. A smart homeowner knows that attention to these details can save future headaches. It also helps to have reliable coverage backing you up when the unexpected happens. At Armadillo, we’re committed to helping you protect the functional core of your home. Our flexible home warranty plans cover a wide range of systems, with the reassurance that your well-maintained home features—including bathroom plumbing connected to showers—are supported when they need service. Ready to get started? Visit Armadillo to explore more about our coverage or begin building your plan with confidence at this link. Because while tiles and grout may start small, your peace of mind should never be.