
How to Install an Electric Dog Fence That’s Grounded and Protected: A Homeowner’s Guide
As a homeowner, you want your pet to be safe while maintaining the aesthetics and functionality of your property. Outdoor fencing options abound, but electric dog fences provide a discreet, reliable, and surprisingly affordable way to contain your furry companion. Whether you live in a suburb with HOA guidelines or have a large yard without traditional fencing, installing a grounded electric dog fence is a smart and efficient solution. That said, it must be properly installed—not just for effectiveness, but for safety and to prevent electrical interference or system failure. Understanding how these systems operate and what installation entails can make a significant difference in protecting both your dog and your investment.
What Is an Electric Dog Fence and How Does It Work?
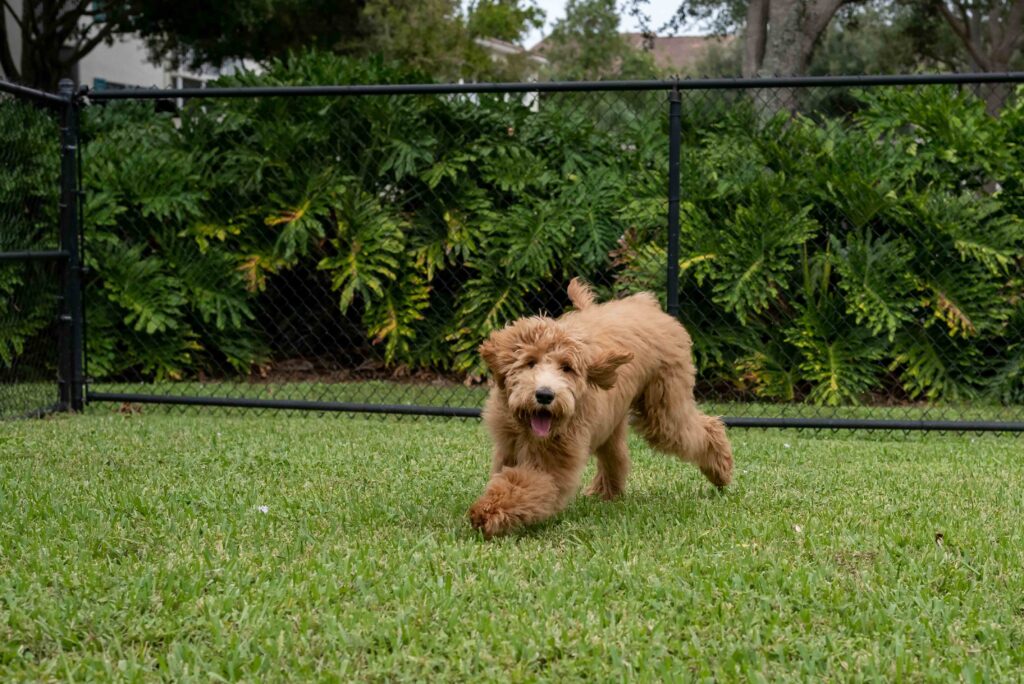
An electric or invisible dog fence is a containment system that uses a buried wire or wireless signal to create a defined boundary for your dog. The core components include a transmitter, boundary wire (if using an in-ground system), and a receiver collar worn by your dog. The system works by sending a radio signal through the wire perimeter or via a wireless signal. When your dog approaches the set boundary, the collar emits a warning tone followed by a mild corrective stimulus if they continue forward. These systems are customizable and nearly invisible, which allows for flexibility in yard layout and does not obstruct views or green spaces.
Electric Fences vs Traditional Fencing
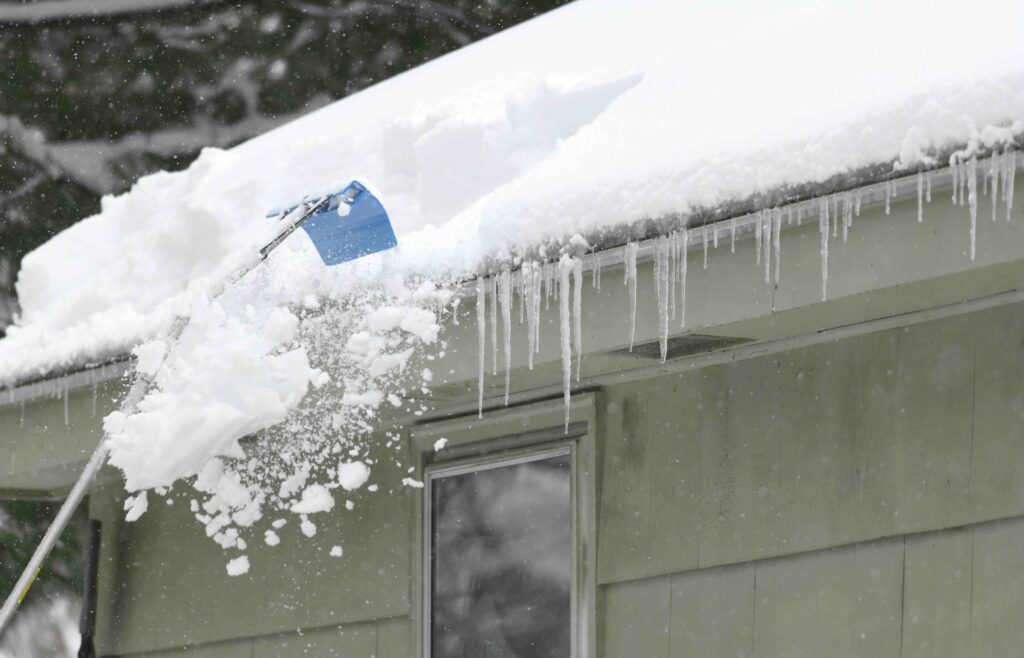
Unlike chain-link or wooden fences, an electric dog fence is cost-effective and less intrusive. Installation does not typically require permits or neighborhood approvals, and repairs are more straightforward. Additionally, they’re ideal for uneven or wooded landscapes where traditional fencing presents challenges. However, the success of an electric fence system depends heavily on the quality of its installation—particularly the grounding technique, which ensures the system functions without electrical interference or safety issues. Grounding is critical to protect the fence from lightning damage and to ensure proper signal transmission.
Planning for Installation: Tools and Preparation
Before beginning installation, take accurate measurements of your yard and plan the containment area. Avoid driveways, underground utilities, and areas prone to water accumulation. You’ll need a trenching tool or edger to lay the wire, a surge protector compatible with your system, and a grounding rod to prevent electrical damage. You should also confirm your system comes with a ground wire connection terminal—without it, safe grounding isn’t possible. If you choose a self-installation option, follow the manufacturer’s instructions closely. For in-ground options, ensure that your loop is complete and not interrupted by objects that could block frequencies, like thick tree roots or metal fencing.
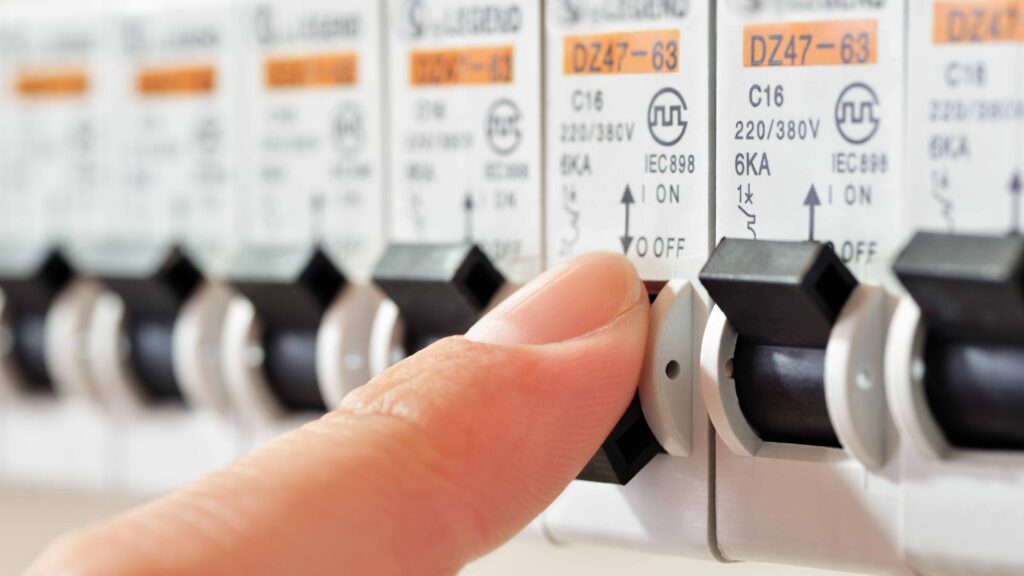
Grounding Your Electric Dog Fence: Why It Matters
Properly grounding your electric dog fence plays an essential safety function. It helps divert excess electricity caused by power surges or lightning, minimizing the risk of burning out the transmitter. To ground your system, install a ground rod—typically made of copper or galvanized steel—at least three feet into the soil, ideally within 10 feet of the transmitter. Then, connect the ground wire securely from the transmitter to the rod using insulated electrical wire. Moist soil conditions improve the effectiveness of grounding, so you’ll want to keep the ground rod area damp during installation. If you’re in a dry region, you may need a longer or multiple rods for effective dissipation. Always test the signal before letting your dog use the system to ensure functionality and safety.
Post-Installation Adjustments and Training
Once installed, walk the perimeter with the receiver collar in hand to ensure consistent warning signals at every boundary point. Adjust the signal strength and correction levels based on your dog’s size, breed, and behavior. Training your dog to understand the boundaries is just as crucial as the installation itself. Consistency and positive reinforcement over a few weeks typically yield the best results. If your system includes GPS or app-based controls, spend time learning how to use those settings to avoid confusion later. Check the collar and battery life weekly to ensure uninterrupted functionality.
Common Pitfalls and How to Avoid Them
While electric dog fences are highly effective, improperly installed systems can quickly become unreliable. One common error is installing wire too shallowly or too deep; the wire should lie about 2–3 inches underground. Another issue is interference caused by metal sheds, vehicles, or other electric systems nearby. Place transmitters away from large metal objects and confirm boundary lines don’t run parallel to utility lines, which can distort signals. Skipping grounding altogether is a serious mistake—it exposes the entire system to damage. Beyond physical installation, not dedicating time to training your dog can lead to boundary testing and inconsistent behavior.
Secure Containment. Seamless Protection. Armadillo Has You Covered.
Installing a grounded electric dog fence is a smart investment to protect your home’s most loyal resident: your dog. But unexpected breakdowns, power surges, or system failures can turn a great solution into a source of frustration—not to mention repair costs. That’s where a home warranty plan from Armadillo comes in. Our plans offer reliable protection for the systems and appliances that support your everyday life, including electrical components associated with home improvement upgrades like fence installations. We understand the responsibility that comes with homeownership, and we’re built to simplify it. Explore available coverage through our homepage, or start protecting what matters most today by customizing your plan through our plan builder tool. With Armadillo, you won’t just install improvements—you’ll future-proof them.