





What Are Attic Stairs and Why Should Homeowners Care
Attic stairs, also called attic ladders or pull-down attic stairs, are retractable staircase systems built into a ceiling hatch that allow you to access your attic space without needing a separate ladder or permanent staircase. They fold up neatly into the ceiling when not in use, which keeps your hallway or room completely clear. Most homes built in the last several decades already have an attic access point of some kind, but many still use a basic hatch cover with no integrated stairs at all. If you find yourself dragging out a step ladder every time you need to grab holiday decorations or check on insulation, upgrading to a proper set of attic stairs is one of those home improvements that quietly becomes one of your favorites. It is a practical upgrade that adds real daily value, and understanding how to approach the installation yourself can save you a meaningful amount of money.
How Attic Stairs Actually Work
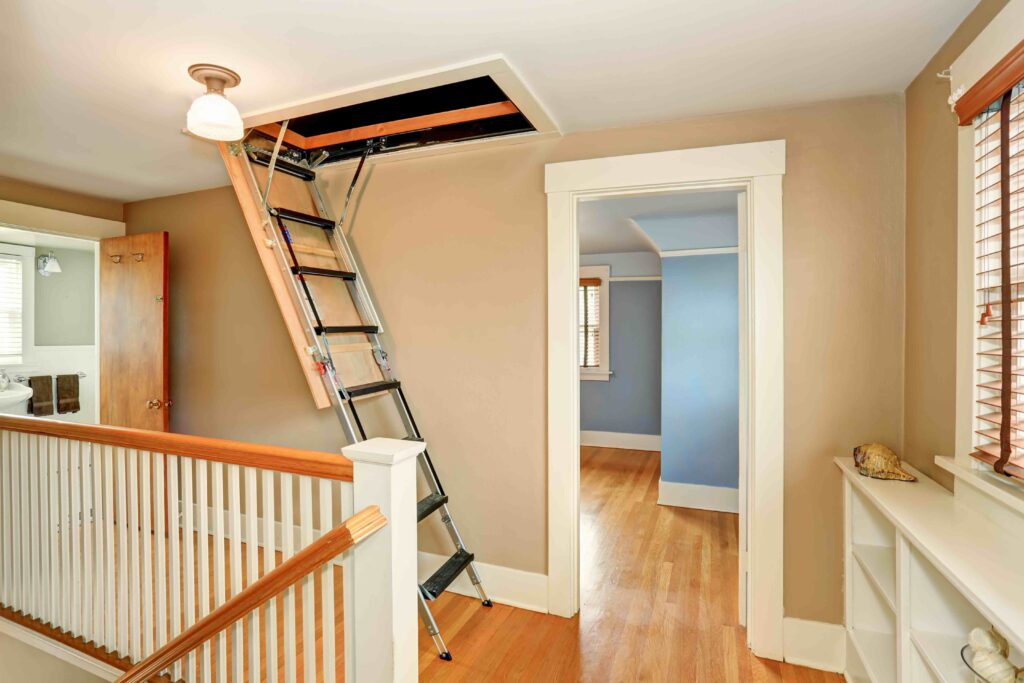
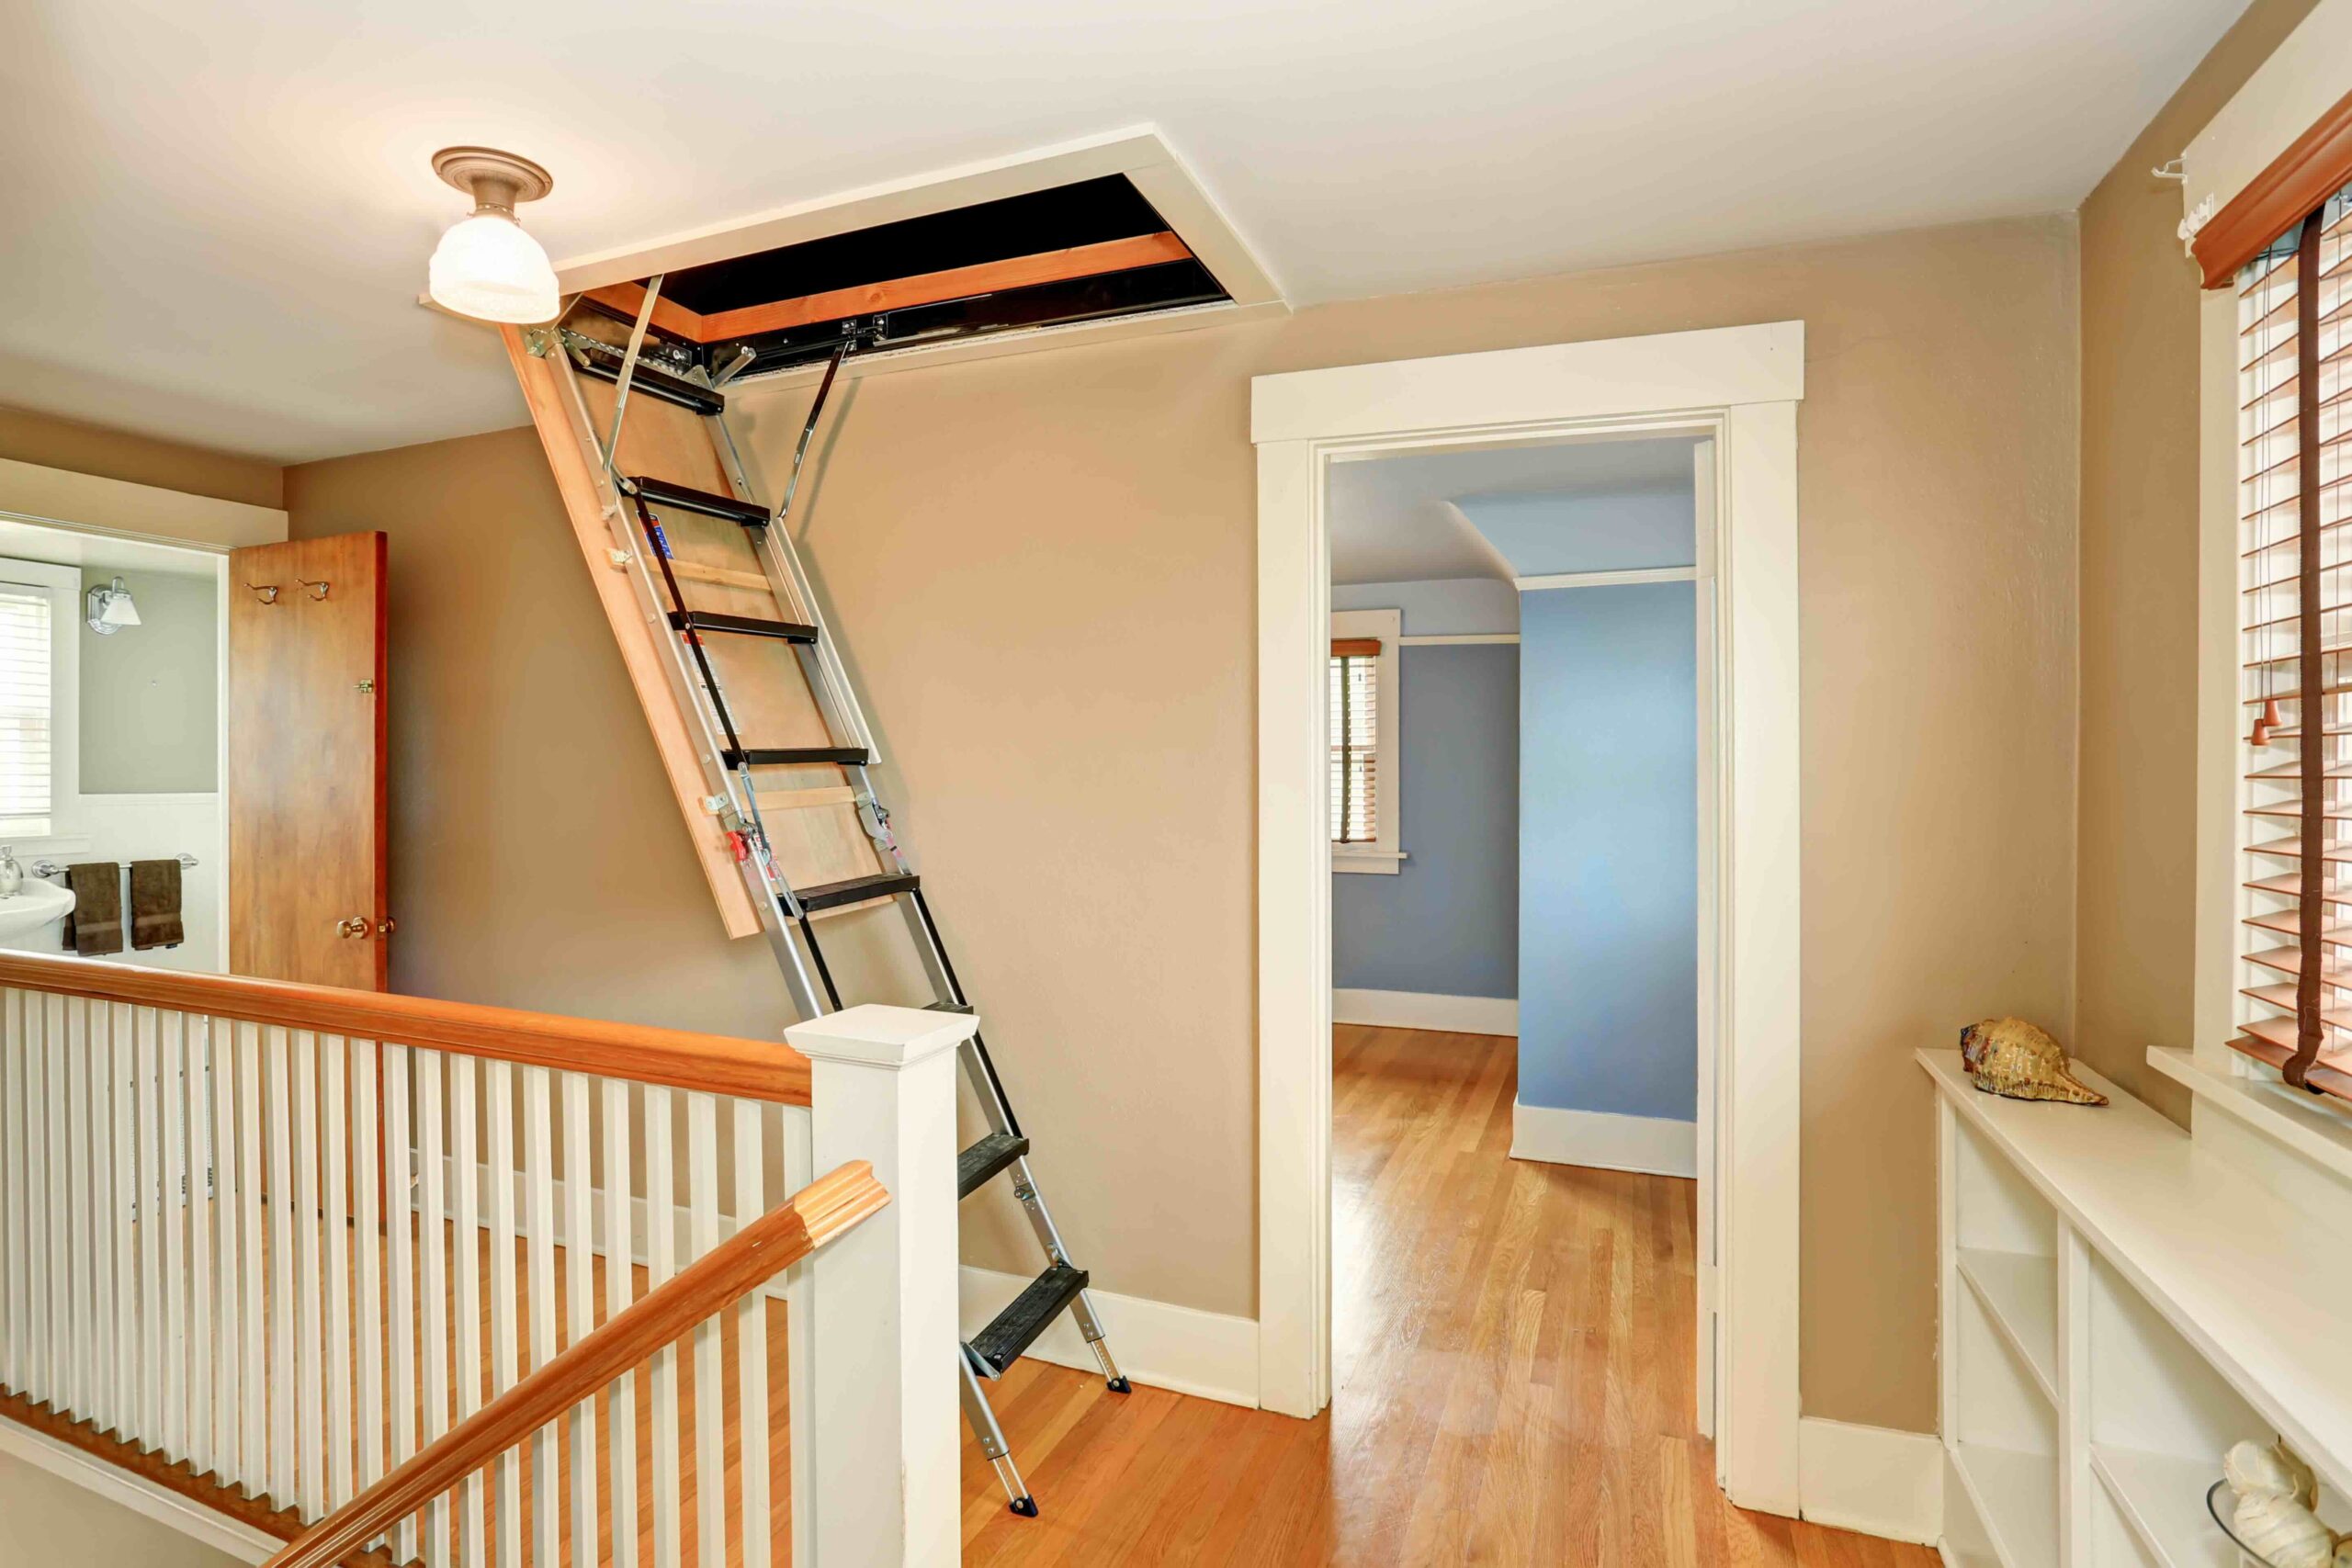
The mechanics behind pull-down attic stairs are fairly straightforward. The unit consists of a frame, a door panel, and a folding ladder that is attached to the door via hinges and tension springs or metal arms. When you pull the door down using a cord or hook, the ladder unfolds in sections and rests on the floor at an angle, giving you a stable path up into the attic. When you are done, you fold the ladder back up, push the door closed, and the springs hold it flush against the ceiling. Most units are designed to fit into a standard ceiling joist opening between 22.5 and 25 inches wide, though rough opening dimensions vary by product. The ladder sections are typically made from wood, aluminum, or steel, and most residential models are rated to hold between 250 and 375 pounds. The door panel itself often includes a layer of insulation to reduce heat transfer between the attic and the living space below, which is an often overlooked but genuinely important feature.
What You Need Before You Start Installing
Before you pick up a single tool, there are a few preparation steps that will determine whether your installation goes smoothly or turns into a weekend-long headache. First, identify where you want to install the stairs and confirm that there are no electrical wires, HVAC ducts, or structural obstructions in that ceiling area. Then locate your ceiling joists using a stud finder so you can plan your rough opening. You will also need to measure your ceiling height carefully because attic stair kits are designed for specific floor-to-ceiling ranges, typically 7 to 10 feet, and choosing the wrong one causes real problems during the cut and install. Tools you will generally need include a reciprocating saw or jigsaw, a drill, a level, a tape measure, a framing square, and temporary supports to hold the unit in place while you fasten it. For safety, wear safety glasses, work gloves, and if your attic has insulation overhead, a dust mask is a solid idea as well.

Step-by-Step Overview of the Installation Process
Installing attic stairs yourself is a manageable project for a homeowner with moderate DIY experience. Here is how the process typically unfolds. You begin by marking your rough opening on the ceiling based on the dimensions provided in your stair kit instructions. Then you cut along those lines carefully, watching for any obstructions. If you need to cut through a ceiling joist, you will need to frame the opening by installing header boards to redistribute the structural load, which is an important step that should not be skipped. Once your opening is framed and clean, you lift the stair unit into place, which is much easier with a helper, and use temporary support boards wedged between the frame and the unit to hold it level while you fasten it. After securing the unit to the framing with the provided hardware, you check that the door opens and closes properly, then adjust the ladder feet by trimming them to the correct angle so they rest flat on the floor. Finally, you add weatherstripping and insulation around the frame perimeter to seal the thermal gap.
Key Benefits of Installing Attic Stairs in Your Home
Once installed, attic stairs offer a range of practical advantages that go well beyond simple convenience. Here are the main benefits homeowners consistently appreciate:
- Safer and more consistent attic access compared to a portable ladder leaned against a wall or ceiling hatch
- Improved storage accessibility, which encourages homeowners to actually use their attic space more effectively
- Better energy efficiency when the door panel includes adequate insulation and a proper seal around the frame
- Added home value, as finished and accessible attic space is a desirable feature for buyers
- Reduced risk of injury from awkward ladder positioning, especially when carrying items up and down
Common Drawbacks and Challenges to Keep in Mind
Like any home improvement project, installing attic stairs comes with a few genuine challenges worth considering before you start. The weight of the unit is one of the first surprises for many homeowners. Some models weigh 60 pounds or more, and getting them into a ceiling opening solo is not just difficult, it can be unsafe. Working at ceiling height adds a level of risk that requires careful ladder positioning and ideally a second person for support. The framing step, particularly if you need to cut through an existing joist, requires some basic carpentry knowledge and confidence with structural modifications. If done incorrectly, it can create a weak spot in your ceiling framing. There is also the matter of insulation. Many budget stair kits come with minimal built-in insulation, and without additional weatherstripping or a separately purchased insulation cover, you can end up creating a significant energy leak directly above your living space. Plan for those extra steps rather than treating them as optional.
Attic Stair Materials and Load Ratings Explained
Not all attic stair units are built the same, and choosing the right material for your household needs matters more than most people realize. Wood units are the most common and tend to be the most affordable, but they can warp over time in humid climates and generally have lower load ratings. Aluminum models are lightweight and resistant to moisture, making them a smart choice in warmer or more humid regions. Steel-frame units offer the highest strength and durability but tend to be heavier and more expensive. Load ratings typically range from 250 to 375 pounds for residential models, and this figure refers to the total weight on the ladder at one time, including the person and anything being carried. If you regularly move heavy boxes or equipment into your attic, choose a unit with a higher load rating and do not treat it as a minor spec. The ladder width and step depth also affect long-term comfort and safety, so compare those dimensions across models before purchasing.
How Attic Improvements Connect to Your Broader Home Maintenance Strategy
Attic access upgrades do not exist in isolation. When you improve access to your attic, you also increase your ability to inspect and maintain the systems housed up there, which often include HVAC components, ductwork, insulation, ventilation equipment, and structural elements. Homeowners who can comfortably access their attic tend to catch problems earlier, whether that is a duct that has come loose, insulation that has settled unevenly, or early signs of a roof leak. This kind of proactive monitoring is exactly what separates homeowners who are constantly reacting to expensive surprises from those who manage their home with confidence. The attic is one of the most information-rich areas of your entire house, and if getting up there requires a circus act with a step ladder, most people simply avoid it. Proper attic stairs remove that barrier entirely.
Why Armadillo Is the Right Home Warranty Partner After Your Attic Upgrade
Installing attic stairs is a smart investment in your home’s functionality, and it naturally opens the door to thinking about how you protect everything else in your house that keeps life running smoothly. That is where a home warranty makes a real difference. When your HVAC system, water heater, or electrical components need repair or replacement, having a warranty in place means you are not absorbing those costs out of pocket. Armadillo home warranty coverage for HVAC, appliances, and major home systems is designed to give homeowners exactly that kind of financial protection, and it pairs naturally with the kind of proactive home improvement mindset that leads someone to upgrade their attic access in the first place. Whether you have just completed a project like this or are planning your next one, now is a good time to think about what else in your home deserves coverage. You can get a personalized home warranty quote to protect your attic systems and beyond in just a few minutes, and the peace of mind that follows is genuinely worth it.

Frequently Asked Questions About Installing Attic Stairs
These are the questions homeowners ask most often when planning an attic stair installation, along with clear answers to help you move forward with confidence.
Can one person install attic stairs alone?
Technically possible, but not recommended. Most attic stair units weigh between 40 and 70 pounds, and lifting them into a ceiling opening while standing on a ladder is genuinely difficult and increases the risk of injury or improper alignment. Having a second person to help support the unit during installation makes the process significantly safer and more accurate.
Do I need a permit to install attic stairs?
In many jurisdictions, yes. Cutting into ceiling framing and modifying structural elements like joists typically requires a building permit. Requirements vary by city and county, so check with your local building department before starting the project to avoid complications during a future home sale or inspection.
How long does it take to install attic stairs?
For a homeowner with moderate DIY experience and a helper, the installation typically takes between four and eight hours from start to finish. That includes marking and cutting the opening, framing it if necessary, fitting the unit, securing it, and adjusting the ladder feet. First-time installers should plan for the longer end of that range.
What size rough opening do I need for attic stairs?
Most standard attic stair kits require a rough opening of approximately 22.5 by 54 inches, but this varies by product. Always check the manufacturer specifications before cutting anything. The rough opening is slightly larger than the door panel itself to allow for shimming and adjustment during installation.
What happens if I need to cut through a ceiling joist?
If your desired opening location falls across a ceiling joist, you will need to cut through it and install header boards on both sides of the opening to redistribute the structural load. This is a critical framing step and should be done carefully following standard carpentry practices. Skipping it can compromise your ceiling structure over time.
How do I insulate around attic stairs after installation?
After the unit is secured, apply weatherstripping foam tape around the perimeter of the door frame to create a thermal seal. For additional insulation performance, consider purchasing a separate attic stair insulation cover that sits on top of the unit inside the attic. This is especially important in climates with extreme seasonal temperatures.
What is the weight limit for residential attic stairs?
Most residential attic stair models are rated between 250 and 375 pounds. This rating reflects the total weight on the ladder at a single time, including the person and any items being carried. For heavier loads or more frequent use, look for commercial-grade or premium residential units with higher load ratings and heavier-duty hardware.
Are wooden or aluminum attic stairs better?
It depends on your climate and usage. Wood is affordable and widely available but can warp in humid environments over time. Aluminum is moisture-resistant, lighter, and generally more durable in warm or coastal climates. For most homeowners in temperate regions, either material works well as long as the load rating and step dimensions meet your needs.
Does installing attic stairs affect my home warranty coverage?
A home warranty typically covers mechanical systems and appliances rather than structural modifications you make to the home. Installing attic stairs on your own would generally not affect coverage for items like your HVAC or water heater. However, it is always worth reviewing your specific warranty terms to understand what is and is not included after making home improvements.
What is the best location in the home to install attic stairs?
The ideal location is a ceiling area in a hallway, closet, or bedroom where there is clear floor space below for the ladder to extend fully without obstruction. Avoid areas near electrical panels, ductwork, or plumbing, and choose a spot where the ladder angle will not conflict with nearby walls or furniture when fully deployed.