What Is a Stripped or Snapped Screw — and Why Does It Matter More Than You Think?
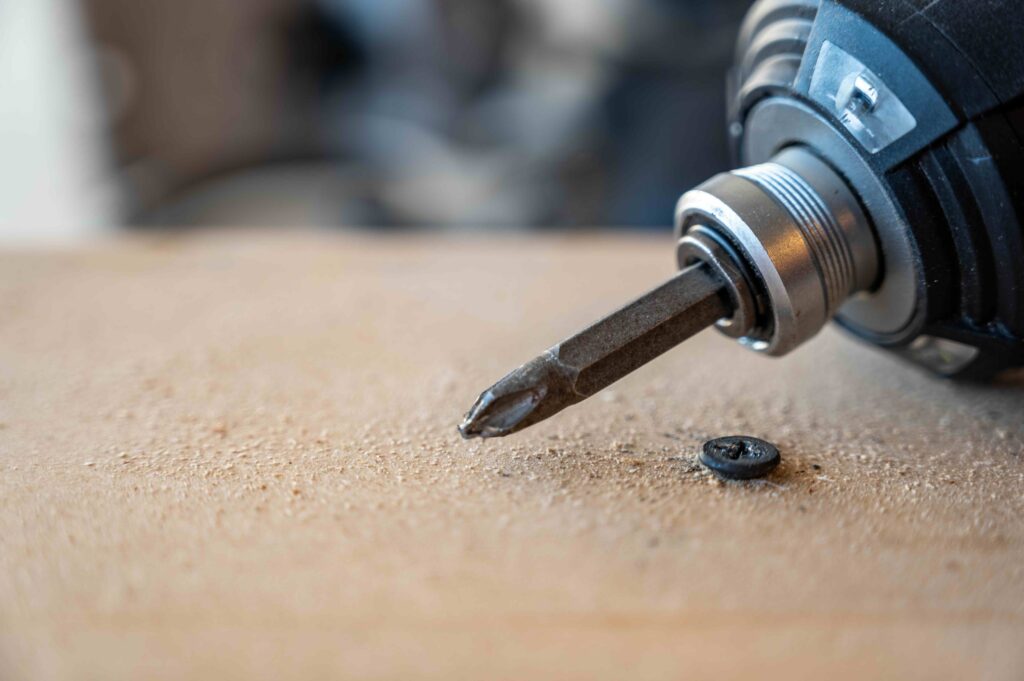
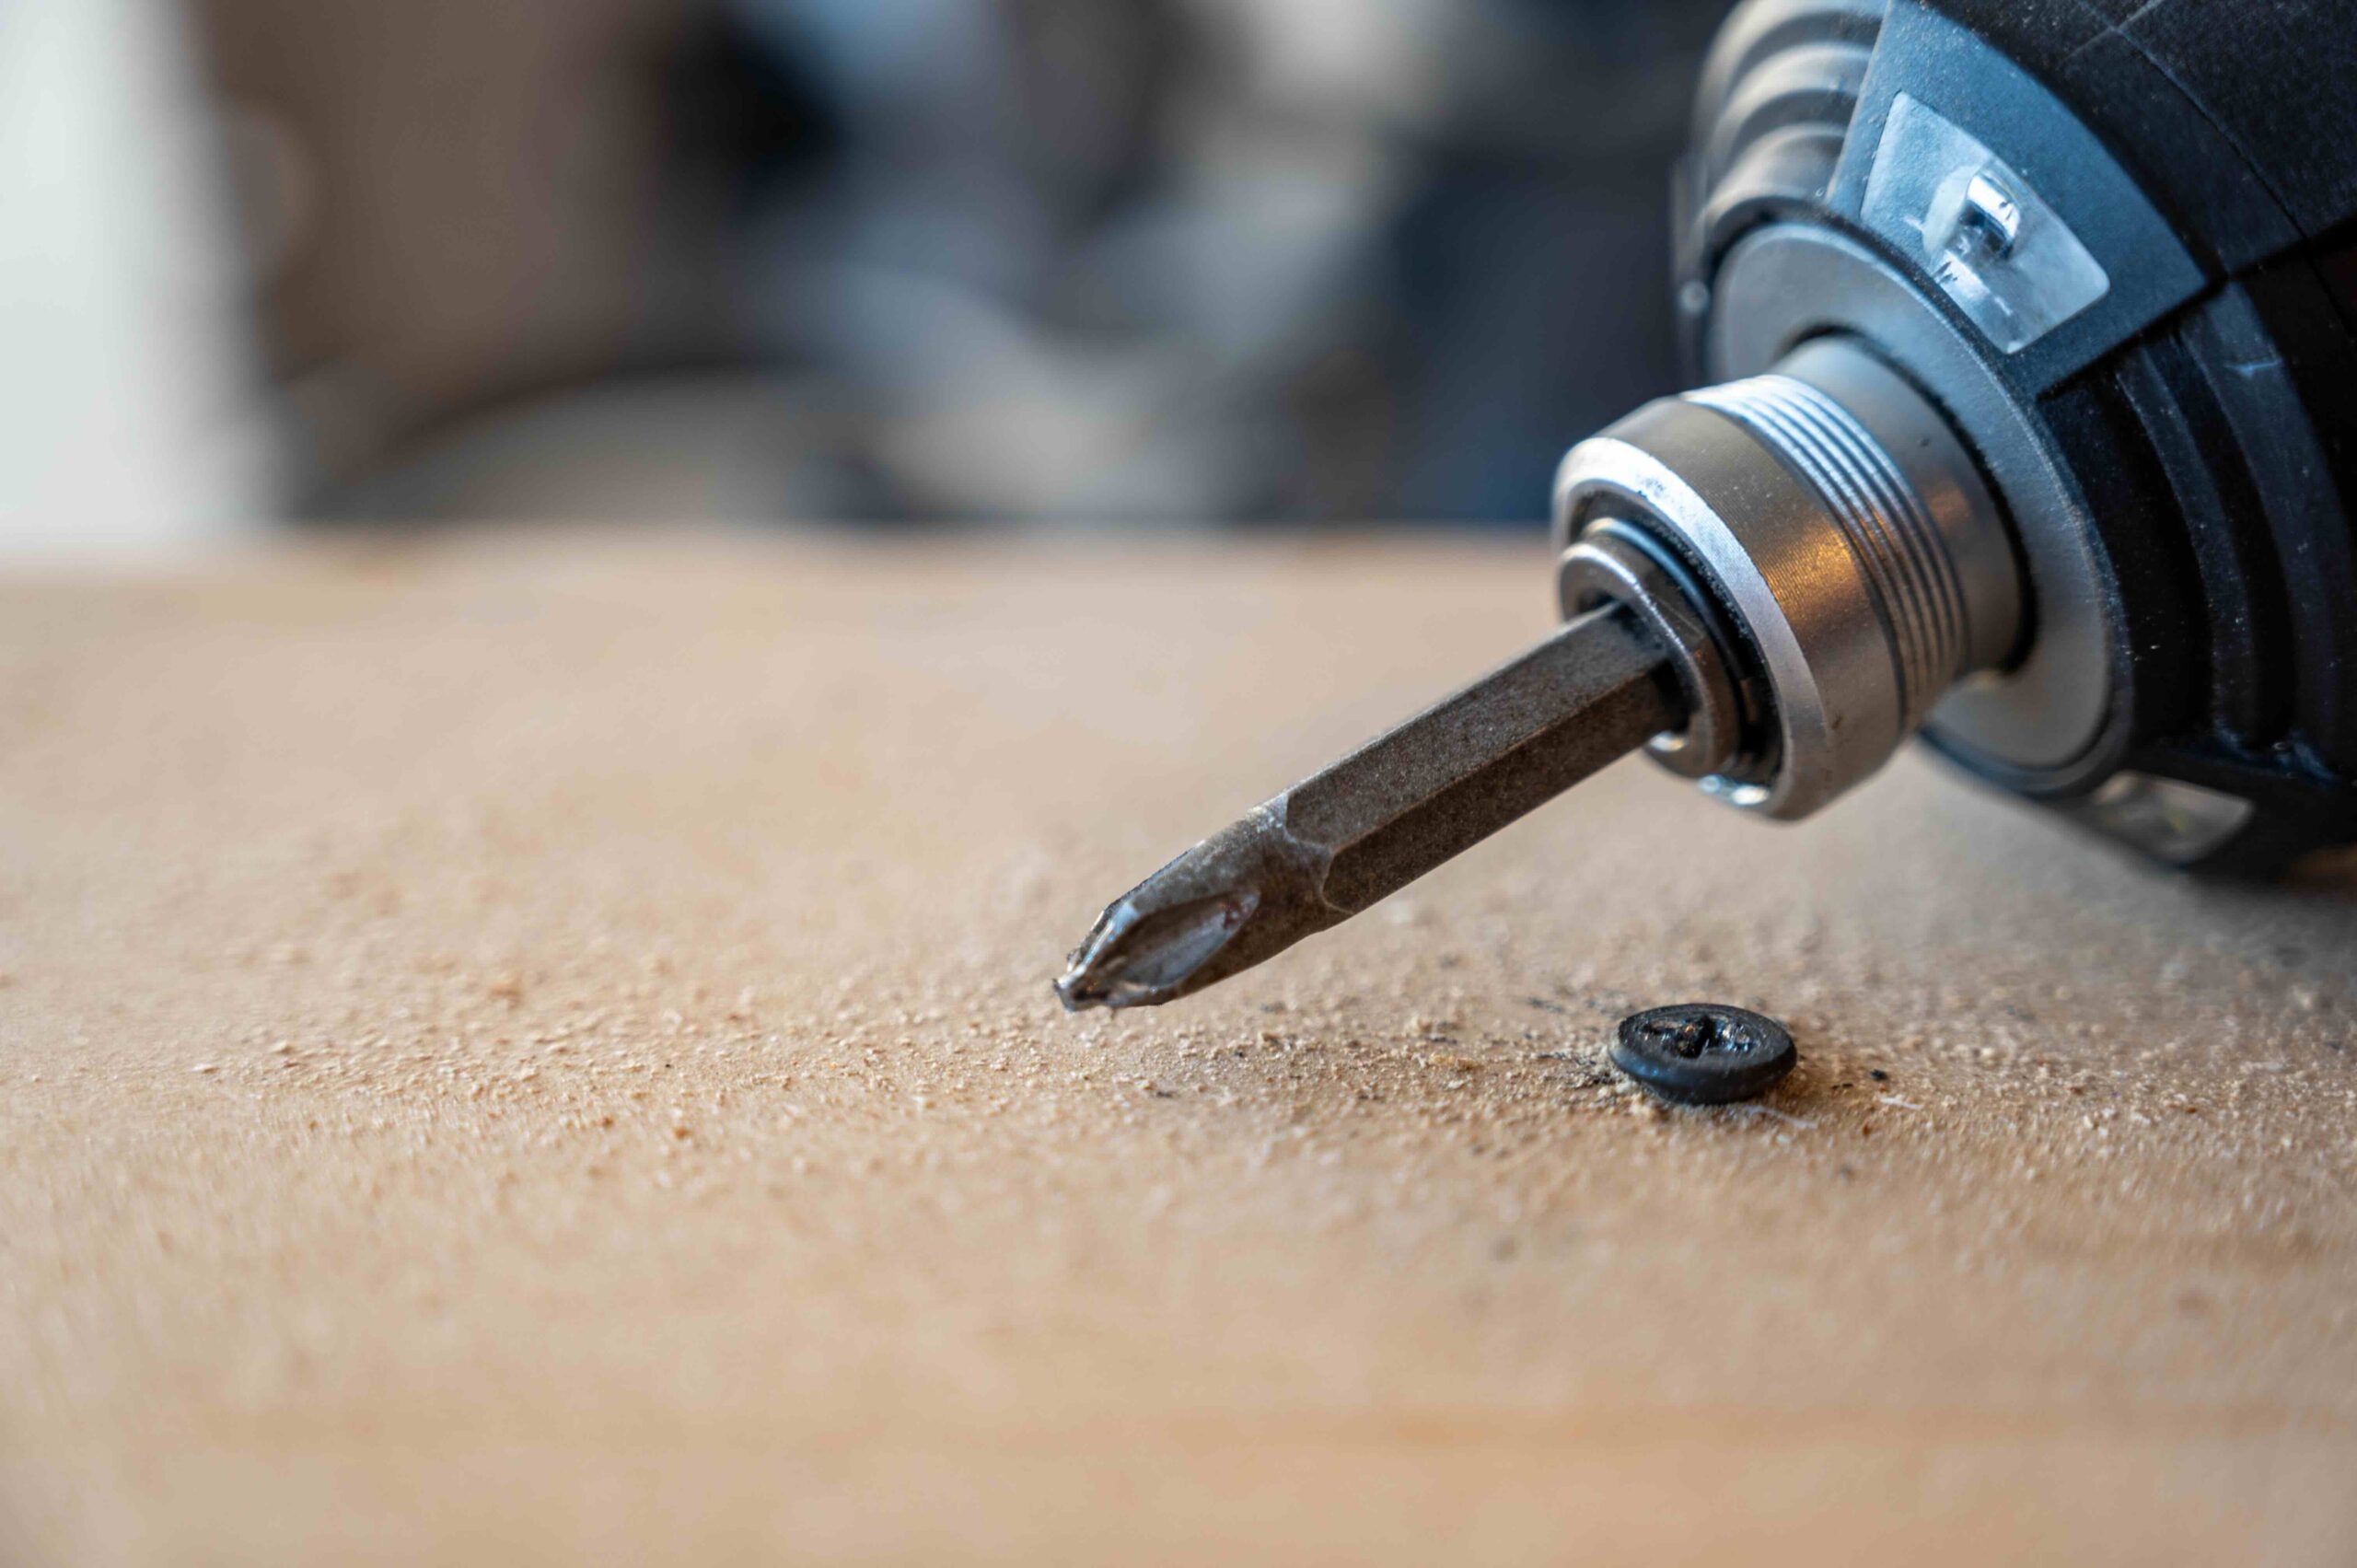
There is a particular kind of frustration that comes with a screw that refuses to budge. You are mid-project, the screwdriver is spinning uselessly in place, and suddenly a simple repair has turned into something far more complicated. Stripped and snapped screws are one of the most underestimated problems in home maintenance, and they show up everywhere — in appliances, electrical panels, plumbing fixtures, cabinetry, and structural components. Understanding what causes them, how to deal with them, and what role your home systems play in the bigger picture can save you real time, money, and stress.
How Screws Get Stripped or Snapped in the First Place
A stripped screw is one where the drive head — the slot, cross pattern, or hex socket — has been worn down to the point where a tool can no longer grip it effectively. A snapped screw is a different problem entirely: the shank has broken, leaving part of the fastener embedded in the material. Both issues share common causes. Over-torquing with power tools is a major culprit, especially when someone is working quickly and not paying close attention to resistance. Using the wrong bit size creates a loose connection between tool and fastener, which generates the exact kind of spinning friction that destroys a screw head. Corrosion is another big factor — screws in humid environments like bathrooms, basements, and behind appliances can corrode significantly over time, weakening the metal and making them far more susceptible to snapping under pressure. Age plays into it too. Homes that are ten, fifteen, or twenty years old have fasteners that were installed once and never touched again, and those screws may have essentially fused to the surrounding material.
Where Stripped and Snapped Screws Appear Most Often in Your Home
You might be surprised how many of your home’s critical systems rely on small fasteners doing their job quietly in the background. When those fasteners fail, the consequences range from minor inconvenience to legitimate system disruption. Here are the most common locations homeowners encounter this problem:
- Electrical panels and outlet covers, where corrosion from age and humidity is frequent
- HVAC access panels and ductwork connections, especially in attics and crawlspaces
- Water heater and plumbing fixture mounts, where mineral buildup accelerates corrosion
- Appliance casings and internal components, particularly in dishwashers and dryers
- Cabinet hinges, door hardware, and structural trim throughout the home
The reason this matters from a home systems perspective is that accessing and servicing these components often requires removing fasteners first. A snapped screw in the wrong place can delay or complicate a necessary repair significantly.
Techniques for Removing a Stripped Screw
There are several reliable methods for removing a stripped screw, and most of them do not require professional-grade tools. The right approach depends on how badly the head is damaged and what material the screw is seated in. One of the most accessible options is a rubber band trick — place a wide rubber band flat over the stripped head and press your screwdriver firmly into it before turning. The rubber fills in the damaged grooves and provides enough grip to back the screw out slowly. Screw extractor kits are another excellent option and are widely available at hardware stores. These kits include reverse-threaded drill bits that bite into the screw as they turn, allowing you to pull the fastener out without damaging surrounding material. For screws with some head still exposed, locking pliers or vise grips can clamp onto the shank and turn the fastener out manually. When the head is completely gone and only the shank remains, a left-hand drill bit is often the most effective solution — it cuts into the embedded shank while the reverse rotation simultaneously backs it out of the material.
Techniques for Removing a Snapped Screw
Snapped screws present a more serious challenge because there is no head left to work with. If the break occurred above the surface, vise grips may still save you. If the break is flush with or below the surface, you are dealing with an extraction scenario. A screw extractor bit, used with a drill, is the standard solution here. You drill a small pilot hole into the center of the broken shank, insert the extractor, and apply reverse pressure to unscrew the fragment. Penetrating oil applied ahead of time — and allowed to sit for at least fifteen to thirty minutes — can make a significant difference in how much resistance you encounter. In cases where the screw has corroded or fused entirely, heat from a soldering iron applied briefly to the surrounding material can break the bond and make extraction viable. This last method requires caution, particularly near wood, plastic, or any flammable material.

When a Stripped Screw Signals a Bigger Problem
Here is where the conversation shifts from DIY tips to home systems awareness. A single stripped screw is usually just a nuisance. But when you encounter multiple damaged fasteners during a routine repair — or when you find corrosion-related damage on screws inside an appliance or system component — that can be a signal worth taking seriously. Corrosion that has reached the fasteners has almost certainly affected nearby components as well. A technician who opens a water heater access panel and finds the screws completely corroded is likely going to find corrosion inside the unit too. This kind of cascading deterioration is exactly the type of issue that home warranties are designed to help manage, because the real cost is not the screw itself — it is the labor and the component behind it.
Prevention Tips That Actually Work
Once you have dealt with a stripped or snapped screw, you will probably never want to deal with it again. Preventing the problem is genuinely straightforward if you build a few habits into your maintenance routine. Always match your bit to the screw head precisely — a slightly loose fit is all it takes to start rounding out a drive. When using a power drill, set the torque clutch appropriately rather than driving screws at full power. Apply a small amount of anti-seize compound or even a dab of beeswax to screw threads before installation in humid or high-heat areas. Periodically inspect fasteners in critical locations during your routine home maintenance checks. If a screw feels stiff when you first try to turn it, do not force it — apply penetrating oil and give it time to work before attempting removal. These small investments in attention protect you from the much larger investment of dealing with a broken fastener mid-repair.
The Role of Home Warranties When Fastener Issues Lead to System Failures
It is worth being direct about this: a home warranty does not cover a stripped screw in isolation. What it does cover is the system or appliance that a stripped or snapped screw may have been part of accessing or repairing. If a technician needs to remove a water heater panel, encounters a snapped bolt that complicates the job, and ultimately diagnoses a failed heating element — that covered repair is what the home warranty steps in for. The labor, the component, the diagnosis — that is where the value lives. Home warranty coverage is most relevant when small maintenance realities, like corroded fasteners, are part of a larger story about an aging system that has reached the end of its reliable service life.
Practical Tools Every Homeowner Should Keep on Hand
You do not need a professional toolkit to handle most stripped or snapped screw scenarios. A well-prepared homeowner who keeps the right items available will be ready for the majority of situations that arise. Consider keeping the following on hand:
- A quality screw extractor kit with multiple bit sizes
- Penetrating oil such as PB Blaster or a similar product
- Left-hand drill bits for flush or recessed snapped screws
- A set of properly sized screwdriver bits, including both Phillips and flat-head in multiple sizes
- Locking pliers or vise grips for screws with accessible shanks
- Anti-seize compound for use during reinstallation in corrosion-prone areas
These tools take up minimal space and can genuinely change the outcome of what might otherwise turn into a call to a professional for something you could have handled yourself.
Why Armadillo Should Be Part of Your Home Protection Plan
Every homeowner eventually faces a moment where a small problem opens the door to a much larger one. A stuck fastener, an aging appliance, a system that has been quietly deteriorating — these things compound, and the financial impact can catch you completely off guard. That is the exact gap that Armadillo’s home warranty coverage for appliances and major home systems is built to fill. Armadillo offers straightforward, transparent plans with no confusing fine print, designed specifically for homeowners who want real protection without the runaround. Whether a technician is pulling apart a malfunctioning dishwasher or diagnosing an HVAC unit that finally gave out, having coverage in place means you are not absorbing that cost alone. If you are ready to stop leaving your home’s systems unprotected, take a few minutes to get a free home warranty quote tailored to your home’s specific needs and see what a plan actually costs before making any decisions. It is a low-effort step with a potentially high payoff.

Frequently Asked Questions About Removing Stripped and Snapped Screws
What is the easiest way to remove a stripped screw at home?
The rubber band method is often the easiest starting point — place a rubber band over the stripped head, press firmly with a screwdriver, and turn slowly. If that does not work, a screw extractor kit is the next most accessible option for most homeowners.
Can I use a regular drill to remove a snapped screw?
Yes, but you will need a left-hand drill bit or a screw extractor bit. Standard right-hand bits will not grip or back out a broken screw shank effectively, and using them risks pushing the fragment deeper into the material.
Does penetrating oil really help with stuck or corroded screws?
It does, particularly when the screw has been in place for a long time or is in a humid environment. The key is patience — allow the penetrating oil to soak for at least fifteen to thirty minutes before attempting removal for best results.
How do I prevent screws from stripping when using a power drill?
Set the torque clutch on your drill to a lower setting so it disengages before over-driving. Always use a properly fitted bit for the screw head type and size, and apply steady downward pressure while drilling to keep the bit seated correctly.
Is it ever necessary to call a professional to remove a snapped screw?
In most cases, a homeowner with the right tools can handle screw extraction independently. However, if the snapped fastener is in a load-bearing structural component, an electrical panel, or a pressurized plumbing fitting, it is safer to involve a licensed professional.
Does a home warranty cover damage caused by a stripped or snapped screw?
A home warranty does not typically cover the screw itself, but it may cover the system or appliance repair that results from or requires addressing the damaged fastener, depending on the terms of your specific plan and the nature of the covered failure.
What type of screw is least likely to strip?
Torx or hex drive screws are significantly more resistant to stripping than traditional Phillips or flat-head screws because they allow more surface contact between the bit and the fastener head, distributing torque more evenly.
How can I tell if a screw inside an appliance is corroded before trying to remove it?
Look for discoloration, rust-colored residue around the screw head, or a white or greenish buildup on the surface. If the screw appears fused to the surrounding material, treat it with penetrating oil before applying any rotational force.
Can a snapped screw compromise the structural integrity of an appliance or home system?
It depends on the location and function of the fastener. A decorative panel screw has minimal structural impact, while a snapped bolt in a mounting bracket, pressure vessel, or motor housing can compromise the component’s safety and performance and should be addressed promptly.
How often should homeowners inspect fasteners in critical home systems?
An annual inspection during routine home maintenance is generally sufficient for most areas. Higher-risk locations — such as water heater connections, HVAC panels, and outdoor fixtures — benefit from a quick visual check every six months, particularly in climates with significant humidity or temperature variation.