How to Remove a Stripped Screw from a Wall — and Why It Matters for Homeowners
Few things test a homeowner’s patience like a stripped screw lodged firmly in drywall. Whether you’re trying to remove an old curtain rod, install a smart thermostat, or replace a light fixture, a stripped screw can halt progress and leave you wondering what went wrong. More importantly, understanding the cause — and the fix — isn’t just a matter of convenience; it touches on larger home maintenance concepts that tie directly into the value and reliability of your home systems. Here, we unpack how stripped screws happen, how to get them out of your walls effectively, and why this seemingly small issue plays a role in the larger picture of home system reliability and your home warranty coverage.
What Causes a Screw to Strip in the First Place?
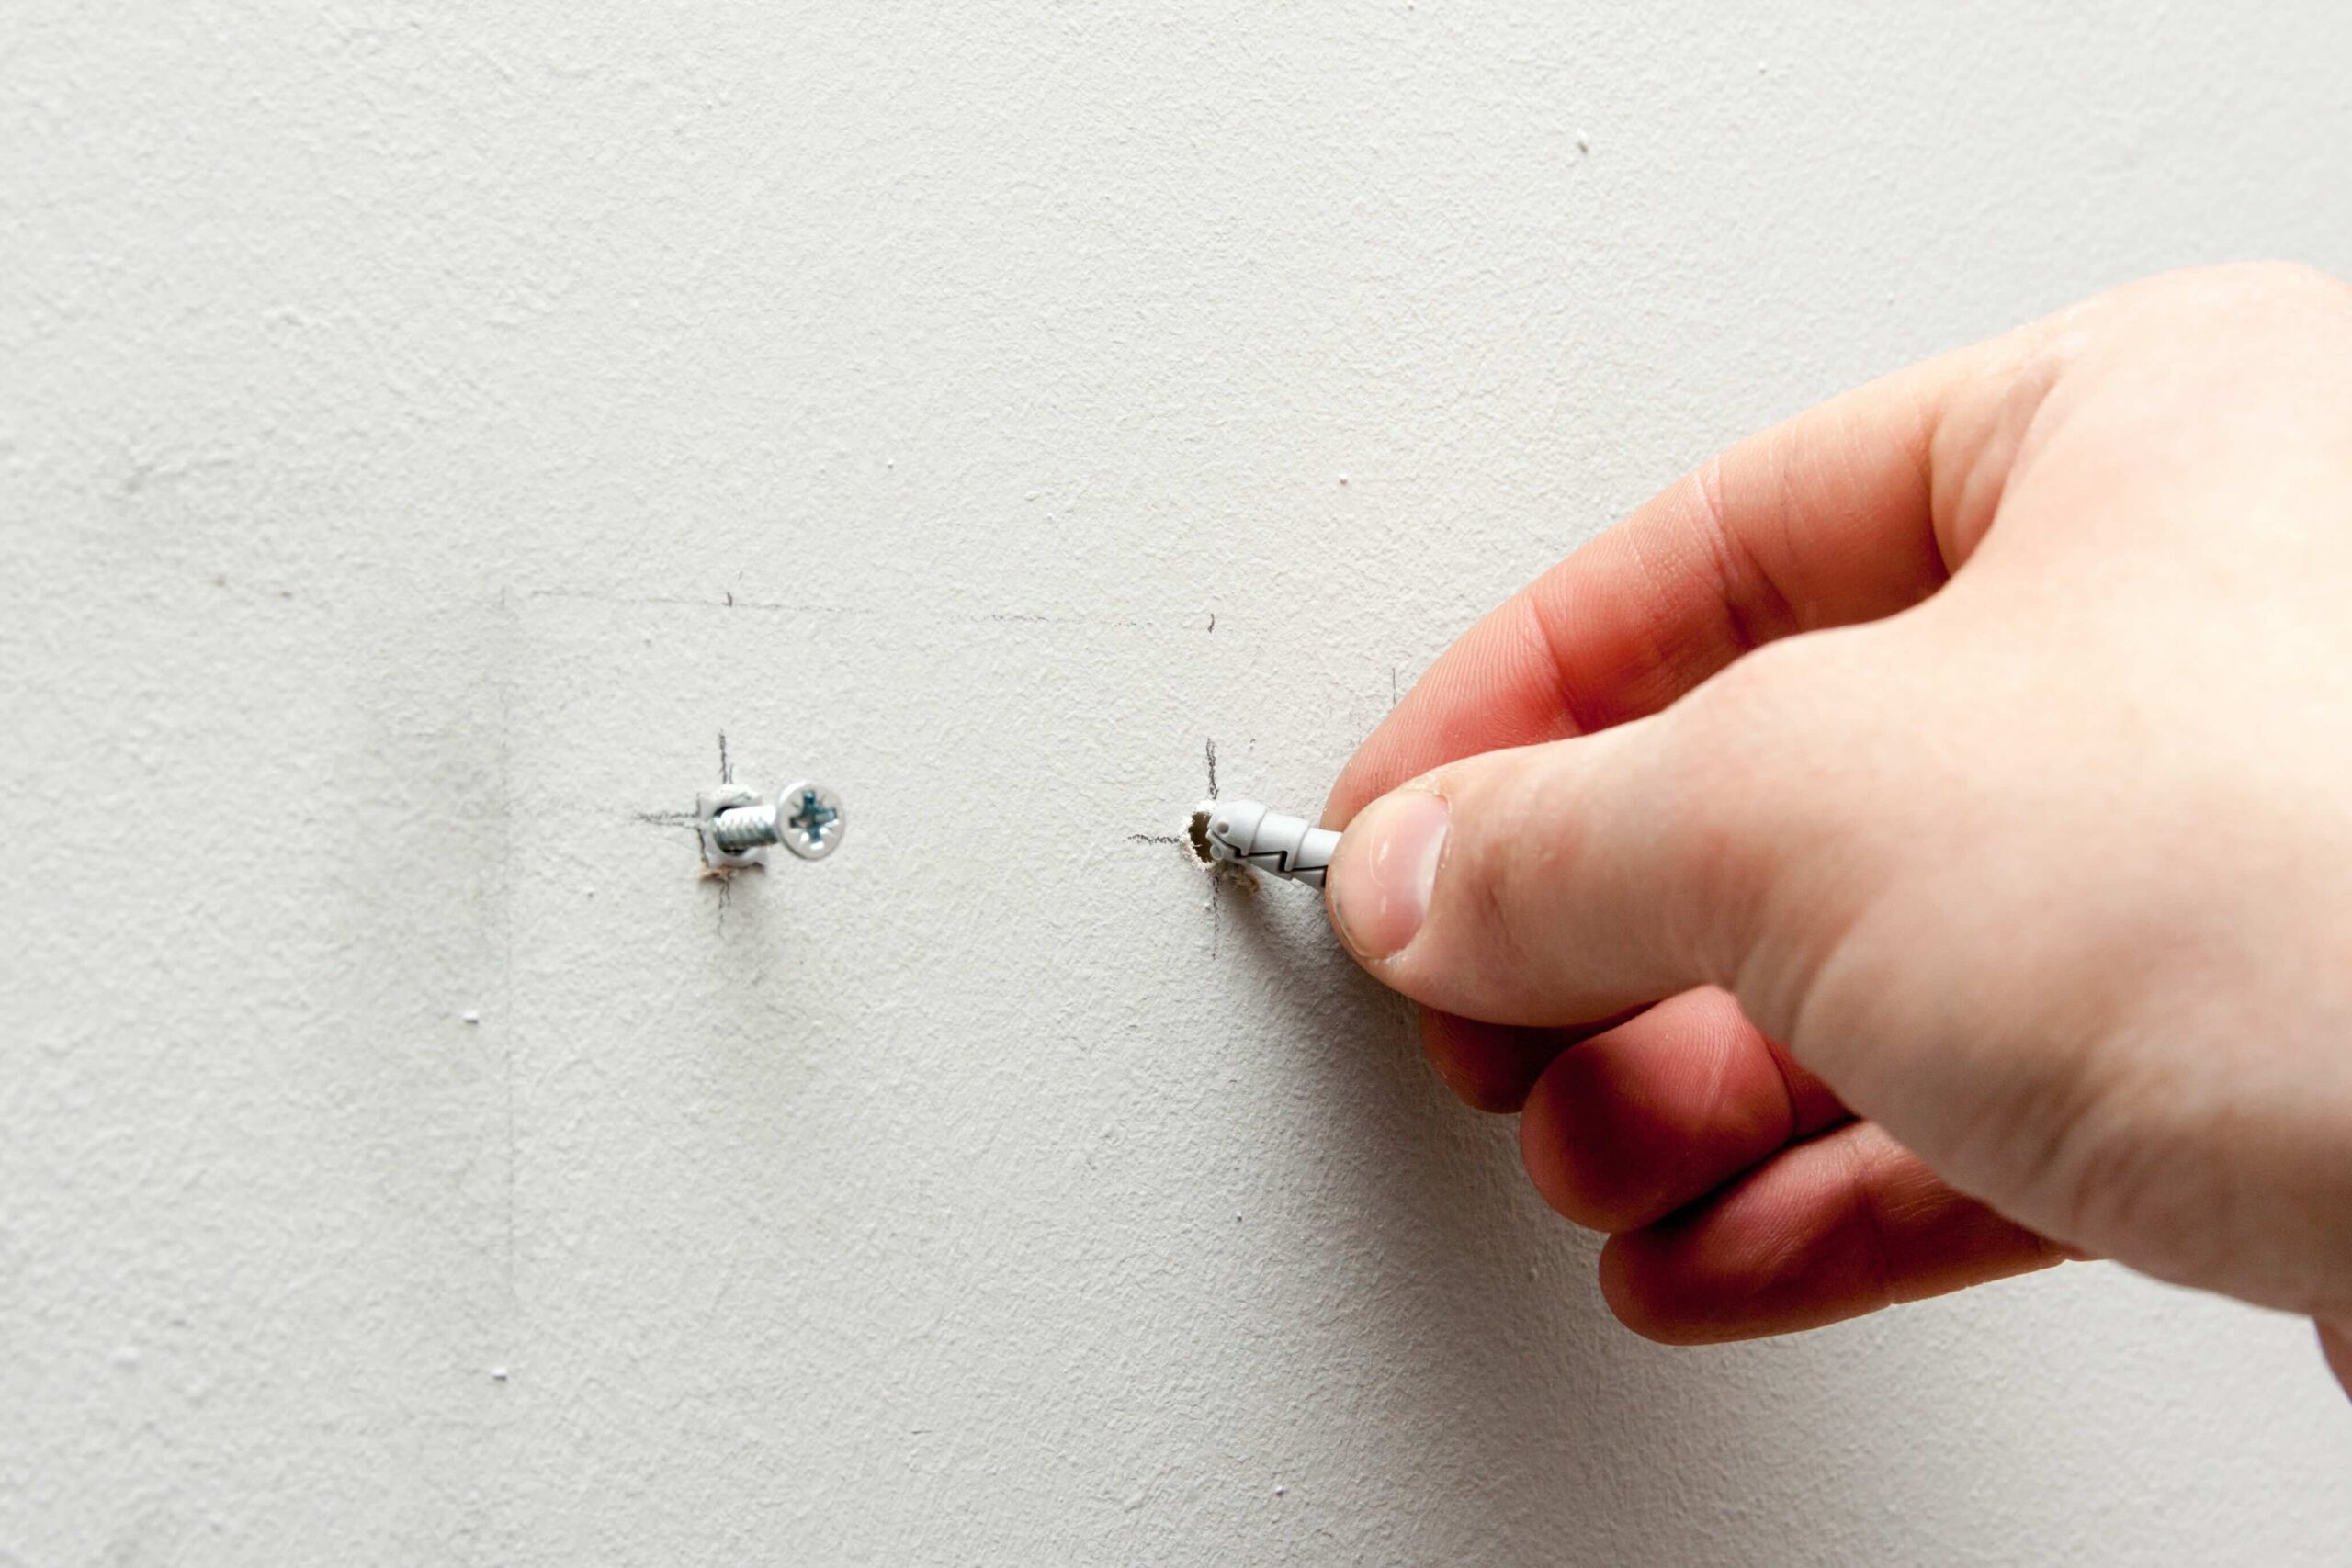
Stripped screws happen when the head of the screw becomes damaged — most often because of a mismatch in screwdriver size, applying too much torque, or low-quality materials. Over time, screws embedded in drywall can also corrode, settling in due to shifts in temperature, humidity, or simply pressure from connected components. Once a screw is stripped, traditional drivers can’t grip it, and the more you turn it, the smoother the head becomes. This leads to mounting frustration and potentially damaging results for the surrounding wall material.
Why Removing a Stripped Screw is More Important Than You Think
At first glance, it may seem like a minor nuisance. But allowing a stripped screw to stay in place, especially when it’s connected to essential home systems like HVAC thermostat brackets or light switch plates, invites bigger problems. For example, improper removal can crack drywall or pull anchors loose, requiring further repair. Worse yet, improper reinstallations that follow this kind of damage can void your home warranty coverage if they interfere with the function of a protected system. Removing the screw cleanly, without damaging the wall or internal framework, protects your investment and ensures future work — DIY or professional — can be done correctly.
Tools and Techniques to Safely Remove a Stripped Screw
The most effective solutions often begin with simple adjustments. Start by using a rubber band between the screw and the screwdriver tip, adding friction for better grip. If that fails, carefully tap the screwdriver into the screw head with a hammer to drive the material together and reestablish contact. Precision screw extractors also exist for this purpose, and they engage with stripped threads to remove the screw cleanly. In more stubborn cases, drilling into the head of the screw and backing it out or using a pair of locking pliers to gently twist from underneath can give you the upper hand. The goal is to remove the fastener without upsetting the integrity of the wall anchor, drywall material, or underlying framework — each of which is vital to the performance of any system that follows.
Preventing Stripped Screws During Installations or Repairs
Prevention comes down to matching your tools to the job and understanding the material you’re working with. Always use a properly sized screwdriver — Phillips, flathead, or specialty type — and apply steady, moderate pressure. Avoid overtightening, especially in drywall or soft woods, which may compress and distort more easily than metal or engineered hardwood. Using wall anchors when installing heavy items ensures the weight is distributed and reduces the likelihood of torque-related stripping. These best practices protect your wall structure and keep any future removals within the boundaries of common tools, decreasing the risk of repair-worthy damage that could be excluded under your home warranty policy due to poor installation methods.
The Bigger Connection: Wall Integrity and Home Warranty Coverage
While warranty providers like Armadillo cover many vital systems and appliances, they rely on one unspoken but crucial element: the underlying structure of your home needs to remain intact and properly maintained. When a stripped screw damages drywall or backing studs, it may compromise installation points for thermostats, electrical switch housings, or even home security panels. These systems, often covered under a solid warranty plan, might later be deemed improperly installed or altered if repair evidence isn’t clean or up to standard. Think of the man-made environment around a system — including your walls, studs, and fasteners — as the infrastructure that supports warranty-backed installation guidelines. What seems like a small cosmetic flaw may trigger warranty questions if damage is too extensive or improperly patched over.
Making Smart Improvements—Without Compromising Coverage
Homeownership is full of decisions — some exciting, some frustrating. When you tackle improvements yourself, like upgrading a lighting fixture, installing smart home devices, or even moving a shelf, understanding how your actions affect coverage is critical. Stripping a screw can be a setback, but improperly forcing it out or cutting into the wall dramatically increases the risk of downstream issues. Fixes made in haste not only affect visual aesthetics but may also inhibit electrical contact, secure mounting, or airflow from key systems like exhaust fans or air handlers. Smart improvements incorporate extra time for safety checks, proper tool selection, and pre-planning for centered installation — and when you’re covered by a reliable warranty, they bring peace of mind with every adjustment. Knowing how to protect your home’s functionality protects your coverage too.
What to Do If the Wall is Damaged After Screw Extraction
Despite best efforts, some stripped screws take a bit of wall with them. In those cases, patch the area immediately, even temporarily. Use spackling paste, wall patch kits, or anchors designed for larger mounting areas that evenly distribute weight. For systems with electrical involvement, such as wall-mounted thermostats or timers, double-check the wiring isn’t exposed before applying pressure or reattaching plates. Document the process if it ties into a claims history, including photos and brief notes, which can help vastly if a warranty claim intersects with your home improvement timeline later on. Where possible, consult system manufacturers or your warranty provider for reinstallation guidance. Quick fixes can lead to long-term peace of mind — and the right warranty plan aligns along that logic.
Why You Should Consider Armadillo Home Warranty
When it comes to protecting your home and everything inside it — including the systems you occasionally need to adjust, reinstall, or improve — precision and prevention matter. Something as small as a screw can create a sizable disruption, especially when it impacts covered systems. At Armadillo, we believe that coverage should be clear, flexible, and grounded in realistic situations. Whether you’re removing a stubborn screw or overhauling a wall-mounted appliance, our home warranty plans are designed to meet you at the junction of maintenance and repair. Explore a plan that works with the way you really live. Visit armadillo.one to learn more, or go straight to building your plan with our custom plan builder. Protect every connection, from the inside out.