How to Get Sticker Residue Off Glass: A Homeowner’s Practical Guide
Few things are more frustrating than removing a price tag or sticker from a new glass window, mirror, or appliance—only to be left with a sticky, smeared mess. It clings stubbornly no matter how many times you scrub or pick at it. For homeowners, especially those maintaining clean surfaces around fixtures, windows, or decorative items, understanding how to remove sticker residue from glass safely and effectively is more important than it might initially seem. Beyond cosmetics, improper removal methods can scratch surfaces or damage essential areas of your home. Whether you’re preparing glass before installing window treatments or simply cleaning up a retail sticker on a new appliance, this guide will walk you through what causes sticker residue, how to eliminate it, and which methods are safest for your home systems. Let’s get started.
What Causes Sticker Residue to Stick So Aggressively?
At the root of nearly every sticker residue problem is an adhesive formulated for durability. Many modern stickers use pressure-sensitive adhesives (PSAs), which are designed to form a bond with minimal pressure. These adhesives are engineered for versatility—clinging to glass, metal, plastic, or paper. Over time, especially on glass exposed to heat or sunlight, the adhesive can cure further and become even more difficult to remove. This is especially true for stickers applied to windows, oven doors, washers, or dryers—appliances that can reach high operating temperatures or are exposed to natural light through the day. That residue you see is what’s left behind when the paper or plastic part of the sticker peels away but the adhesive itself remains imbedded in the microscopic texture of the glass.
Why Safe Removal Matters for Homeowners
Most households come into contact with sticker adhesives on new glass surfaces, seals around windows, and product tags on appliances. Trying to scrape it off with a sharp tool or blasting it with a harsh chemical cleaner might seem like a time-saving solution, but it frequently does more harm than good. Glass can scratch under repeated abrasive pressure. Plus, many commercial adhesive removers contain acetone or ethanol, which can damage surrounding surfaces, particularly stainless steel trim or painted cabinetry near the glass. Residue buildup can also be a problem near sensors on modern appliances—like microwave doors or refrigerator panels—where cleanliness improves responsiveness. Treating glass properly not only maintains appearance but protects long-term performance of connected systems in your home.
Effective Methods for Removing Sticker Residue from Glass
For clean and damage-free removal, there are several methods that work well, depending on the type and age of the residue. One common approach involves using a targeted application of heat. A hairdryer set to medium heat, held about five inches from the residue for 30–60 seconds, softens most adhesives. Once the area is warmed, gently rubbing with a microfiber cloth can lift the sticky film. If the sticker was particularly stubborn or has aged into the glass, natural oils can help. Applying a few drops of cooking oil, rubbing alcohol, or even white vinegar can loosen the bond of the residue. After letting the solution sit for several minutes, wiping it away with a clean cloth typically finishes the job. Always follow with glass cleaner to remove any oily residue and restore shine. Avoid tools like razor blades unless absolutely necessary—and only if you’re trained to use one carefully, as they can scratch surfaces easily and void certain warranties.
Common Mistakes to Avoid
Though the intention is to clean efficiently, certain shortcuts can damage glass or worsen the problem. One frequent misstep is using steel wool or abrasive scrub pads. These can seem appealing because they offer more friction, but they often leave micro-abrasions on glass. Over time, this can cloud transparency and reduce scratch resistance. Another mistake is rushing the process. Sticker adhesives can become chemically bonded to surfaces if removed too aggressively without softening them first. Homeowners also frequently underestimate how surrounding materials might react. For example, using nail polish remover near painted trim can dissolve paint, and excessive oil near appliance control panels can interfere with functionality. Patience and the right tools go a long way.
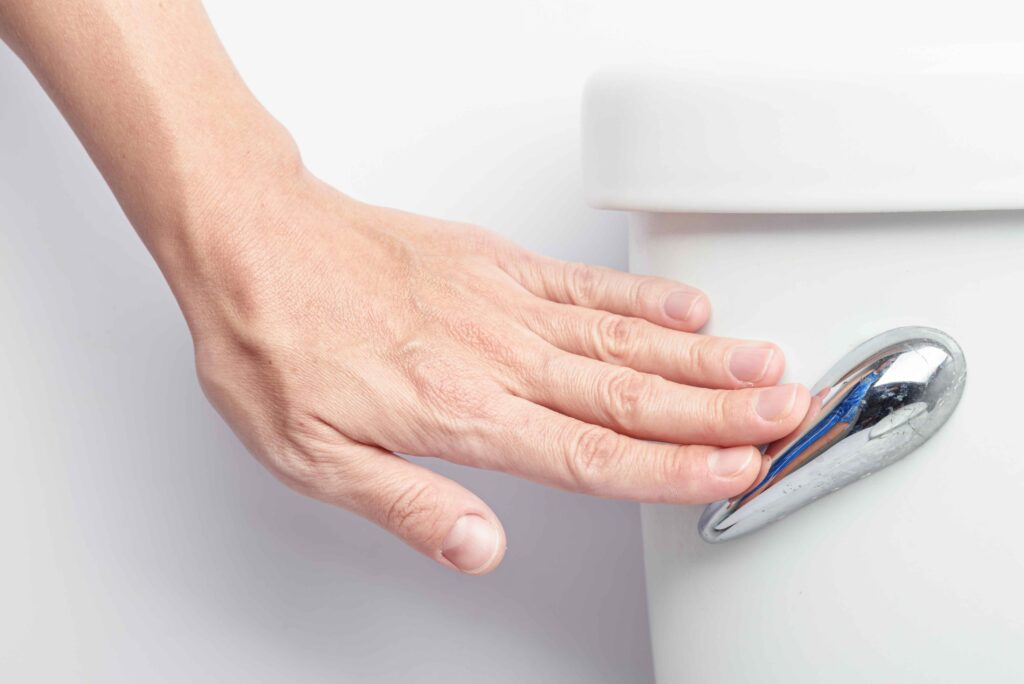
When Sticker Residue Shows Up on Appliances
It’s not just glass windows that are at risk. Many home appliances, from washing machines to ovens, come with branding tape, energy guide stickers, or delivery documentation adhered directly to their metallic or glass fronts. Removing these labels without leaving residue is often more difficult than it should be. Appliance surfaces may also be heat-sensitive, making aggressive cleaning especially risky. Use minimal moisture if you’re working near electrical panels or circuit boards found around digital displays. In most cases, applying rubbing alcohol to the sticker area using a cotton pad, holding it in place for about a minute, and then gently lifting the softened adhesive with a cloth, works well. Avoid spraying fluids directly onto appliances—always apply to a cloth first. This limits the risk of fluid entering crevices, affecting function, or invalidating a repair warranty.
Proactive Strategies to Prevent Sticky Situations
If you’re anticipating upcoming renovations, appliance upgrades, or fixture installations, there are simple steps you can take to prevent sticker residue from becoming an issue at all. For starters, remove all manufacturer tags promptly after installation, ideally within hours of exposure to heat or sun. The longer a sticker stays on, the more its adhesive bonds with the surface. If you’re planning to store new items before using them, do so in cool, dry conditions to avoid premature adhesive curing. For decorative stickers, labels, or temporary signs applied to interior glass surfaces, opt for decals labeled ‘easy peel’ or ‘low-tack’ intended for short-term use. These are engineered for clean removability. And when in doubt, read the label—many stickers include specific removal instructions that can spare you the extra cleanup.
How Sticker Removal Ties into Home Warranties
Surprisingly, sticker removal can have implications for your home warranty coverage. Many home warranties, including those that cover major appliances and systems, require that items are maintained in proper working order and free from negligence or accidental damage. Trying to forcefully remove adhesives with metal blades or harsh chemicals may be considered misuse and could affect service eligibility. For instance, scratching the surface of a smart oven door could render it ineligible for claim coverage if the manufacturer determines the issue resulted from improper care. By following safe, proven removal methods and protecting your systems, you’re not just preserving the look of your home—you’re protecting your investment. Understanding the connection between small maintenance tasks and broader home performance is key to smart homeownership.
Protecting Your Home Starts with the Details
A residue-free glass surface might seem minor, but every detail you maintain contributes to the overall integrity and value of your home. Sticker adhesives may be small, but the methods used to remove them can have lasting effects on your appliances, systems, and finishes. That’s part of why having a home warranty that supports proper maintenance and protects against breakdowns matters. At Armadillo, we believe in safeguarding your home from the ground up—and that includes the unexpected hiccups like a damaged appliance caused by poor cleaning habits. When you sign up for an Armadillo plan, you’re choosing more than coverage. You’re choosing support that aligns with practical homeownership and real-life use. Start building your plan today at our plan builder and give your home the protection it deserves—right down to the sticker residue on the glass.