How to Reset an Overhead Garage Door Opener (and Why It Matters for Your Home)
Ah, the garage door opener. Quietly reliable until, well, it’s not. Whether it’s just blinking lights, a stubborn motor humming with no movement, or a totally unresponsive unit, at some point most homeowners find themselves forced to reset their overhead garage door opener. But don’t panic—this isn’t rocket science, and it’s actually a good gateway to understanding your system a bit better. If you’ve ever wondered how these systems work, why they sometimes need resets, and how to prevent bigger issues down the road, you’re exactly where you need to be.
What Is an Overhead Garage Door Opener and How the Heck Does It Work?
Your garage door opener is basically the little motorized brain that lifts and lowers your garage door, usually via a remote, wall panel, or that handy keypad. The most common types are chain-drive, belt-drive, and screw-drive openers, and most of them work in tandem with a series of sensors, springs, and tracks. When functioning correctly, it all feels seamless. Press a button—door opens. Press it again—door closes. The thing is, because it’s electronic, it’s vulnerable to power outages, surges, interruption in the sensor signals, or even good old-fashioned setting issues. That’s where resetting comes into play.
Why You Might Need to Reset Your Overhead Garage Door Opener
Garage door openers don’t just randomly stop working. There’s usually a reason. Maybe your home experienced a power outage and now the settings have gone wonky. Maybe the remote or keypad lost connection. Or maybe you’ve just installed a new opener and need to sync everything. Resetting the opener essentially clears the slate, like rebooting your Wi-Fi router—you’re allowing the system to forget everything so it can relearn it in the correct order. If your door doesn’t respond to commands or seems confused, a reset is often your best first move before calling a technician.
Step-by-Step: How to Reset Your Garage Door Opener Like a Pro
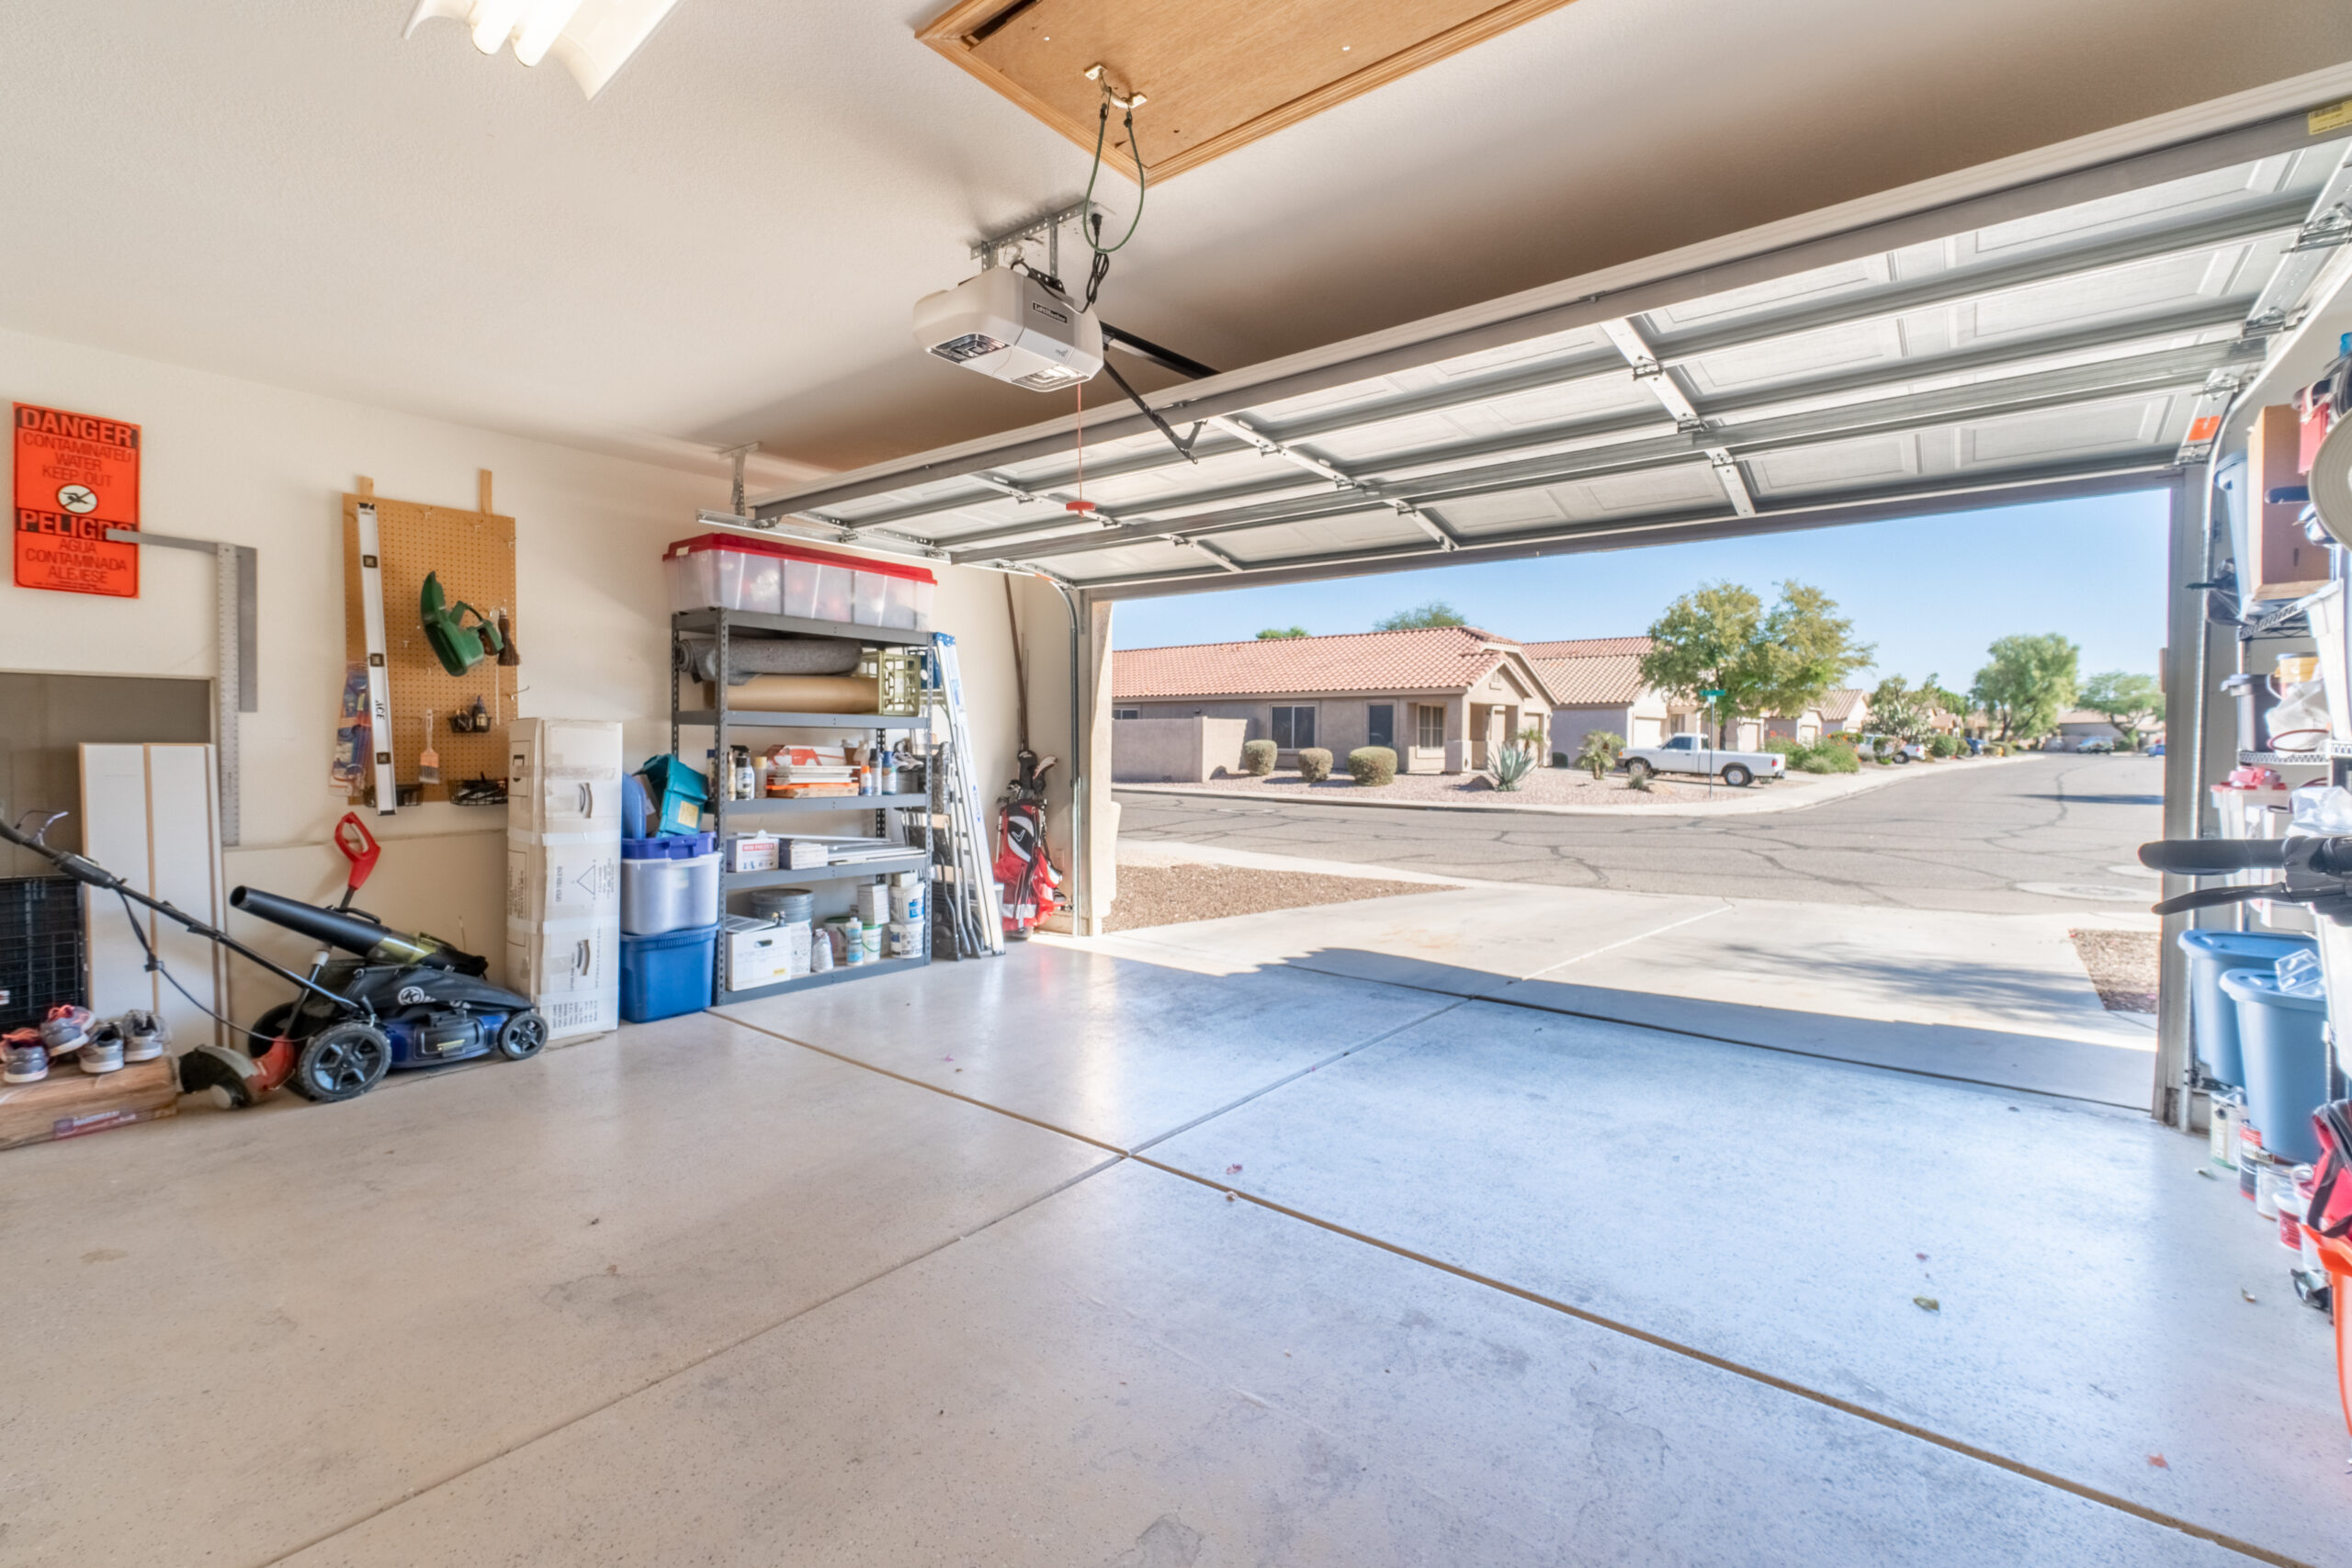
Okay, here’s the good part—doing the actual reset. While every make and model has its quirks (yes, manufacturers love to be “unique”), most systems follow a relatively similar process. First, locate the “Learn” or “Home” button, usually found on the main overhead unit near where the antenna wire hangs. Press and hold this button for about six seconds until the LED light turns off. Boom—you’ve cleared the settings. Now, press the “Learn” button again and then quickly press the button on your remote or wall unit you want to reprogram. Once the LED light blinks, your remote is reconnected. Breathe. You’ve done it.
The Role of Grounding in Garage Door Openers
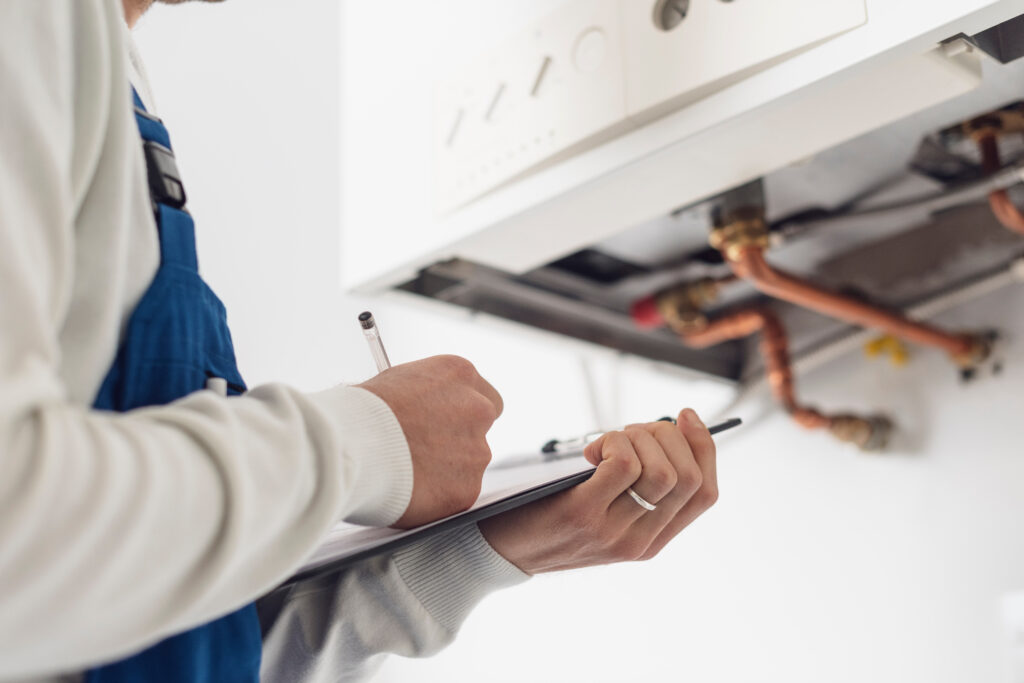
Here’s something most aren’t told: grounding matters—a lot. Your garage door opener is an electrical device, and like all devices that plug into an outlet, it needs to be grounded properly to avoid surges and electrical faults. If it’s not grounded, a simple lightning storm or short circuit can fry the opener’s circuitry. Sometimes, people run extension cords or use outdated two-prong outlets that don’t offer a ground connection at all. Not only is this unsafe, but it also opens the door for performance issues. If your opener keeps malfunctioning despite resets, the grounding might just be your culprit.
Common Issues and When a Reset Won’t Solve Them
Unfortunately, not every problem can be solved by hitting reset. If your door is opening half-way then reversing, the issue might be with the safety sensors being misaligned or dirty. If the motor is loud and strained, your springs or tracks might need lubrication or alignment. And if your opener refuses to respond even after a reset, there’s a chance that the internal circuit board has gone bad—especially after a power surge. These situations usually require a technician, or at the very least, a deep-dive into your opener’s manual. So yeah, it’s not always simple but don’t assume the worst until you’ve tried resetting first.
Tips to Keep Your Garage Door Opener Running Smoothly
Resetting once is fine. Resetting every other month? Probably not. To keep things moving (literally), take five minutes every couple of months to inspect your opener. Clean the safety sensors with a cloth. Make sure the tracks are clear of cobwebs, random leaf piles, or that odd screwdriver that somehow got stuck there. Check the wall panel batteries, especially if your kids slam the door every time they rush out for soccer practice. And if your opener’s over ten years old, start thinking about a replacement—these things aren’t built to last forever, sadly.
Why This Matters for Your Home Warranty (and Why Armadillo Gets It)
Here’s the honest truth: garage door openers are small systems with potentially big repair costs. A fried circuit board? That’s not pocket change. A burned-out motor? You’re looking at parts, labor, and at least half your weekend. That’s where a solid home warranty comes in. And not to name drop excessively—but this is exactly the kind of stuff Armadillo covers. With comprehensive protection plans (you choose what’s right for your zip code and home setup, by the way), we keep the small stuff from becoming big headaches. Start building your plan at Armadillo’s homepage or jump right in and build your custom home warranty here. Because honestly, resetting your garage door opener shouldn’t be the beginning of a bigger problem—it should be the end of it.