How to Use a Garburator: A Simple Guide to a Cleaner Kitchen
So, you’ve got a garburator in your kitchen sink. Cool. But wait—what exactly can you toss in there? How do you keep it from smelling like a science experiment gone rogue? And hey, what even is a garburator (besides the thing your cousin keeps clogging when he visits)? Whether you’re a first-time homeowner, juggling a million things, or just trying to avoid calling your plumber (again), we’re diving into everything you need to know—from the inner workings to knowing when it’s time to call in backup. We’ll even cover how using your garburator properly can impact your home’s systems and why a home warranty might save your future self from a serious headache. Let’s get into it.
What Is a Garburator, Anyway?
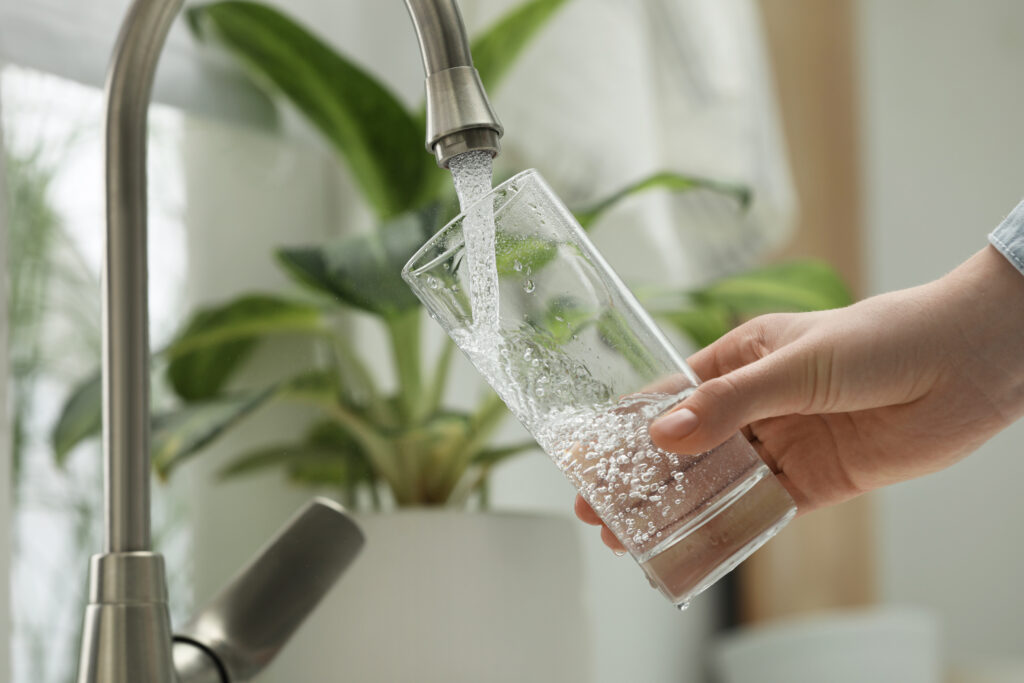
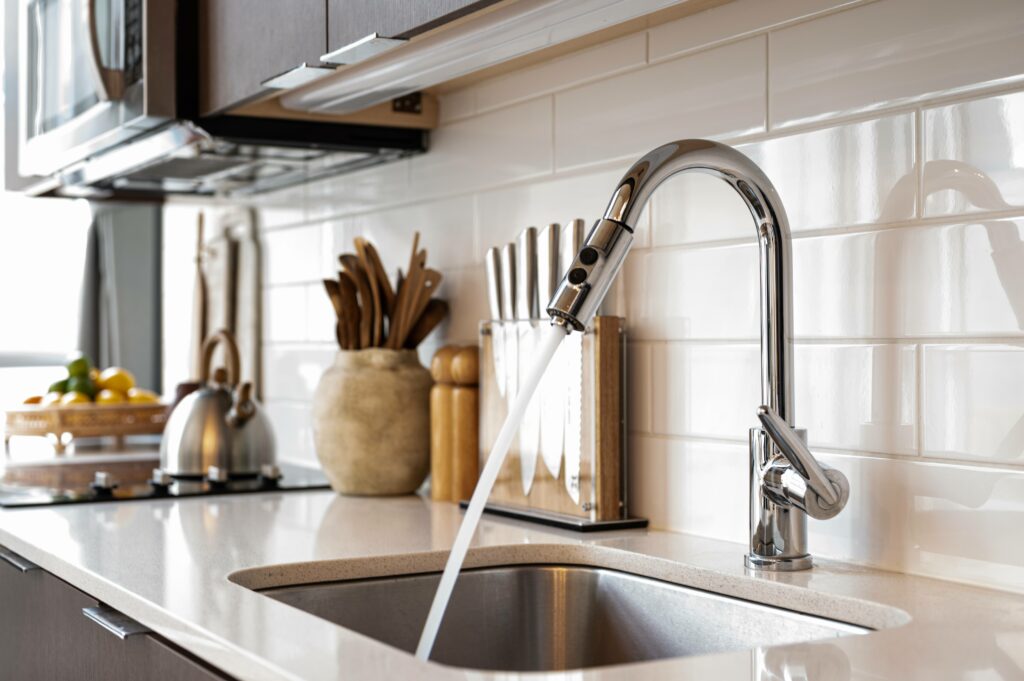
Okay, first things first. A garburator—also called a garbage disposal—is an electric-powered appliance installed under your kitchen sink. The whole thing is designed to grind up food scraps so they can pass through your plumbing without issue. Not to get too wonky, but when you flip the switch, the garburator uses a spinning disc (not blades, surprisingly) to mash leftovers against a stationary grinder ring. The mashed-up bits are then flushed out through your wastewater pipes. It’s a handy little helper when you’re cleaning up dinner, and it keeps your trash from smelling questionable mid-week. Garburators are standard in many homes now, especially in North America, and they’re kind of a low-key kitchen MVP when used correctly.
Why Homeowners Love Their Garburators
There’s something so satisfying about scraping food scraps into the sink and making them disappear with the flip of a switch. Seriously, it’s part magic trick, part time saver. You reduce garbage volume, which is awesome if you’re paranoid about smells or wildlife getting into your trash bins. Plus, garburators help keep your kitchen cleaner and more sanitary. From a plumbing and home system view, when used right, it also reduces pipe clogs—less banana peel, more peace of mind. Oh, and here’s a bonus—some areas use food waste from disposals to create energy through wastewater treatment plants. Yay sustainability.
How to Use a Garburator Properly
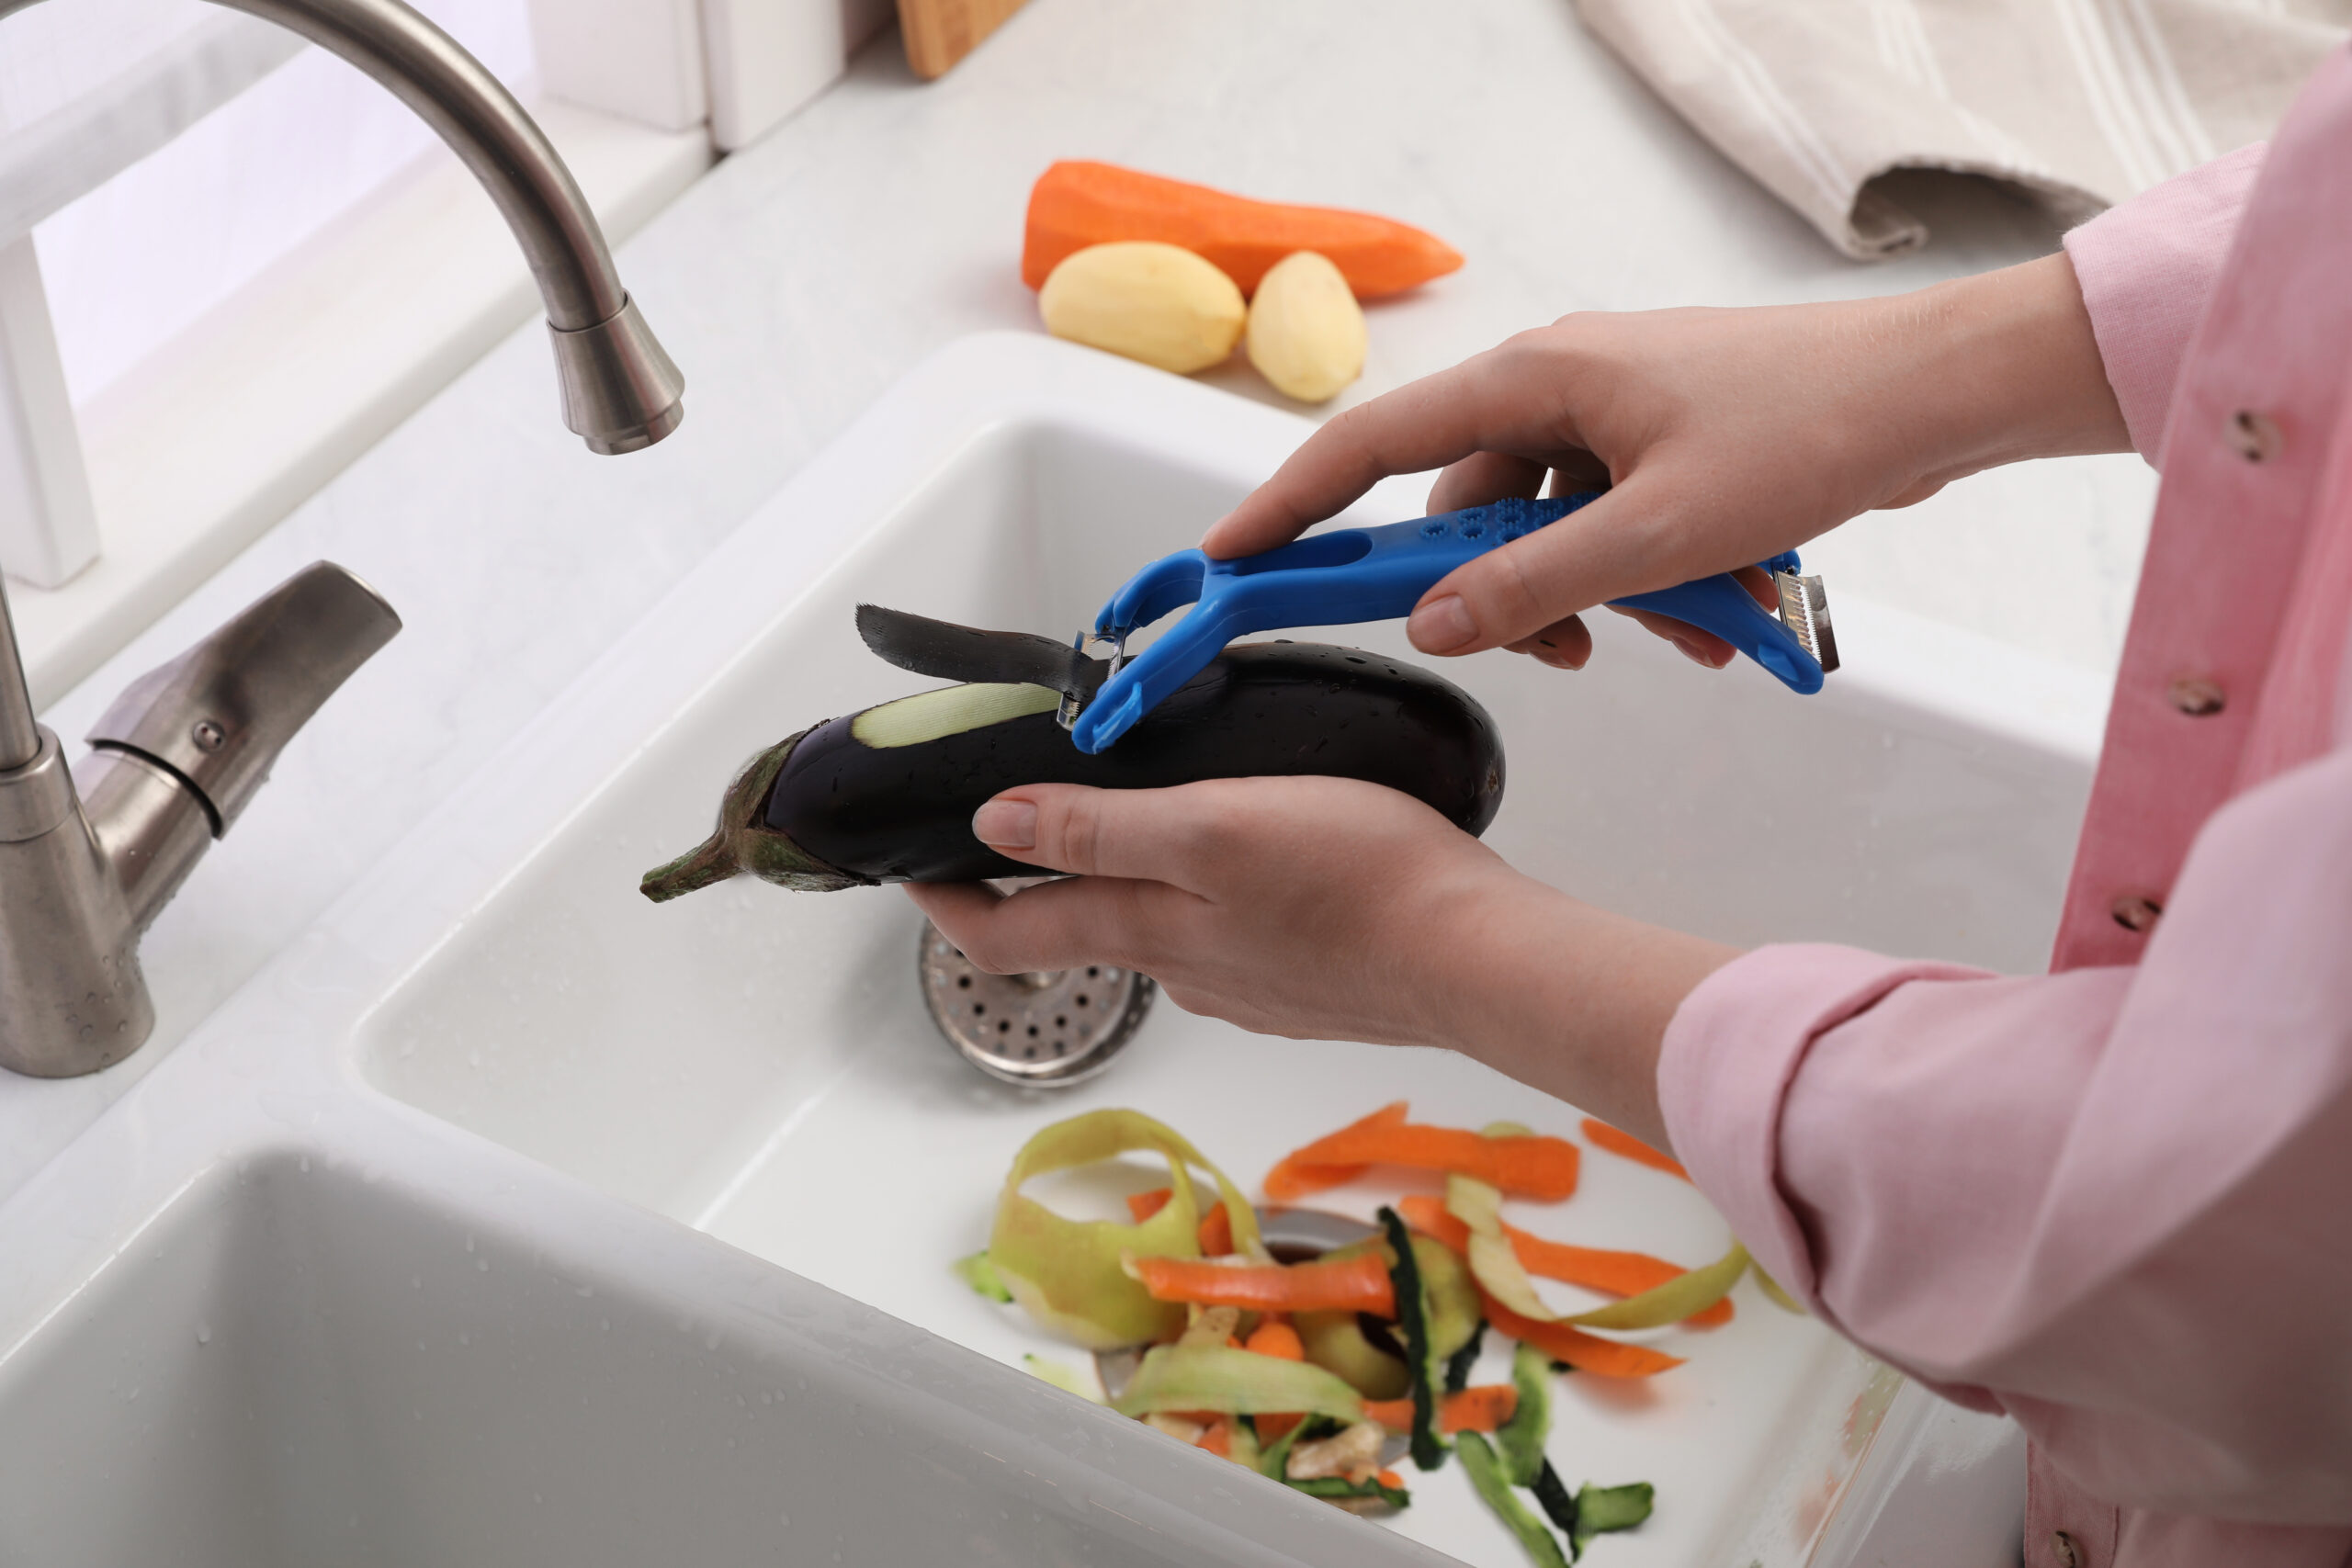
Let’s be honest—a lot of garburator problems come from user error. Like, it’s not a chewing machine for all kitchen waste. Here’s a quick and mentally bookmarked guide: Always run cold water before, during, and a bit after use to keep everything moving. Toss in small amounts of food scraps—not big chunks. And avoid grease, fibrous veggies (looking at you celery), bones, pits, and anything non-food. If you wouldn’t eat it or blend it, don’t garburate it. Pro tip: a few ice cubes every so often help keep things clean and sharp down there. It’s also a good idea to occasionally grind up citrus peels or baking soda to keep odors under control.
Common Issues and How to Avoid Them
Okay, real talk—garburators aren’t bulletproof. One of the most common problems? Clogs. Usually caused by overloading, grease, or trying to grind non-grindable stuff (like silverware… it happens). Another issue is odors. If your sink’s starting to smell like wet dog food, it’s time for a clean-up operation. Then there’s jamming, which typically sounds like a tragic blender accident. If that happens, you’ll need to shut off the power and use the manual wrench—yes, your garburator probably came with one. If not? Local hardware store. If that still doesn’t solve things, it may be a bigger system problem involving your plumbing or even your home’s electrical system (yup, they’re connected). That’s when it starts dipping into “wish I had a home warranty” territory.
When to Repair vs. When to Replace
Alright, so how do you know when it’s DIY-fixable versus when it’s time to toss it? If your garburator is louder than a lawn mower and not grinding anything, it might just be jammed or overheated. That’s usually manageable. But if it leaks, stalls frequently, or you’ve had to reset it a dozen times this month, it’s probably time to look at a replacement. Most models last about 8 to 15 years (wild, right?). If it’s dying a slow death, replacing it might be more cost-effective than constant repairs. And yep, this is where a home warranty can swoop in and be the hero of the day, covering either repairs or replacement based on your policy.
The Home Warranty Angle: What’s Covered?
In the world of home warranties, garburators—like dishwashers and ovens—usually fall under the kitchen appliance umbrella. That means if yours breaks down due to normal wear and tear (which is, let’s be real, the most common culprit), you can file a claim and potentially get it repaired or replaced for just the cost of a service fee. That’s way better than shelling out full replacement costs. Keep in mind, not all warranties include garburators by default, so it’s smart to double-check your plan. If you’re shopping around for one now? Make sure to pick a provider that covers kitchen systems, not just big flashy items like HVAC systems. You’d be surprised how often the little things need love too.
Why Armadillo Has Your Back
Here’s the thing—owning a home is basically a never-ending to-do list. Garburators are one of those appliances that work great… until they don’t. That’s why Armadillo steps in like the ultimate home sidekick, offering home warranty coverage that includes the everyday stuff—like your garburator—that keeps life running smoothly. With Armadillo, you’re not just guessing whether that weird grinding sound is a DIY fix or a service call. You’re calling reinforcements that make your life easier. Start building your plan today by visiting armadillo.one or dive right into customizing coverage with our Plan Builder. Your kitchen—and your future self—will thank you.