





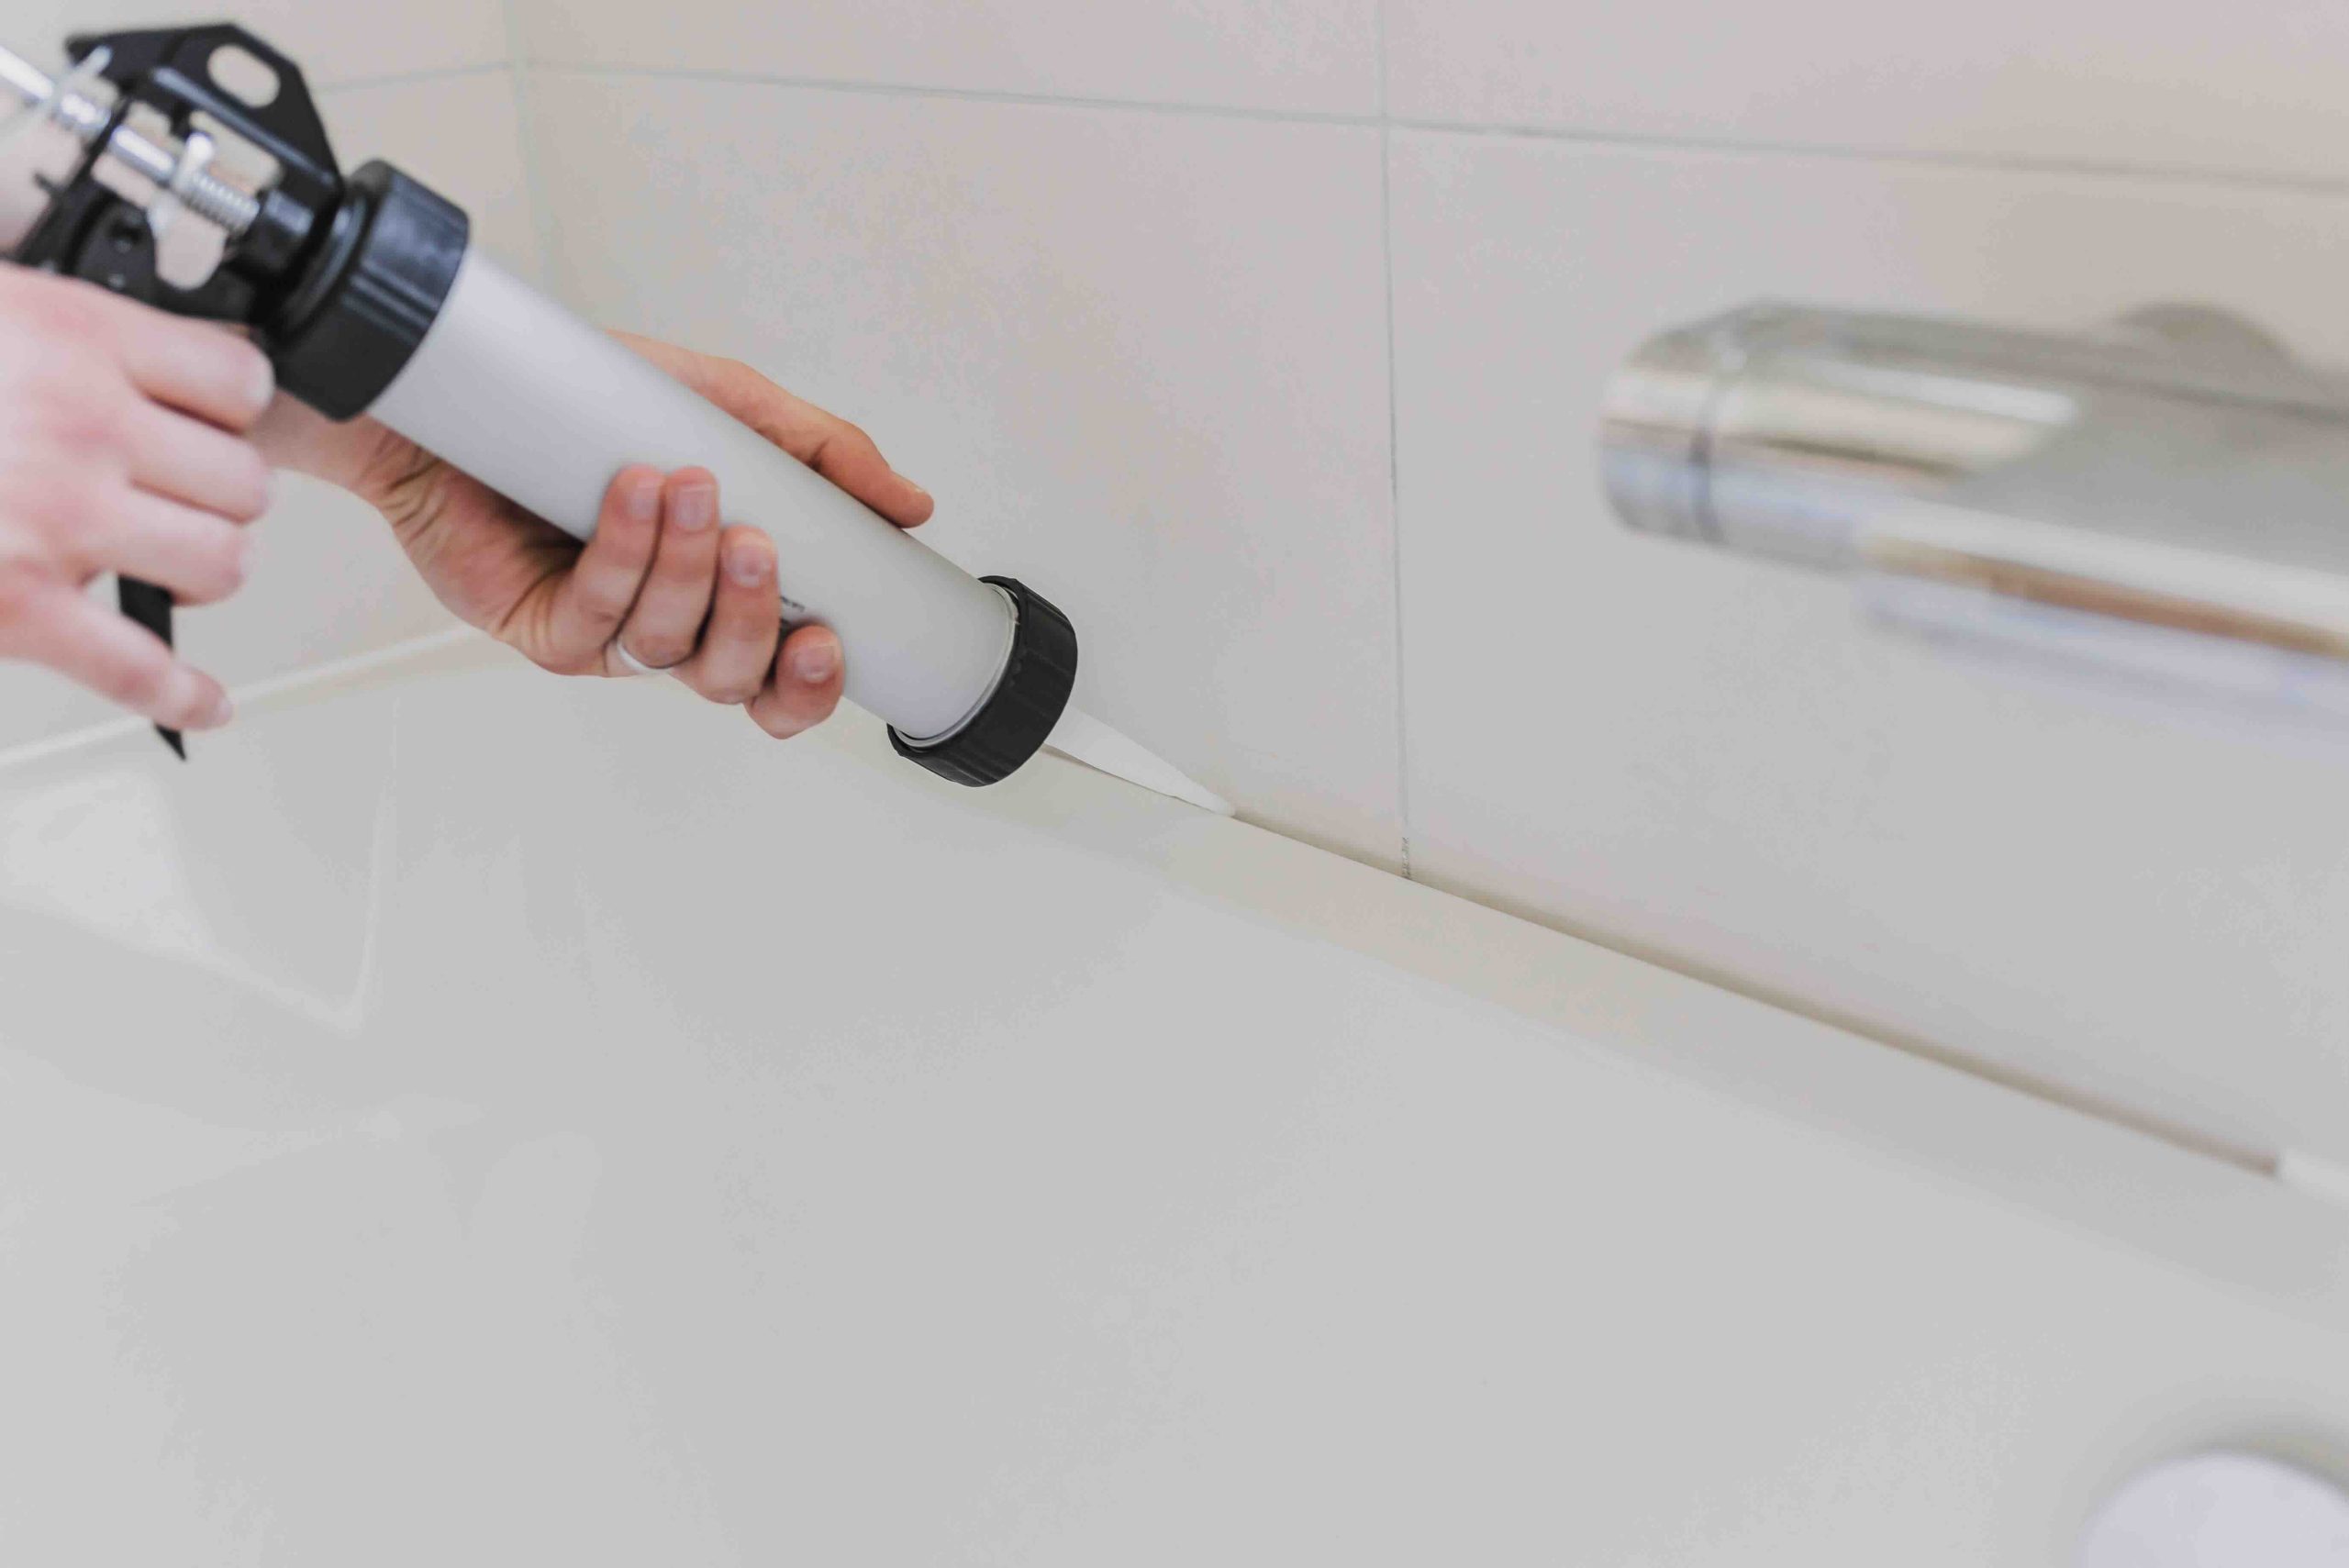
Grout vs. Caulk Between Tub and Tile: What Every Homeowner Needs to Know
There is a small strip of material running along the edge where your bathtub meets the tile wall. Most people never think about it until it starts cracking, turning brown, or falling out in chunks. That strip is either grout or caulk, and while they might look similar at a glance, they serve very different purposes and behave in very different ways. Understanding which one belongs where, and why, can save you from water damage, mold problems, and expensive repairs down the line.
What Is Grout and What Is Caulk?
Grout is a cement-based filler used to fill the gaps between tiles. It is rigid, porous, and designed to hold its shape in areas where surfaces do not move. Caulk, on the other hand, is a flexible sealant, typically made from silicone or latex, that stretches and compresses as surfaces shift. Both materials seal gaps, but they are engineered for entirely different conditions. Using the wrong one in the wrong place is one of the most common and costly bathroom mistakes homeowners make.
Why the Tub-to-Tile Joint Is a Special Case
The seam where the bathtub meets the surrounding tile is not a static joint. Every time someone steps into the tub, the basin flexes slightly under the weight. Hot water causes the tub to expand, and cooler air causes it to contract. Over time, that constant movement creates stress at the joint. Grout, being rigid, cannot accommodate that movement. It cracks. Once it cracks, water infiltrates behind the tile, into the wall, and potentially into the subfloor. Caulk is specifically engineered to flex with that movement, which is why industry standards and most tile installation guidelines call for caulk at all changes of plane, including the tub-to-tile transition.
How the Right Sealant Actually Works
Silicone caulk creates a waterproof, flexible bond between two surfaces. When applied correctly to a clean, dry joint, it adheres firmly to both the tile and the tub surface, forming a seal that moves with the structure. Latex or acrylic caulk is easier to apply and paint over, but it is generally less durable in wet environments than 100 percent silicone. For the tub and tile joint specifically, a mold-resistant silicone caulk is the gold standard. It handles moisture, resists mildew growth, and maintains its flexibility over years of use without cracking the way grout would.
Signs Your Grout or Caulk Is Failing
Knowing when the sealant at your tub-to-tile joint needs attention is key to preventing larger issues. Here are the most common warning signs to watch for:
- Visible cracks or separation along the tub edge where it meets the tile
- Discoloration, dark staining, or black spots indicating mold or mildew growth
- Soft, crumbling, or missing sections of grout or caulk
- Water stains on the ceiling below the bathroom or on adjacent walls
- A musty smell in or near the bathroom
- Tiles that feel loose or hollow when tapped
Any of these signs should be addressed promptly. What starts as a small crack in caulk can become a significant water intrusion problem within a matter of months.

The Advantages of Using Caulk at the Tub-Tile Joint
When the correct caulk is applied at the tub-to-tile seam, the benefits are meaningful and practical. A quality silicone caulk creates a watertight seal that actively prevents moisture from reaching the wall substrate. It accommodates the natural movement of the tub without cracking, which is something grout simply cannot do. Mold-resistant formulas actively inhibit mildew growth in that consistently damp environment. And from a maintenance standpoint, recaulking a tub joint is a manageable DIY project for most homeowners, making it one of the more accessible bathroom maintenance tasks available.
The Drawbacks and Limitations to Keep in Mind
Caulk is not a permanent fix. Even the best silicone caulk in a bathtub environment typically lasts between five and ten years before it needs to be replaced. It can also be unforgiving during application. If the surface is not completely clean and dry, or if the old caulk is not fully removed before the new caulk is applied, adhesion fails quickly. Some homeowners also find that caulk lines, if applied unevenly, look messy compared to the clean lines of grout throughout the rest of the tile installation. Color matching can be tricky, and over time even quality caulk can yellow or discolor in high-use bathrooms.
Step-by-Step: How to Recaulk the Tub-Tile Joint
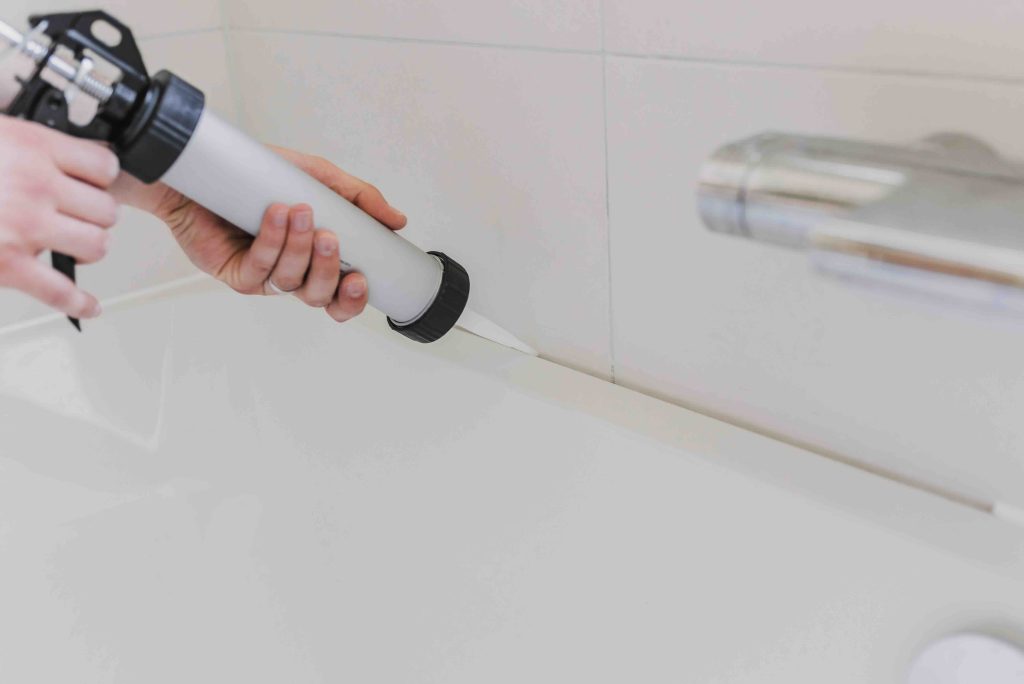
Recaulking is not complicated, but it does require patience and attention to prep work. Start by removing all of the old caulk using a plastic scraper or a dedicated caulk removal tool. Avoid metal tools that can scratch the tub surface. Once the old material is removed, clean the joint thoroughly with a mildew-killing cleaner and allow it to dry completely, ideally for 24 hours. Apply painter’s tape on both sides of the joint for a clean edge, then apply the silicone caulk in one steady, continuous bead. Smooth it with a damp finger or a caulk finishing tool, remove the tape before the caulk skins over, and allow it to cure fully, typically 24 to 48 hours, before exposing it to water.
Where Home Warranties Fit Into the Picture
Here is where things get nuanced. Grout and caulk maintenance is generally considered routine homeowner upkeep, which means traditional home warranties do not cover the cosmetic repair or replacement of caulk and grout at the tub-tile joint. However, when a failed sealant leads to a covered system failure, such as water damage reaching plumbing components or contributing to a structural issue, the conversation changes. Understanding exactly what your home warranty covers, and where your own maintenance responsibilities begin, is the kind of clarity that prevents unpleasant surprises when something goes wrong.
Why Armadillo Belongs in Your Home Maintenance Strategy
Staying ahead of home maintenance, from recaulking tub joints to monitoring major systems and appliances, is a full-time job. Armadillo exists to carry the heavier load on your behalf. When you work with a home warranty provider that covers plumbing, electrical, and major appliances under one straightforward plan, the stress of unexpected repair costs becomes far more manageable. Whether a failing bathroom seal eventually contributes to a plumbing issue or your water heater decides to give out on a cold morning, Armadillo has you covered where it counts. If you are ready to stop guessing what is and is not covered in your home, take a few minutes to explore affordable home warranty plans designed to protect against costly plumbing and system failures. It takes less time than recaulking a tub, and the peace of mind lasts considerably longer.

Frequently Asked Questions About Grout and Caulk Between Tub and Tile
Answers to the questions homeowners ask most when it comes to maintaining the tub-to-tile seal in their bathroom.
Should I use grout or caulk between the tub and tile?
You should use caulk, not grout, at the joint where the tub meets the tile. Caulk is flexible and can accommodate the natural movement of the tub, while grout is rigid and will crack under the same conditions.
How long does caulk last around a bathtub?
Quality silicone caulk in a bathtub application typically lasts between five and ten years, depending on usage, cleaning habits, and how well it was applied initially.
What type of caulk is best for the tub-tile joint?
A 100 percent silicone, mold-resistant caulk is the best choice for the tub-to-tile joint. It provides superior waterproofing, flexibility, and resistance to mildew in consistently wet environments.
Can I caulk over old caulk without removing it first?
It is not recommended. Applying new caulk over old caulk prevents proper adhesion, which leads to peeling and early failure. Always remove the old caulk completely and clean the surface before applying a new bead.
What happens if water gets behind the tub-tile joint?
Water that infiltrates behind the tile can damage the wall substrate, cause mold growth inside the wall cavity, weaken tile adhesion, and eventually compromise the structural integrity of the surrounding area. It can also lead to plumbing-related damage over time.
Is a cracked tub-tile joint covered by a home warranty?
In most cases, routine grout and caulk maintenance is not covered by home warranties because it is considered standard homeowner upkeep. However, if a failed seal causes damage to a covered system like plumbing, coverage may apply depending on the specific policy terms.
How do I know if my caulk is failing?
Signs of failing caulk include visible cracks or gaps along the tub edge, dark discoloration or mold growth, sections that are peeling away from the surface, or a musty odor in the bathroom. Any of these warrant prompt attention.
How do I remove old caulk from the tub-tile joint?
Use a plastic scraper or a dedicated caulk removal tool to avoid scratching the tub surface. A caulk remover solution can help soften stubborn sections. Once removed, clean the area with a mildew-killing cleaner and allow it to dry fully before applying new caulk.
How long does caulk need to cure before the tub can be used?
Most silicone caulk products require at least 24 to 48 hours of curing time before the joint should be exposed to water. Check the manufacturer’s instructions on your specific product for accurate guidance.
Can mold grow under bathroom caulk?
Yes. If moisture works its way beneath or into caulk that is beginning to fail, mold can develop both on and behind the caulk. Using a mold-resistant silicone formula and ensuring proper ventilation in the bathroom significantly reduces this risk.