
Why Replacing Weatherstripping on Exterior Doors Is One of the Smartest Home Improvements You Can Make
There is a small strip of material hugging the edges of your exterior doors right now, and there is a decent chance it has seen better days. Weatherstripping is one of those things that works quietly in the background until it stops working, and then suddenly you are wondering why your energy bills crept up or why there is a faint whistle every time the wind picks up. Replacing weatherstripping on exterior doors is not glamorous, but it punches well above its weight when it comes to home comfort, energy efficiency, and even pest prevention. This guide walks you through everything you need to know, from what weatherstripping actually is to how home warranty coverage fits into the bigger picture of protecting your home.
What Is Weatherstripping and What Does It Actually Do
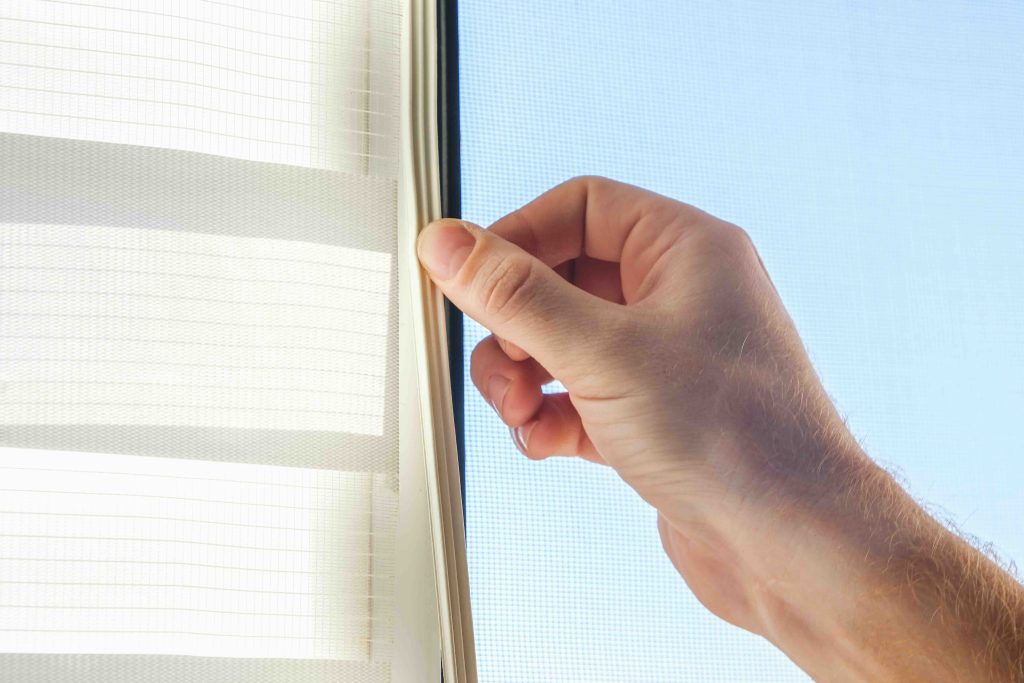
Weatherstripping refers to the sealing material applied around the perimeter of exterior doors and windows to close the gap between a moving part and its frame. On an exterior door, that means covering the top, two sides, and sometimes the bottom threshold to create an airtight and water-resistant seal when the door is closed. The material itself can be made from foam, rubber, vinyl, felt, or metal depending on where it is applied and how much wear it needs to handle. When weatherstripping is intact and properly seated, it keeps conditioned air inside, prevents outdoor air from infiltrating, blocks moisture from seeping in at the edges, and reduces the chance of insects or small pests finding an easy entry point. It is genuinely one of the hardest-working components of your home’s building envelope, and it does all of this without a single moving part or power source.
Signs Your Weatherstripping Needs to Be Replaced
The good news is that failing weatherstripping tends to announce itself pretty clearly once you know what to look for. Most homeowners notice the problem during seasonal temperature swings, when the difference between indoor and outdoor conditions is dramatic enough to feel at the door frame. There are a few reliable indicators that it is time to replace rather than ignore.
- Visible light coming through the door edges when the door is closed and the room is otherwise dark
- A noticeable draft near the door frame during cold or windy weather
- Higher-than-usual heating or cooling bills without another clear explanation
- Weatherstripping that is visibly cracked, compressed flat, torn, or peeling away from the frame
- Moisture or condensation appearing at the bottom corners of the door
- Insects appearing indoors near entry points despite no obvious gaps elsewhere
Types of Weatherstripping Materials and Where Each One Works Best
Not all weatherstripping is created equal, and selecting the right material for the right location matters more than most people expect. Foam tape is the most affordable and easiest to install, making it a reasonable option for low-traffic areas or temporary fixes, but it compresses quickly under repeated use and rarely lasts more than a season or two in high-traffic doorways. V-strip weatherstripping, also called tension seal, is made from folded vinyl or metal and works extremely well along the sides of door frames where durability matters. Door sweeps attach to the bottom of the door itself and seal the gap between the door and the threshold, which is often the most significant source of drafts in older homes. For maximum longevity, reinforced rubber or EPDM gasket-style weatherstripping is the professional standard, offering excellent compression resistance, UV tolerance, and a lifespan that can extend a decade or longer with minimal maintenance.
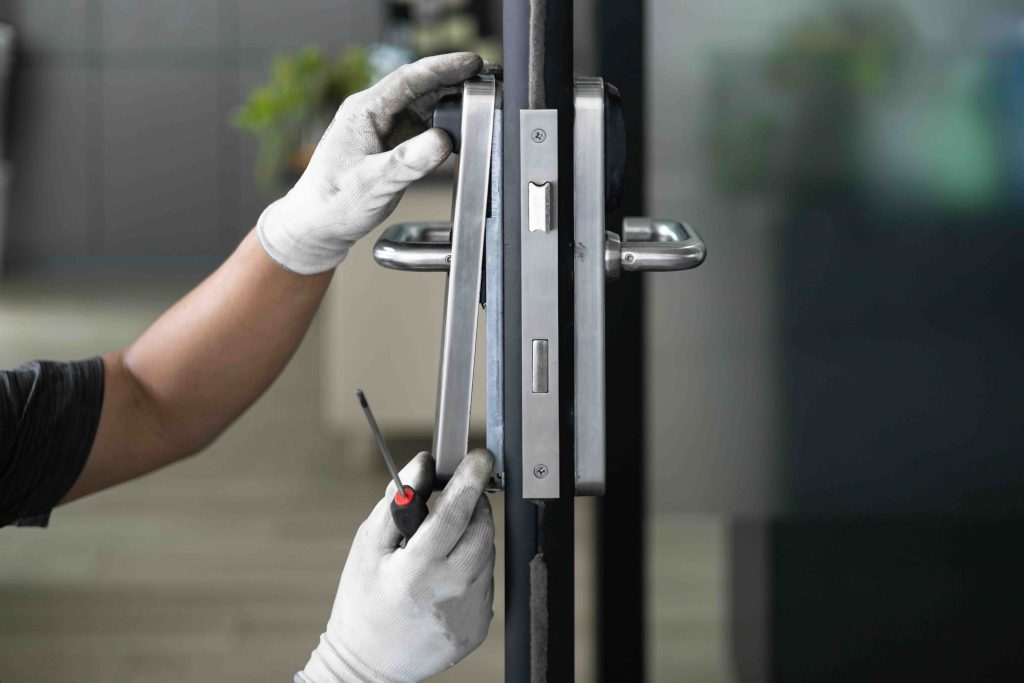
How to Replace Weatherstripping on an Exterior Door
This is a project most homeowners with basic tools can complete in a couple of hours. Start by removing the existing weatherstripping carefully, pulling it away from the frame and cleaning off any adhesive residue with a mild solvent or warm soapy water. Measure each section of the door frame precisely, cutting new weatherstripping slightly longer than needed and trimming to fit. For adhesive-backed products, press firmly along the entire length to avoid air pockets. For nail-on or screw-in varieties, work methodically from one end to the other to keep the strip aligned. Test the seal by closing the door and running your hand along the perimeter to feel for any remaining air movement. If you are replacing a door sweep, align it so it brushes lightly against the threshold without creating excessive drag on the door. A tight, smooth close is exactly what you are aiming for.

The Real Benefits of Fresh Weatherstripping
The advantages of replacing weatherstripping go well beyond comfort, though comfort is genuinely significant. A properly sealed exterior door reduces the workload on your heating and cooling system, which translates directly into lower monthly utility costs. The U.S. Department of Energy has estimated that air leaks around doors and windows can account for a meaningful percentage of a home’s total energy loss, and weatherstripping is a primary defense against that. Beyond energy savings, a tight door seal also helps protect your flooring and interior walls from moisture damage, reduces outdoor noise infiltration, and simply makes the home feel more solid and well-maintained. For homeowners preparing to sell, it is one of those small improvements that signals attentive ownership without requiring a significant investment.
Common Drawbacks and Limitations to Keep in Mind
Weatherstripping replacement is a low-risk project, but there are a few limitations worth knowing before you start. The lifespan of any material depends heavily on climate, door usage frequency, and installation quality. In regions with extreme temperature fluctuations, even high-quality weatherstripping may need attention every three to five years. Foam-based products degrade faster in high-UV environments, particularly on south-facing doors. If the door frame itself is warped, damaged, or out of square, new weatherstripping alone will not fully solve a draft problem, and a deeper carpentry repair may be needed first. Additionally, weatherstripping installed too tightly can make a door difficult to close and may cause the latch or deadbolt to misalign over time. The goal is a seal that is snug but not forceful.
Cost Expectations for DIY Versus Professional Replacement
One of the most appealing aspects of this project is the cost. DIY weatherstripping materials typically run between fifteen and sixty dollars per door depending on the type selected and the size of the opening. A door sweep adds another ten to thirty dollars in most cases. If you hire a handyperson or contractor, expect to pay somewhere in the range of seventy-five to two hundred dollars per door including labor, with the wide range reflecting regional labor costs and the complexity of the frame. Compared to what most home repairs cost, this is firmly in the category of affordable, high-return maintenance, especially when you factor in the cumulative energy savings over several years.
How Often Should You Inspect and Replace Weatherstripping
A twice-yearly inspection, ideally once before winter and once before summer, is a sensible routine for any homeowner. During these checks, visually examine the weatherstripping for cracking, compression, or separation from the frame, and physically test the seal with your hand or a flashlight. High-traffic doors, like front entries and garage access doors, tend to wear faster than secondary exits and may need attention every two to three years. Back doors and side entries that see moderate use often hold up for five years or longer. Documenting your inspections with a simple note in your home maintenance calendar or app makes it easy to track wear patterns and avoid the situation where a problem quietly grows unnoticed through an entire heating season.
How Armadillo Home Warranty Fits Into Your Home Protection Plan
Weatherstripping is exactly the kind of small-but-significant maintenance item that reminds homeowners how many systems and components need regular attention. While weatherstripping itself is a DIY-friendly repair, the broader category of home upkeep includes plenty of situations where costs escalate quickly and without warning. That is precisely the space where Armadillo home warranty coverage for exterior doors and home systems delivers real value. When major appliances fail, HVAC systems break down, or plumbing issues emerge unexpectedly, having a home warranty in place means you are not facing those repair bills alone. Armadillo offers straightforward, transparent coverage built for homeowners who want protection without the fine print confusion, and getting started is simple when you get a free home warranty quote to protect your home from unexpected repair costs. Think of fresh weatherstripping as your first line of defense against energy loss, and think of Armadillo as your backup plan when larger home systems need attention.

Frequently Asked Questions About Replacing Weatherstripping on Exterior Doors
Homeowners replacing weatherstripping on exterior doors often have follow-up questions once they get into the project. Here are the most common ones, answered directly.
How do I know which type of weatherstripping is right for my exterior door?
The right type depends on where on the door frame you are applying it. V-strip works well on the sides, foam or rubber compression strips work along the top and sides for older frames, and a door sweep handles the bottom gap. Consider your climate and how heavily the door is used when selecting the material grade.
Can weatherstripping replacement actually lower my energy bill?
Yes. Air leaks around exterior doors are a documented source of energy loss in residential homes. Sealing those gaps reduces the demand on your heating and cooling system, which typically results in measurable savings over a full heating or cooling season.
How long does new weatherstripping last on an exterior door?
Quality rubber or EPDM weatherstripping can last five to ten years under normal conditions. Foam-based products typically last one to three years, particularly in climates with significant temperature variation or high sun exposure.
Is replacing weatherstripping a job I can realistically do myself?
For most homeowners, yes. The tools required are minimal, the materials are inexpensive, and the installation process is straightforward. If the door frame is damaged, warped, or severely out of alignment, a professional assessment may be needed before or alongside the weatherstripping replacement.
What happens if I install weatherstripping that is too thick?
Weatherstripping that is too thick can make the door difficult to close, create stress on the hinges, and potentially misalign the latch or deadbolt over time. Always test the door’s operation before finalizing installation and trim or swap out the material if closing requires excessive force.
Does a home warranty cover weatherstripping replacement?
Standard home warranty plans do not typically cover weatherstripping as a standalone item, since it is considered routine maintenance rather than a mechanical failure. However, if door frame damage or a related structural issue triggers a larger repair, coverage depends on your specific plan terms.
How do I remove old adhesive residue left behind by worn weatherstripping?
Warm soapy water works for light residue. For stubborn adhesive, a mild solvent such as rubbing alcohol or a citrus-based adhesive remover applied with a cloth is effective without damaging most door frame surfaces. Allow the surface to dry completely before applying new weatherstripping.
Should I replace weatherstripping on all exterior doors at the same time?
Not necessarily. Inspect each door individually, since wear rates vary based on traffic, sun exposure, and the age of the existing material. Replacing only what needs attention is perfectly reasonable, though doing all doors in one session does save setup and material waste.
Can weatherstripping help with noise reduction as well as energy efficiency?
Yes. A properly sealed door reduces sound transmission from outside, which is especially noticeable for homes on busy streets or in urban areas. The acoustic benefit is secondary to the thermal and moisture protection, but it is a genuine advantage of a well-sealed exterior door.
What is the best time of year to replace weatherstripping on exterior doors?
Mild weather in spring or early fall is ideal because the door frame material and the weatherstripping itself are neither contracting from cold nor expanding significantly from heat. Extreme temperatures can make adhesive-backed products harder to install and seat correctly, so avoiding the hottest and coldest days of the year will give you the cleanest result.