





What Is Bathtub Caulk and Why Does It Matter for Your Home
If you have ever noticed a thin, flexible strip of material running along the edges of your bathtub where it meets the tile or wall, that is caulk. Bathtub caulk is a waterproof sealant that fills the gap between your tub and surrounding surfaces, preventing water from seeping behind walls and into subfloor areas where it absolutely does not belong. Over time, this sealant breaks down. It cracks, peels, discolors, and sometimes grows mold. When that happens, a bathtub caulk removal tool becomes one of the most useful items a homeowner can reach for. Knowing what this tool does, how to use it, and when the situation falls outside a DIY comfort zone is genuinely valuable knowledge for anyone who owns a home.
Understanding the Bathtub Caulk Removal Tool
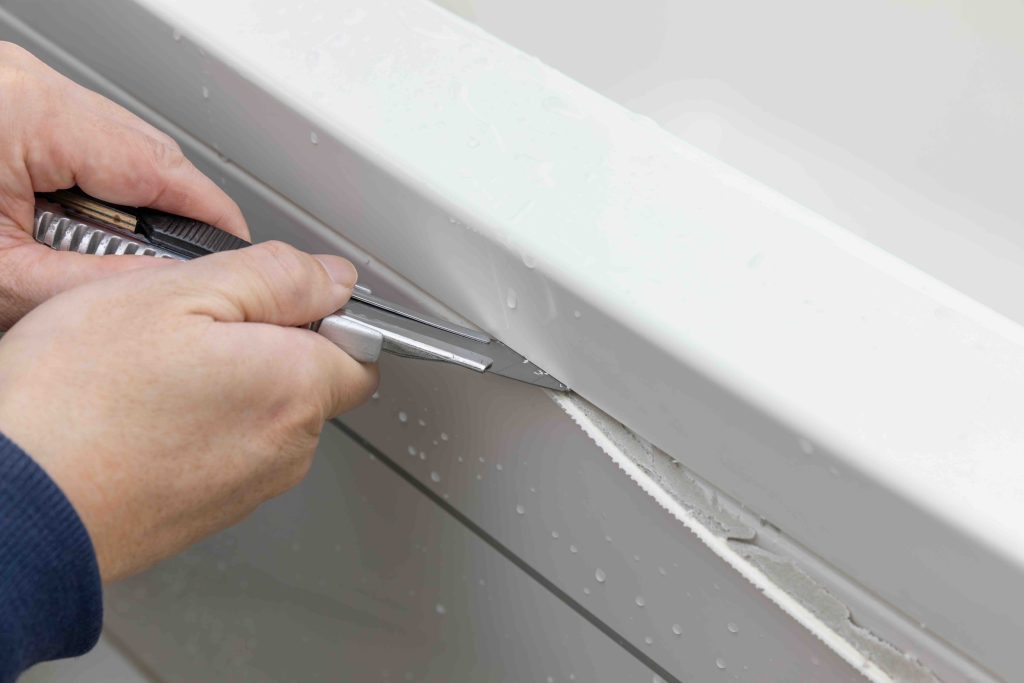
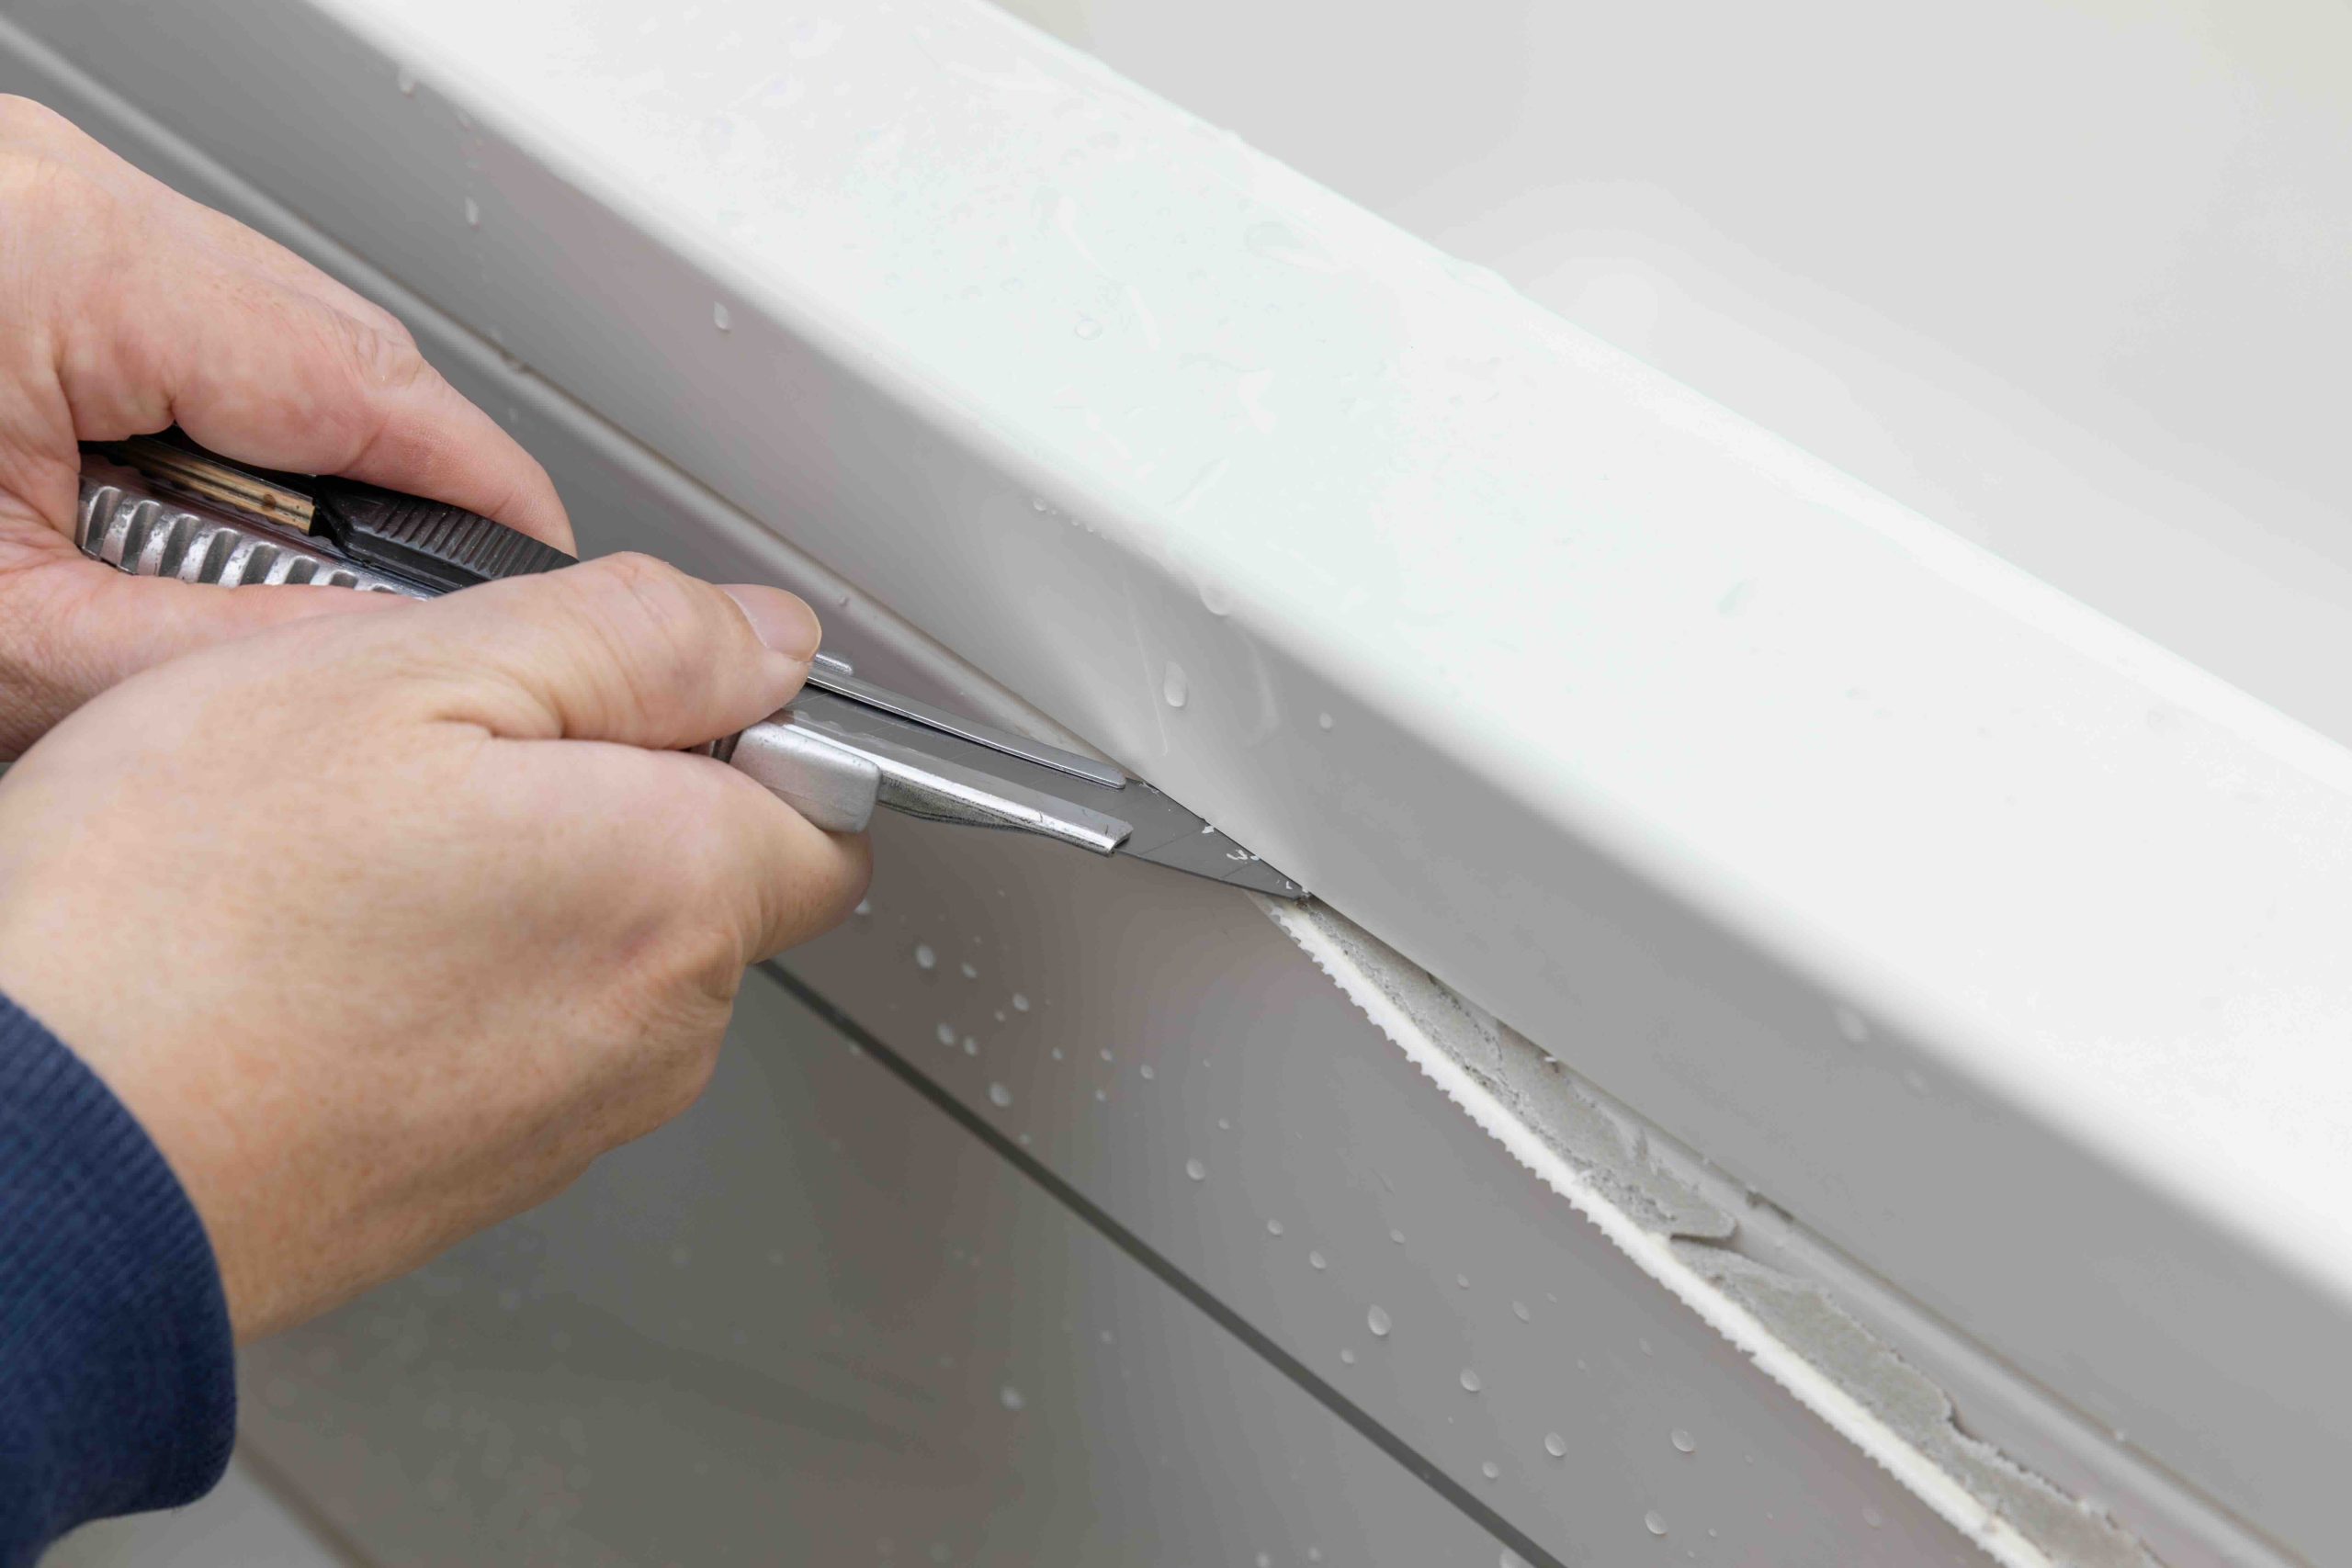
A bathtub caulk removal tool is a handheld instrument designed specifically to scrape, cut, and pull away old or failing caulk from seams, joints, and edges around tubs, showers, sinks, and other wet areas. These tools typically come in a few variations. Some are rigid plastic scrapers with angled edges that get underneath the caulk bead without scratching the tub surface. Others are metal-tipped for more stubborn applications. Many modern versions are oscillating or rotary attachments that connect to power tools for faster, more consistent removal. The key design feature across all of them is the precision edge, which allows you to separate caulk from the surface cleanly without gouging porcelain, acrylic, fiberglass, or tile.
How the Removal Process Actually Works
Using a caulk removal tool is more systematic than it might look. The process generally follows a clear sequence that, when done correctly, leaves a clean surface ready for fresh application. Here is what the process typically looks like:
- Apply a caulk softener or remover solution and let it sit for the recommended time to loosen the bond
- Use the angled scraper or oscillating blade to carefully cut along the top and bottom edges of the caulk bead
- Grip and pull long sections away by hand wherever possible to minimize tool contact with the tub surface
- Use the fine scraper tip to clean residue from the seam without scratching
- Wipe down the surface with rubbing alcohol or a surface prep cleaner before applying new caulk
The removal tool does the mechanical work, but patience does the real heavy lifting here. Rushing this step is actually one of the most common reasons new caulk fails prematurely. If the old residue is not fully removed, the fresh sealant has nothing clean to adhere to.
Key Advantages of Using the Right Tool for the Job
Reaching for a proper caulk removal tool instead of improvising with a kitchen knife or old screwdriver makes a noticeable difference in results. The advantages are practical and worth paying attention to. First, purpose-built tools reduce the risk of surface damage significantly. Porcelain and acrylic tubs scratch easily, and a scratch is not just cosmetic, it can become a point where moisture infiltrates over time. Second, these tools speed up a task that would otherwise take considerably longer by hand. Third, they improve the consistency of removal, which directly affects how well new caulk adheres and how long it lasts. A clean seam is a functional seam. Investing in a decent removal tool often pays for itself the first time you use it.

Common Drawbacks and Limitations to Know
No tool is without its limitations, and a caulk removal tool is no different. The biggest drawback is that these tools require a degree of care and technique. Apply too much pressure in the wrong spot and you can scratch or chip a tub surface, particularly on older or more delicate materials. Oscillating power tool attachments are especially effective but can cause damage quickly if the user is unfamiliar with the appropriate settings or angles. There is also the reality that caulk removal is messy. Pieces of old sealant, mold residue, and surface debris scatter during the process. Proper cleanup is part of the job. Finally, if the caulk has been in place for a very long time, it may have bonded so thoroughly to the surface that removal becomes a multi-session process rather than a one-and-done task.
When Recaulking Signals a Larger Problem
Here is where things get more serious. Homeowners sometimes start the caulk removal process and discover that the damage underneath is more extensive than expected. Soft drywall behind the tub surround, discolored or warped subfloor material near the base, or visible mold growth behind the tile are all signs that water has already found a way in. In those cases, the caulk removal tool was the right first step, but a professional inspection is the necessary next one. Water damage behind bathroom walls can compromise structural elements, promote mold growth, and create costly repair situations if left unaddressed. Recognizing when you have crossed from simple maintenance into repair territory is one of the more important skills a homeowner can develop.
Tips for Choosing the Best Caulk Removal Tool
Not every tool fits every situation, and knowing what to look for saves time and money. When selecting a caulk removal tool, consider the material of your tub. Acrylic and fiberglass surfaces require softer-edged plastic tools rather than metal scrapers to avoid permanent scratching. For tile and grout joints, a more rigid metal option may be more effective. If you have multiple bathrooms or plan to recaulk on a regular maintenance schedule, investing in an oscillating tool attachment makes sense. For a single tub recaulk, a basic multi-edge plastic removal tool is sufficient and typically costs very little. Always look for a tool with both a narrow point for corner access and a wider flat edge for long seam runs. Those two edge types together cover most of what you will encounter in a standard bathroom.
The Connection Between Caulk Maintenance and Home Warranty Coverage
From a home warranty perspective, this topic matters more than it might initially seem. Home warranty plans are designed to cover the repair or replacement of home systems and appliances that fail due to normal wear and tear. However, most plans include exclusions for damage that results from neglected maintenance, and water damage caused by failed caulk is a prime example of how deferred upkeep can complicate a claim. When moisture bypasses a deteriorated caulk seal and damages a subfloor, a wall cavity, or even a structural beam, the root cause traces back to maintenance that was not performed. Staying current on recaulking your tub, shower, and sink areas is not just a cosmetic concern. It is a documented part of responsible homeownership that keeps your home in better shape and your coverage intact.
Practical Maintenance Schedule for Bathtub Caulk
Most bathroom caulk has a functional lifespan of roughly five to ten years under normal use, though high-traffic bathrooms may see degradation sooner. Doing a visual check once or twice a year takes only a few minutes and can catch early signs of cracking, separation, or discoloration before they become repair-level issues. If you notice any gaps, dark staining that does not clean off, or areas where the caulk has pulled away from the surface, that is your window to act. Recaulking at the right time, before the seal fully fails, is always easier and less expensive than dealing with the aftermath of water intrusion. A small tube of caulk and one afternoon of careful work protects one of the more moisture-vulnerable areas in your entire home.

Why Armadillo Is the Right Partner for Proactive Homeowners
Staying on top of bathroom maintenance, including recaulking your tub before water finds a way behind the walls, is exactly the kind of proactive thinking that responsible homeownership requires. But even the most diligent homeowner cannot prevent every system failure or appliance breakdown. That is where having reliable home warranty coverage becomes less of a luxury and more of a practical decision. Armadillo was built for homeowners who actually care about their homes. The coverage is straightforward, the claims process is designed to reduce friction, and the plans are structured around real-world home needs. If you want a home warranty plan built for homeowners who take maintenance seriously, Armadillo is worth a close look. When you are ready to protect your home systems and appliances with coverage that keeps pace with how you actually live, you can get a free home warranty quote for your bathroom and whole-home systems in just a few minutes. The peace of mind is worth it.
Frequently Asked Questions About Bathtub Caulk Removal
What is a bathtub caulk removal tool used for?
A bathtub caulk removal tool is used to scrape, cut, and cleanly remove old or deteriorating caulk from the seams around a bathtub, shower, or sink without scratching the tub surface. It prepares the area for a fresh caulk application.
How do I know when it is time to remove and replace bathtub caulk?
Signs that caulk needs replacement include visible cracking, peeling edges, dark mold staining that will not clean off, gaps between the caulk bead and the surface, or a musty smell near the tub area. Any one of these is a clear signal to act.
Can I remove bathtub caulk without a special tool?
While it is technically possible to remove caulk using a utility knife or putty knife, a purpose-built caulk removal tool provides better control, reduces the risk of surface damage, and produces cleaner results that support better adhesion for the new sealant.
Will a caulk removal tool scratch my bathtub?
Plastic caulk removal tools are generally safe for acrylic and fiberglass tub surfaces. Metal-tipped tools carry more risk on softer materials. Always match the tool type to your tub material and use light, controlled pressure throughout the process.
How long does it take to remove and replace bathtub caulk?
For most homeowners, the full process including removal, surface prep, application, and cure time takes between one and two days. The new caulk typically requires 24 hours of cure time before the tub should be used again.
Does home warranty coverage include bathtub caulk repair?
Standard home warranty plans do not typically cover routine maintenance items like caulk replacement. However, water damage to home systems that results from neglected caulk maintenance can affect claim eligibility, making regular recaulking a protective measure for your coverage.
What type of caulk should be used after removal?
For bathtub and shower applications, a 100 percent silicone caulk or a silicone-latex blend rated for wet areas is the recommended choice. These formulas resist mold, remain flexible as the tub expands and contracts, and adhere well to most bathroom surfaces.
How often should bathtub caulk be replaced?
Most bathroom caulk lasts between five and ten years under normal conditions. High-use bathrooms may require attention sooner. A quick visual inspection twice per year helps homeowners catch deterioration early before water damage becomes a concern.
Can mold behind the tub wall be discovered during caulk removal?
Yes. Removing caulk sometimes reveals soft drywall, discoloration, or mold growth behind the surround, indicating that water has already penetrated the seal. In those cases, a professional assessment is the appropriate next step before recaulking.
Is bathtub recaulking a good DIY project for most homeowners?
Yes, for most homeowners with basic patience and the right tools, recaulking a bathtub is a manageable DIY task. The skill ceiling is low, the cost of materials is minimal, and the protection it provides against water intrusion makes it one of the higher-value maintenance tasks in a typical bathroom.