





What Are Grout Shower Corners and Why Do They Matter More Than You Think
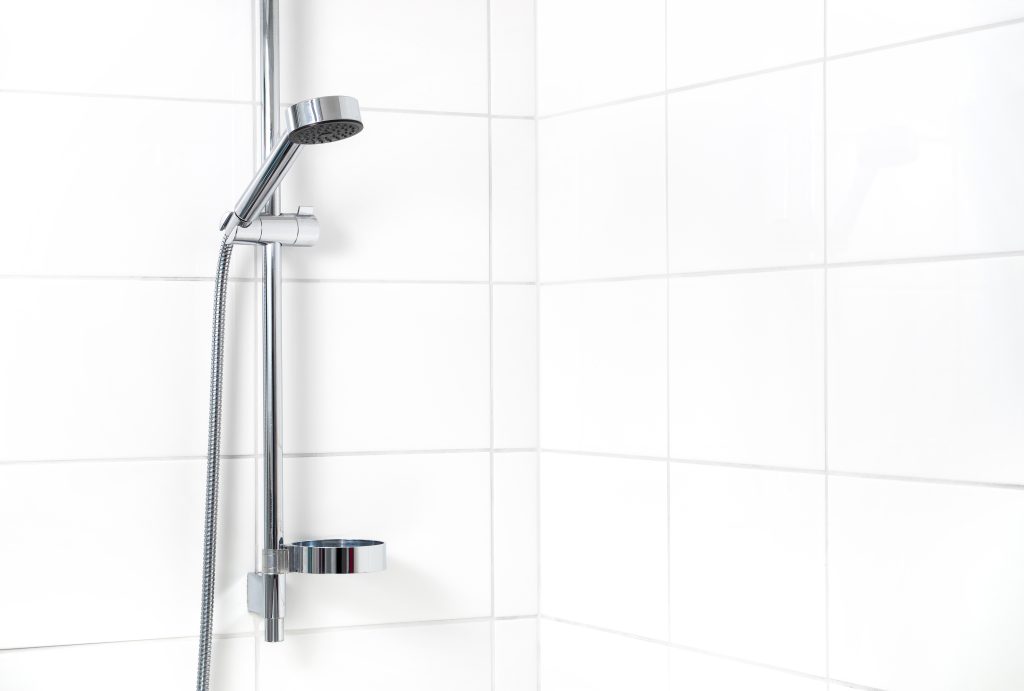
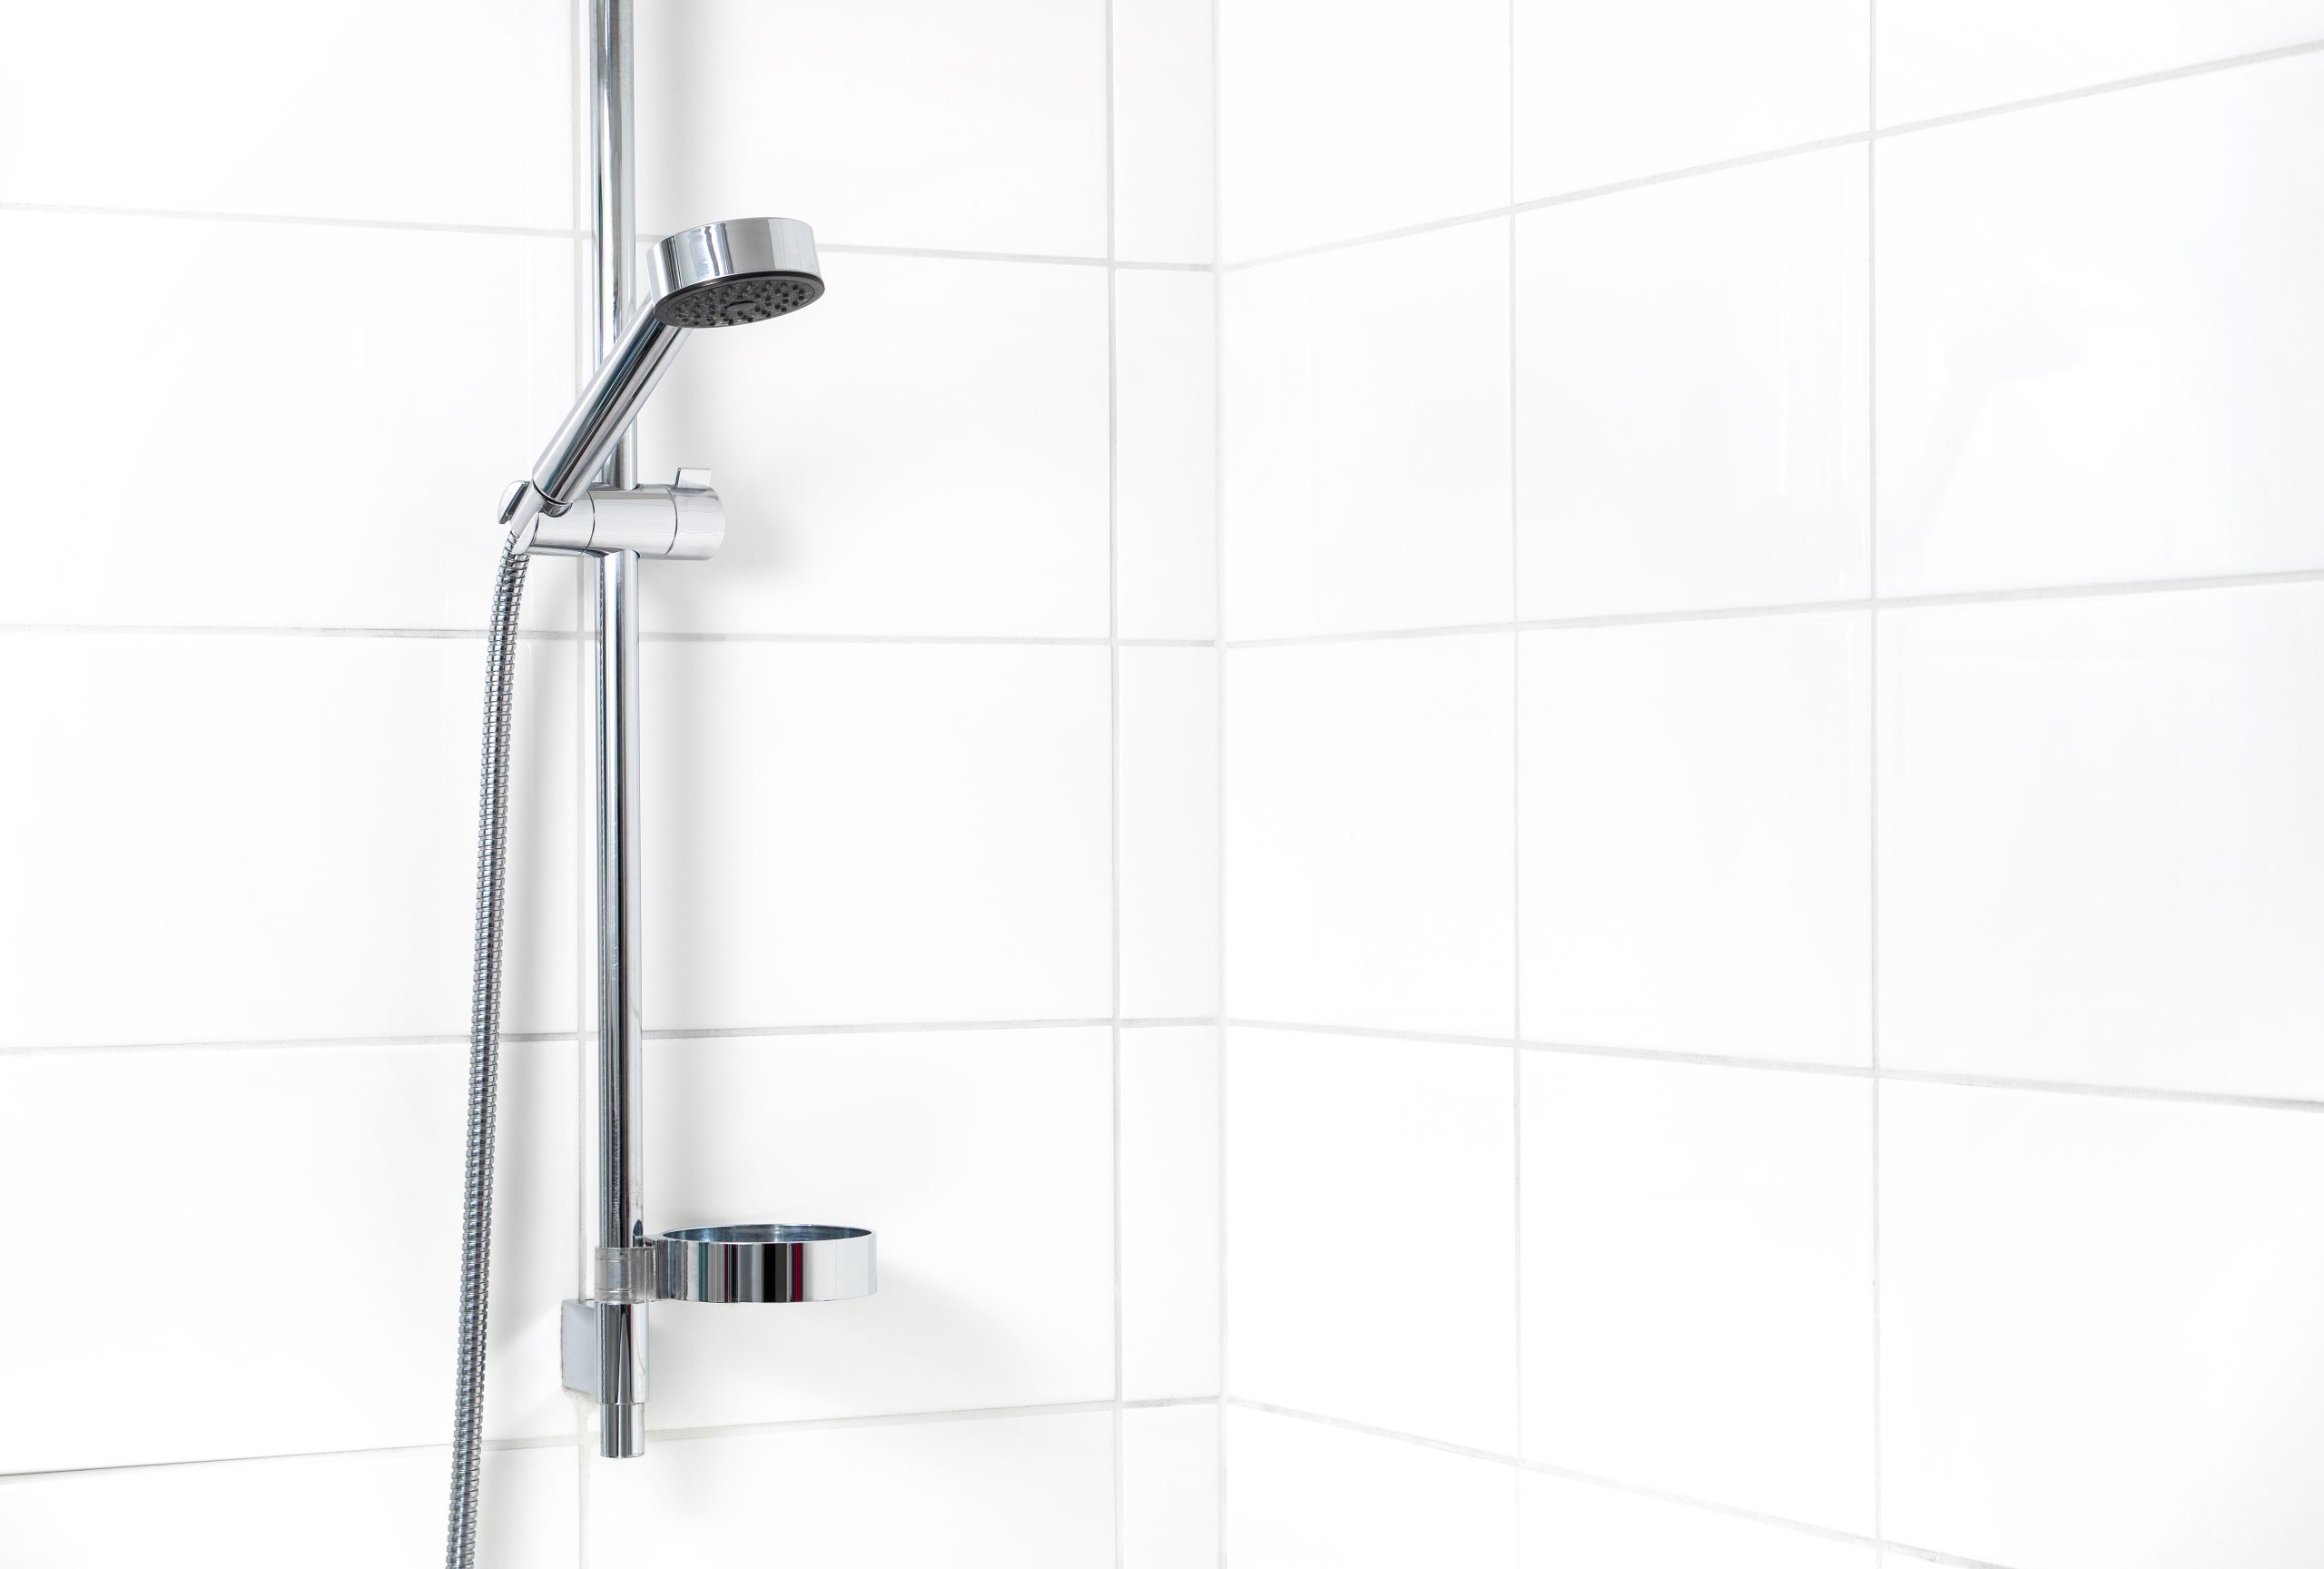
If you have spent any time looking closely at your shower, you have probably noticed the lines of grout running between tiles. Most homeowners think of grout as purely decorative, the stuff that fills gaps and makes things look finished. But in shower corners specifically, grout plays a much more structural and protective role than most people realize. Those inside corners where two tiled walls meet, or where the wall meets the shower floor, are among the most vulnerable spots in your entire bathroom. Getting them right is not just about aesthetics. It is about protecting the bones of your home from water damage that can quietly develop over months or years before you ever notice it.
Understanding How Grout Shower Corners Actually Work
Grout is a cement-based filler used to seal the joints between tiles. In most areas of a tiled surface, grout performs admirably. It handles compression, resists moisture, and holds its color reasonably well over time. But corners are a different story. Shower corners are what builders call movement joints, meaning they are areas where two planes of your home intersect and where expansion and contraction from temperature changes, moisture, and normal structural settling all converge. When traditional grout is applied to these corners, it is essentially being asked to handle forces it was not designed to handle. Over time, that grout cracks. And cracked grout in a wet environment is an open invitation for water to infiltrate behind your tile and into the substrate beneath.
Grout vs. Caulk in Shower Corners: The Debate Worth Having
Here is where things get a little interesting, and where a lot of DIYers and even some contractors get it wrong. The Tile Council of North America actually recommends that inside corners in wet areas like showers should be finished with a flexible sealant, typically silicone or latex caulk, rather than rigid grout. This is not a controversial opinion among professionals. It is a well-established standard. Caulk has the flexibility to move with your home without cracking, and it maintains a waterproof seal far better than grout in high-movement areas. Grout, by comparison, is rigid. It does the job beautifully on flat tile fields, but corners are not where it thrives.
- Grout is cement-based and rigid, ideal for tile field joints on flat surfaces
- Caulk is flexible and waterproof, specifically suited for inside shower corners
- Industry standards from the Tile Council of North America recommend caulk in all wet-area inside corners
- Mixing the two materials incorrectly can accelerate cracking and water infiltration
Signs Your Shower Corner Grout Is Failing
Grout failure in shower corners does not always announce itself loudly. Usually it happens gradually, and by the time you notice something is obviously wrong, some amount of water damage may have already started behind the wall. Knowing what to look for puts you ahead of the problem. Hairline cracks along the corner joint are typically the first sign. You might also notice grout that is darkening or developing a gray or black tinge that does not wash off, which often indicates mold or mildew growth within the joint. Grout that has begun to crumble or pull away from one of the tile surfaces is another red flag. In more advanced cases, you may actually see tiles becoming loose near the corner, which means water has reached the adhesive layer beneath and compromised the bond.
Key Advantages of Properly Sealed Shower Corners
When shower corners are properly finished, whether with the right type of caulk or a color-matched flexible sealant, the benefits are meaningful and long-lasting. A properly sealed corner creates a continuous waterproof barrier that protects your tile substrate, the drywall or cement board beneath, and ultimately the framing of your home. It also dramatically reduces the risk of mold growth, which in humid bathroom environments can become a serious health concern if left unchecked. On a purely practical level, well-maintained shower corners are also far easier to clean. Smooth, intact sealant does not trap soap scum and mineral deposits the way cracked or crumbling grout does. That alone is worth the investment of doing it correctly the first time.

Common Drawbacks and Challenges Homeowners Face
Even when homeowners know what should be done, shower corner repair and maintenance comes with some real challenges. Silicone caulk, while excellent at waterproofing, is notoriously difficult to apply neatly without some practice. It also does not accept paint and can be stubborn to remove when it needs to be replaced. Latex caulk is more forgiving and easier to work with, but it tends to degrade faster in hot, steamy shower environments. Color matching is another frustration. If your tile grout is a specific shade and you want your corner caulk to blend seamlessly, finding an exact match is not always straightforward. Some homeowners choose contrasting caulk intentionally for a clean design look, but others find that aesthetic jarring. And then there is the maintenance reality: even the best caulk in a shower corner typically needs to be replaced every five to ten years, sometimes sooner depending on water temperature and usage frequency.
How to Repair or Replace Grout in Shower Corners
If your shower corners are showing signs of wear, the repair process is manageable for most homeowners who are comfortable with basic DIY tasks. The first step is to fully remove all existing grout or caulk from the corner joint. This usually requires an oscillating multi-tool or a grout saw, followed by careful scraping to clear the joint completely. Once the old material is out, the area needs to be thoroughly cleaned and dried. Applying new material to a damp joint is one of the most common mistakes people make and one of the primary reasons repairs fail prematurely. After the area is clean and dry, apply a mold-resistant silicone or siliconized latex caulk to the corner, smooth it with a wet finger or a caulk finishing tool, and allow the full cure time before running water over it.
- Remove all old grout or caulk completely before applying new material
- Allow the joint to dry fully, ideally for 24 hours, before recaulking
- Choose a mold-resistant, waterproof caulk rated for wet bath environments
- Do not use the shower for at least 24 to 48 hours after application to allow proper curing
When to Call a Professional Instead of DIYing It
There are situations where shower corner problems go beyond what a tube of caulk can fix. If you press on the tile near a corner and it flexes or feels soft beneath, the substrate behind the tile is likely compromised. That is a substrate replacement job, not a surface repair. Similarly, if you are noticing musty odors coming from the walls or ceiling around the shower, that is a strong signal that mold has taken hold inside the wall cavity. At that point, professional remediation is the appropriate path forward. Tile that is actively detaching from the wall in corner areas also typically signals adhesive failure due to prolonged water exposure, and re-tiling that section will require a professional to do it properly and ensure the waterproofing membrane is intact before the new tile goes up.
Why Home Warranty Coverage Matters for Shower and Plumbing-Related Issues
Shower corners may seem like a small detail, but when they fail, the downstream consequences can affect plumbing systems, structural components, and water-damaged areas that fall squarely within the kind of unexpected home repairs that can blindside a budget. That is exactly where having a home warranty plan that covers plumbing and bathroom system failures becomes genuinely valuable. Armadillo offers homeowners straightforward, honest coverage designed to protect against the kinds of system and appliance failures that tend to happen when you least expect them. When water infiltration from a failed shower corner contributes to plumbing or structural issues that fall within covered categories, having a plan in place means you are not scrambling to figure out how to afford the repair. If you are ready to stop worrying about what the next home repair will cost you, you can get a personalized home warranty quote for bathroom and plumbing system protection in just a few minutes. Armadillo keeps the process simple, transparent, and built around what homeowners actually need.

Frequently Asked Questions About Grout Shower Corners
These are some of the most common questions homeowners ask when it comes to shower corner grout, maintenance, and related concerns.
Should shower corners be grouted or caulked?
Shower inside corners should be sealed with flexible caulk rather than rigid grout. The Tile Council of North America recommends this because corners are movement joints that expand and contract with temperature changes and structural settling, which causes rigid grout to crack over time.
How long does grout last in shower corners?
Grout in shower corners typically begins to crack or deteriorate within a few years due to movement stress and moisture exposure. Caulk applied to shower corners generally lasts five to ten years before it needs to be replaced, depending on water temperature and frequency of use.
What type of caulk is best for shower corners?
A 100 percent silicone caulk or a siliconized latex caulk with mold-resistant properties is best for shower corners. These formulas maintain flexibility, resist moisture, and inhibit mold growth in consistently wet environments.
Can I apply new caulk over old caulk in a shower corner?
Applying new caulk over old caulk is not recommended. The old material must be fully removed and the surface cleaned and dried before new caulk is applied. Layering over old caulk leads to poor adhesion and early failure of the repair.
What happens if water gets behind shower corner grout?
Water infiltrating behind cracked shower corner grout can damage the tile substrate, promote mold growth inside the wall cavity, compromise the tile adhesive, and in more severe cases cause structural damage to the wall framing behind the shower.
How do I know if my shower wall has water damage behind the tile?
Signs of water damage behind shower tile include tiles that flex or feel hollow when pressed, soft or spongy drywall near the shower perimeter, persistent musty odors in the bathroom, and visible staining or discoloration on the wall or ceiling adjacent to the shower.
Is cracked shower grout covered by a home warranty?
Grout maintenance and cosmetic repairs are generally not covered by home warranties, as they fall under routine homeowner upkeep. However, if grout failure leads to plumbing leaks or damage to covered systems, those resulting issues may be covered depending on your specific plan terms.
How often should I inspect my shower corners?
Shower corners should be visually inspected at least once or twice a year. Look for cracks, discoloration, mold growth, or grout that appears to be pulling away from the tile surface. Catching issues early is far less costly than addressing them after water damage has set in.
Can I use the same grout color for caulk in shower corners?
Many caulk manufacturers offer color-matched formulas designed to coordinate with standard grout colors. While an exact match is not always achievable, color-coordinated caulk creates a clean, finished appearance that blends well with the surrounding tile work.
Does improper shower corner sealing affect home resale value?
Yes, visibly deteriorated or improperly sealed shower corners can be flagged during home inspections and may raise concerns for prospective buyers about the potential for water damage. Properly maintained shower corners contribute to a bathroom that presents well and passes inspection without complications.