





Why That Black Stuff in Your Bathtub Caulk Is a Bigger Problem Than You Think
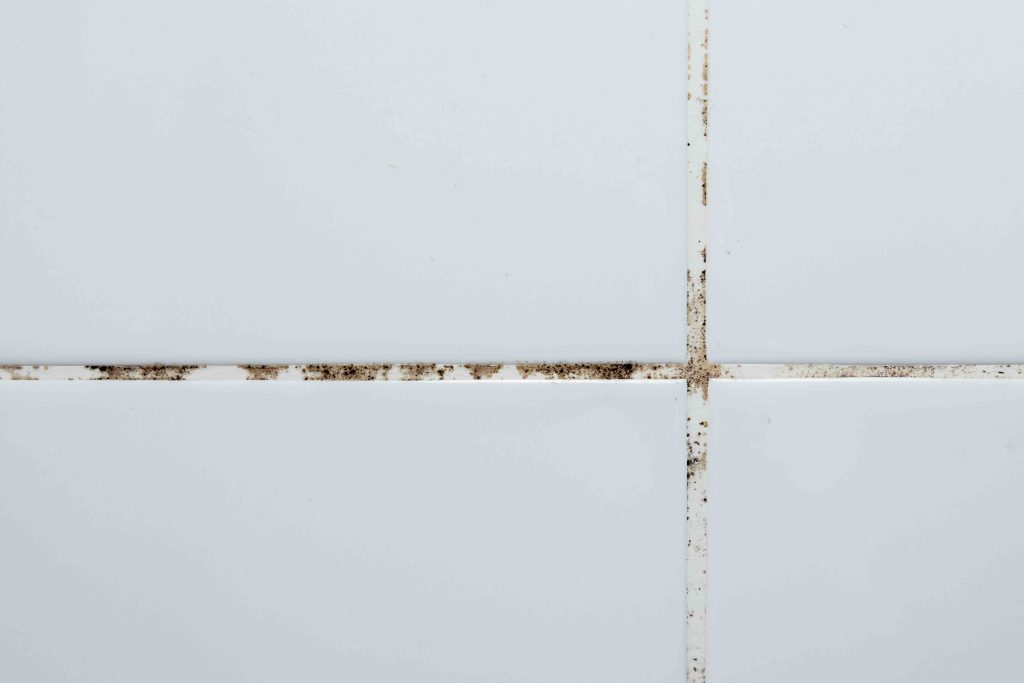
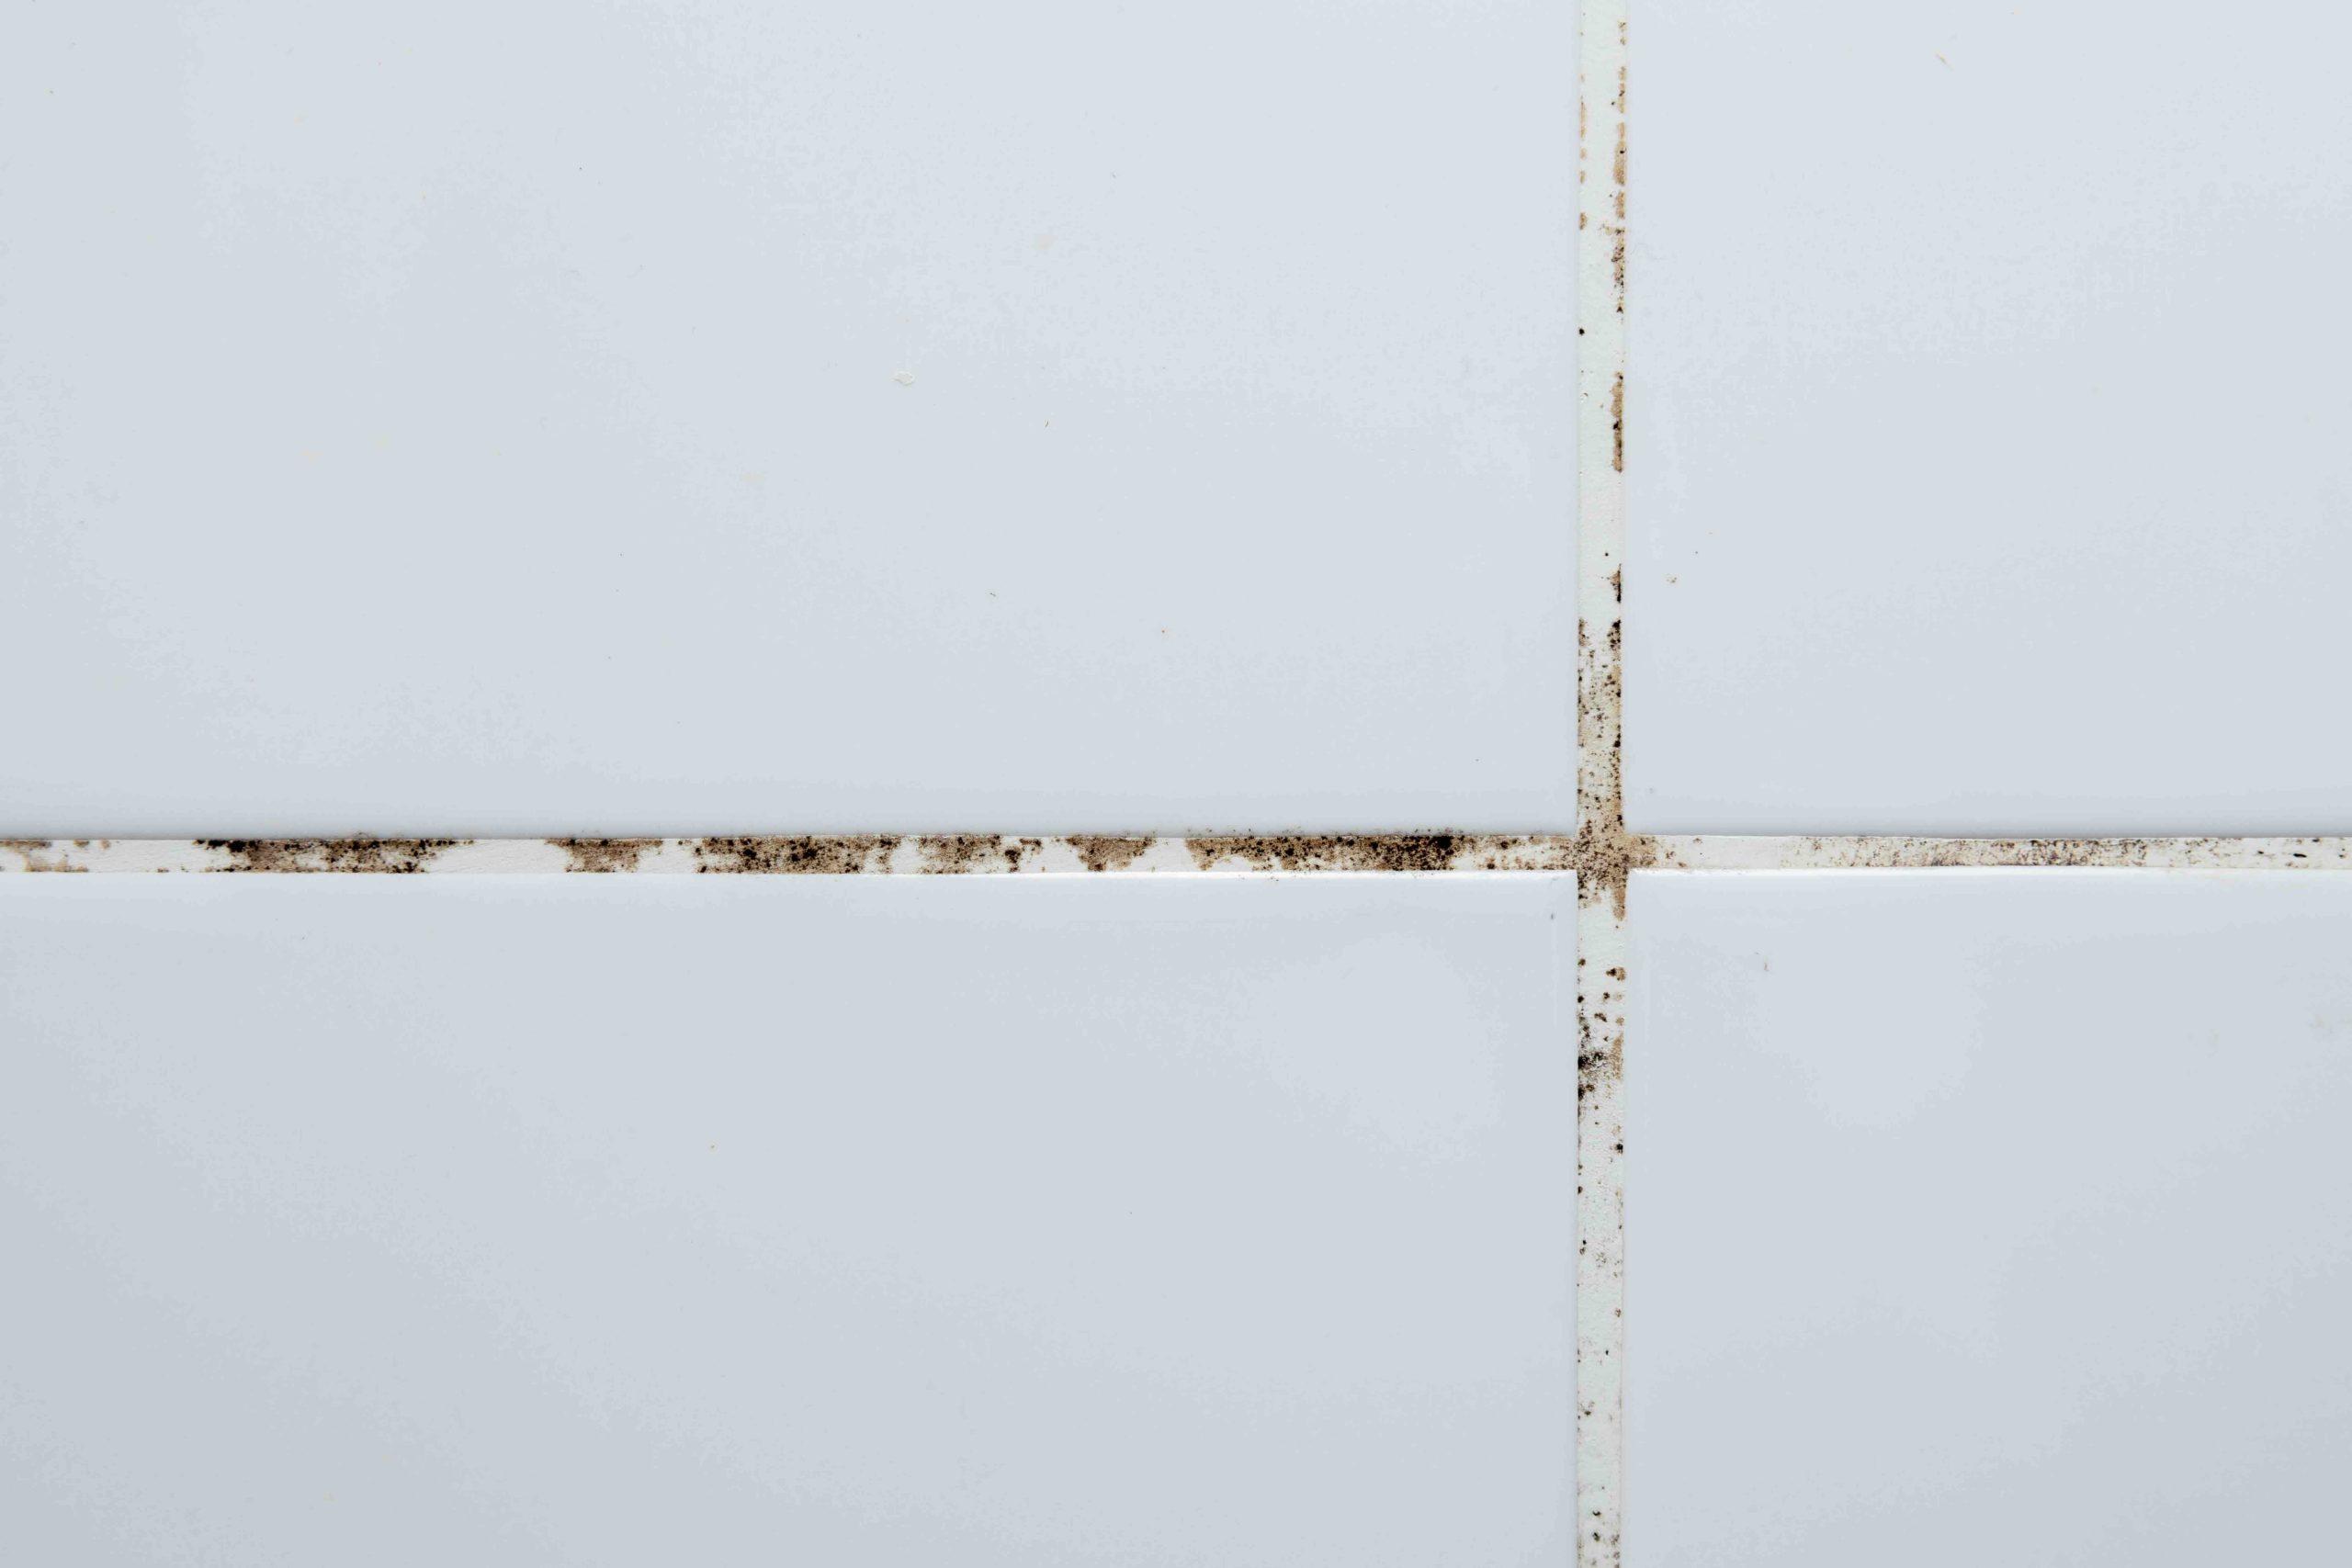
You notice it during a shower one morning. A dark, fuzzy line creeping along the edge where your bathtub meets the wall. It looks bad, and honestly, it is bad. Moldy caulk in a bathtub is one of those home maintenance issues that seems minor on the surface but can quietly snowball into something much more serious. The good news is that removing moldy caulk from a bathtub is absolutely a DIY-friendly project. The better news is that once you understand the full picture, including what causes it, how to remove it properly, and how to protect yourself going forward, you will feel genuinely prepared to handle it.
What Is Bathtub Caulk and Why Does It Go Moldy
Caulk is a flexible sealant applied along the seams and joints of your bathtub, typically where the tub meets the wall tile, the floor, or the surrounding surround. Its job is to prevent water from seeping into the gaps behind your walls or under your flooring, where it can cause rot, structural damage, and mold growth inside the walls. Silicone and latex are the two most common types used in bathrooms. Over time, both are susceptible to mold because bathrooms are warm, humid, and rarely dry out completely between uses. Mold spores thrive in that environment. Once they find a foothold in the slightly porous surface of old or degraded caulk, they colonize fast. What starts as a faint gray streak becomes a thick black line within weeks.
The Real Risk Behind Moldy Caulk
Here is where things get a bit more urgent. Moldy caulk is not just an eyesore. When caulk starts to mold, it is also usually starting to fail. The sealant dries out, cracks, and separates from the surfaces it bonds to. That separation creates small gaps where water can infiltrate. Even a slow, consistent drip of water behind your bathtub walls can cause wood rot, subfloor damage, and eventually structural issues that cost thousands of dollars to repair. Beyond the structural concern, mold in bathrooms can also affect indoor air quality, particularly for anyone in the home with respiratory sensitivities. Removing the moldy caulk and replacing it is not optional maintenance. It is necessary maintenance.

What You Will Need Before You Start
Before you get into the process, gathering the right tools will save you a lot of frustration. This is not a project that requires a trip to a specialty store. Most of what you need is available at any hardware or home improvement retailer.
- A plastic or metal caulk removal tool or utility knife
- Needle-nose pliers for pulling away stubborn pieces
- A mold-killing bathroom cleaner or a diluted bleach solution
- Clean rags or paper towels
- Painter’s tape for clean lines
- A tube of mold-resistant silicone caulk formulated for bathrooms
- A caulk gun for application
- Rubbing alcohol for surface prep
How to Remove Moldy Caulk Step by Step
Start by softening the old caulk. Apply a commercial caulk remover product or allow a bleach solution to sit on the caulk for several minutes. This loosens the bond and makes removal significantly easier. Using your caulk removal tool or utility knife, score along both edges of the caulk bead carefully, staying as close to the seam as possible without gouging the tub or tile. Once scored, work the tool underneath the caulk and peel it away. It should come off in strips. Use needle-nose pliers to pull out any stubborn remnants. After the bulk is removed, use a plastic scraper to clear any residue. Then, clean the entire surface with your mold-killing cleaner, scrub thoroughly, and let it dry completely, and that last part really matters. Applying new caulk over a damp surface is one of the most common mistakes homeowners make, and it causes the new caulk to fail prematurely.
Applying New Caulk the Right Way
Once the surface is completely dry, wipe it down with rubbing alcohol. This removes any remaining oils or residue and gives the new caulk a clean surface to bond to. Apply painter’s tape along both sides of the seam to ensure a straight, clean line. Load your mold-resistant silicone caulk into the caulk gun and cut the tip at a 45-degree angle. Apply steady, even pressure as you move the gun along the seam in one continuous motion. Then, dip your finger in water and smooth the bead with one clean pass. Remove the tape before the caulk skins over. Allow the caulk to cure fully, typically 24 to 48 hours, before exposing it to water. Silicone caulk specifically formulated for bathrooms with mold inhibitors will last significantly longer than standard products.
Common Mistakes Homeowners Make With Bathtub Caulk
Even experienced DIYers run into problems with this project. Understanding where things tend to go wrong can help you avoid repeating those mistakes. Applying new caulk directly over old caulk is probably the most frequent error. It never holds properly and simply delays the problem. Rushing the drying time is another. Caulk that has not fully cured will peel and mold even faster than what you removed. Choosing the wrong type of caulk also matters. Standard paintable caulk is not designed for wet environments. Always select a product rated explicitly for bathroom use with built-in mildew resistance. Finally, skipping surface prep, particularly the alcohol wipe-down step, significantly reduces how long your new caulk will last.
How Often Should Bathtub Caulk Be Replaced
Most bathtub caulk should be inspected annually and replaced every three to five years under normal use. If you notice cracking, separation, discoloration, or any visible mold growth, replace it immediately regardless of age. Bathrooms that see heavy use, or homes in particularly humid climates, may need recaulking more frequently. Keeping the bathroom well-ventilated, running the exhaust fan during and after showers, and wiping down surfaces regularly can all extend the life of your caulk considerably. These small habits go a long way toward preventing the conditions that allow mold to take hold in the first place.
How a Home Warranty Connects to Bathroom Maintenance
Now, caulk itself is a maintenance item and is generally not covered under a home warranty, but the story does not end there. The reason caulk maintenance matters so deeply from a home warranty perspective is what happens when it fails. When water infiltrates behind a bathtub due to deteriorated caulk, it can damage plumbing lines, cause leaks that affect adjacent systems, or result in significant structural damage. Home warranty coverage is designed to protect the systems and appliances inside your home, including plumbing systems, from unexpected failures. If a covered plumbing component fails, having an active home warranty can mean the difference between a manageable repair cost and a significant out-of-pocket expense. Staying on top of caulk maintenance is how you protect your home from the kind of water damage that can compromise the systems a warranty is meant to cover.
Why Armadillo Is the Right Partner for Homeowners Who Take Maintenance Seriously
Taking care of your home, from something as routine as recaulking a bathtub to managing the bigger systems running behind your walls, requires both knowledge and a reliable safety net. At Armadillo home warranty protection for homeowners, the focus is on making that safety net genuinely useful, without confusing contract language or frustrating claim processes. Homeowners who stay proactive about maintenance, like replacing moldy bathtub caulk before it causes water damage to plumbing lines, are exactly the kind of homeowners who get the most value out of a home warranty plan. If a covered system like your plumbing does experience a failure, you want a straightforward path to resolution. You can get a free home warranty quote for bathroom and plumbing protection and see in seconds what kind of coverage makes sense for your home. Peace of mind is not a luxury. It is a practical tool for responsible homeownership.

Frequently Asked Questions About Removing Moldy Caulk From a Bathtub
Real questions, straightforward answers for homeowners navigating this common bathroom maintenance task.
Can I apply new caulk directly over old moldy caulk?
No. Applying new caulk over old caulk, especially moldy caulk, prevents proper adhesion and will cause the new application to fail quickly. Always remove the old caulk completely and clean the surface before applying fresh sealant.
What type of caulk should I use in a bathtub?
Use a 100 percent silicone caulk or a siliconized latex caulk that is specifically labeled for bathroom or kitchen use and contains mold and mildew inhibitors. These formulations are designed to withstand constant moisture exposure.
How long does bathtub caulk take to dry before I can use the shower?
Most bathroom-grade silicone caulk requires a minimum of 24 hours to cure before water exposure. Some products recommend 48 hours for full cure. Always check the manufacturer instructions on the specific product you use.
Is moldy caulk a health hazard?
Mold growing on bathroom caulk can potentially affect indoor air quality, particularly for individuals with mold sensitivities, asthma, or compromised respiratory health. Removing it promptly is advisable for both health and structural reasons.
Can bleach kill mold in bathtub caulk?
Bleach can kill surface mold on caulk, but it does not penetrate deeply into the material. If mold has saturated the caulk, surface cleaning alone will not fully resolve the problem. Complete removal and replacement is the most effective solution.
What causes bathtub caulk to mold so quickly?
The primary causes are persistent moisture, inadequate ventilation, and infrequent drying between uses. Bathrooms without exhaust fans or proper airflow create ideal conditions for mold growth on any porous surface, including caulk.
How do I know when bathtub caulk needs to be replaced?
Visible mold or dark discoloration, cracking, shrinking, peeling, or separation from the wall or tub surface are all clear indicators that the caulk needs to be replaced. Annual inspections are a good preventive habit.
Does a home warranty cover water damage caused by failed caulk?
Home warranties typically do not cover cosmetic maintenance items like caulk itself. However, if failed caulk leads to damage in a covered plumbing system or causes a covered component to fail, that resulting repair may be covered depending on your specific plan and provider.
How can I prevent bathtub caulk from molding quickly after replacement?
Run your bathroom exhaust fan during and for at least 20 minutes after showers, wipe down wet surfaces regularly, and ensure the bathroom has adequate ventilation. Using a mold-resistant caulk product also extends the time between replacements significantly.
Is recaulking a bathtub something a homeowner can do without professional help?
Yes, for most homeowners this is a manageable DIY project. With the right tools, appropriate materials, and patience during the prep and curing stages, the results can be just as effective as a professional application. If the area shows signs of underlying water damage or rot, consulting a professional before recaulking is recommended.