What Is a Lamp Socket Cap and Why Does It Matter?
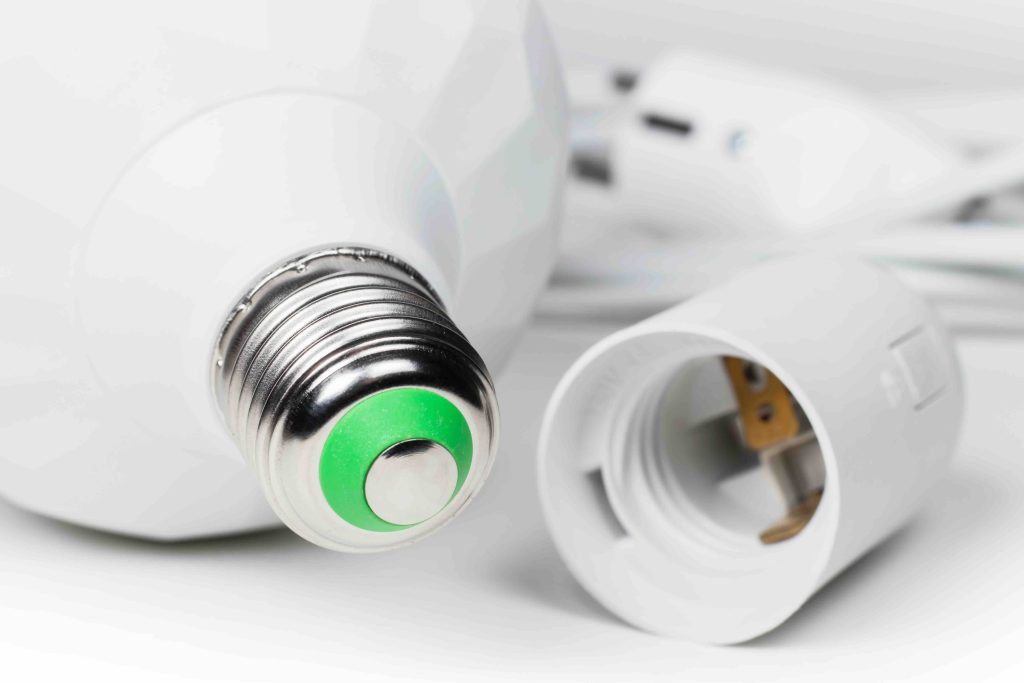
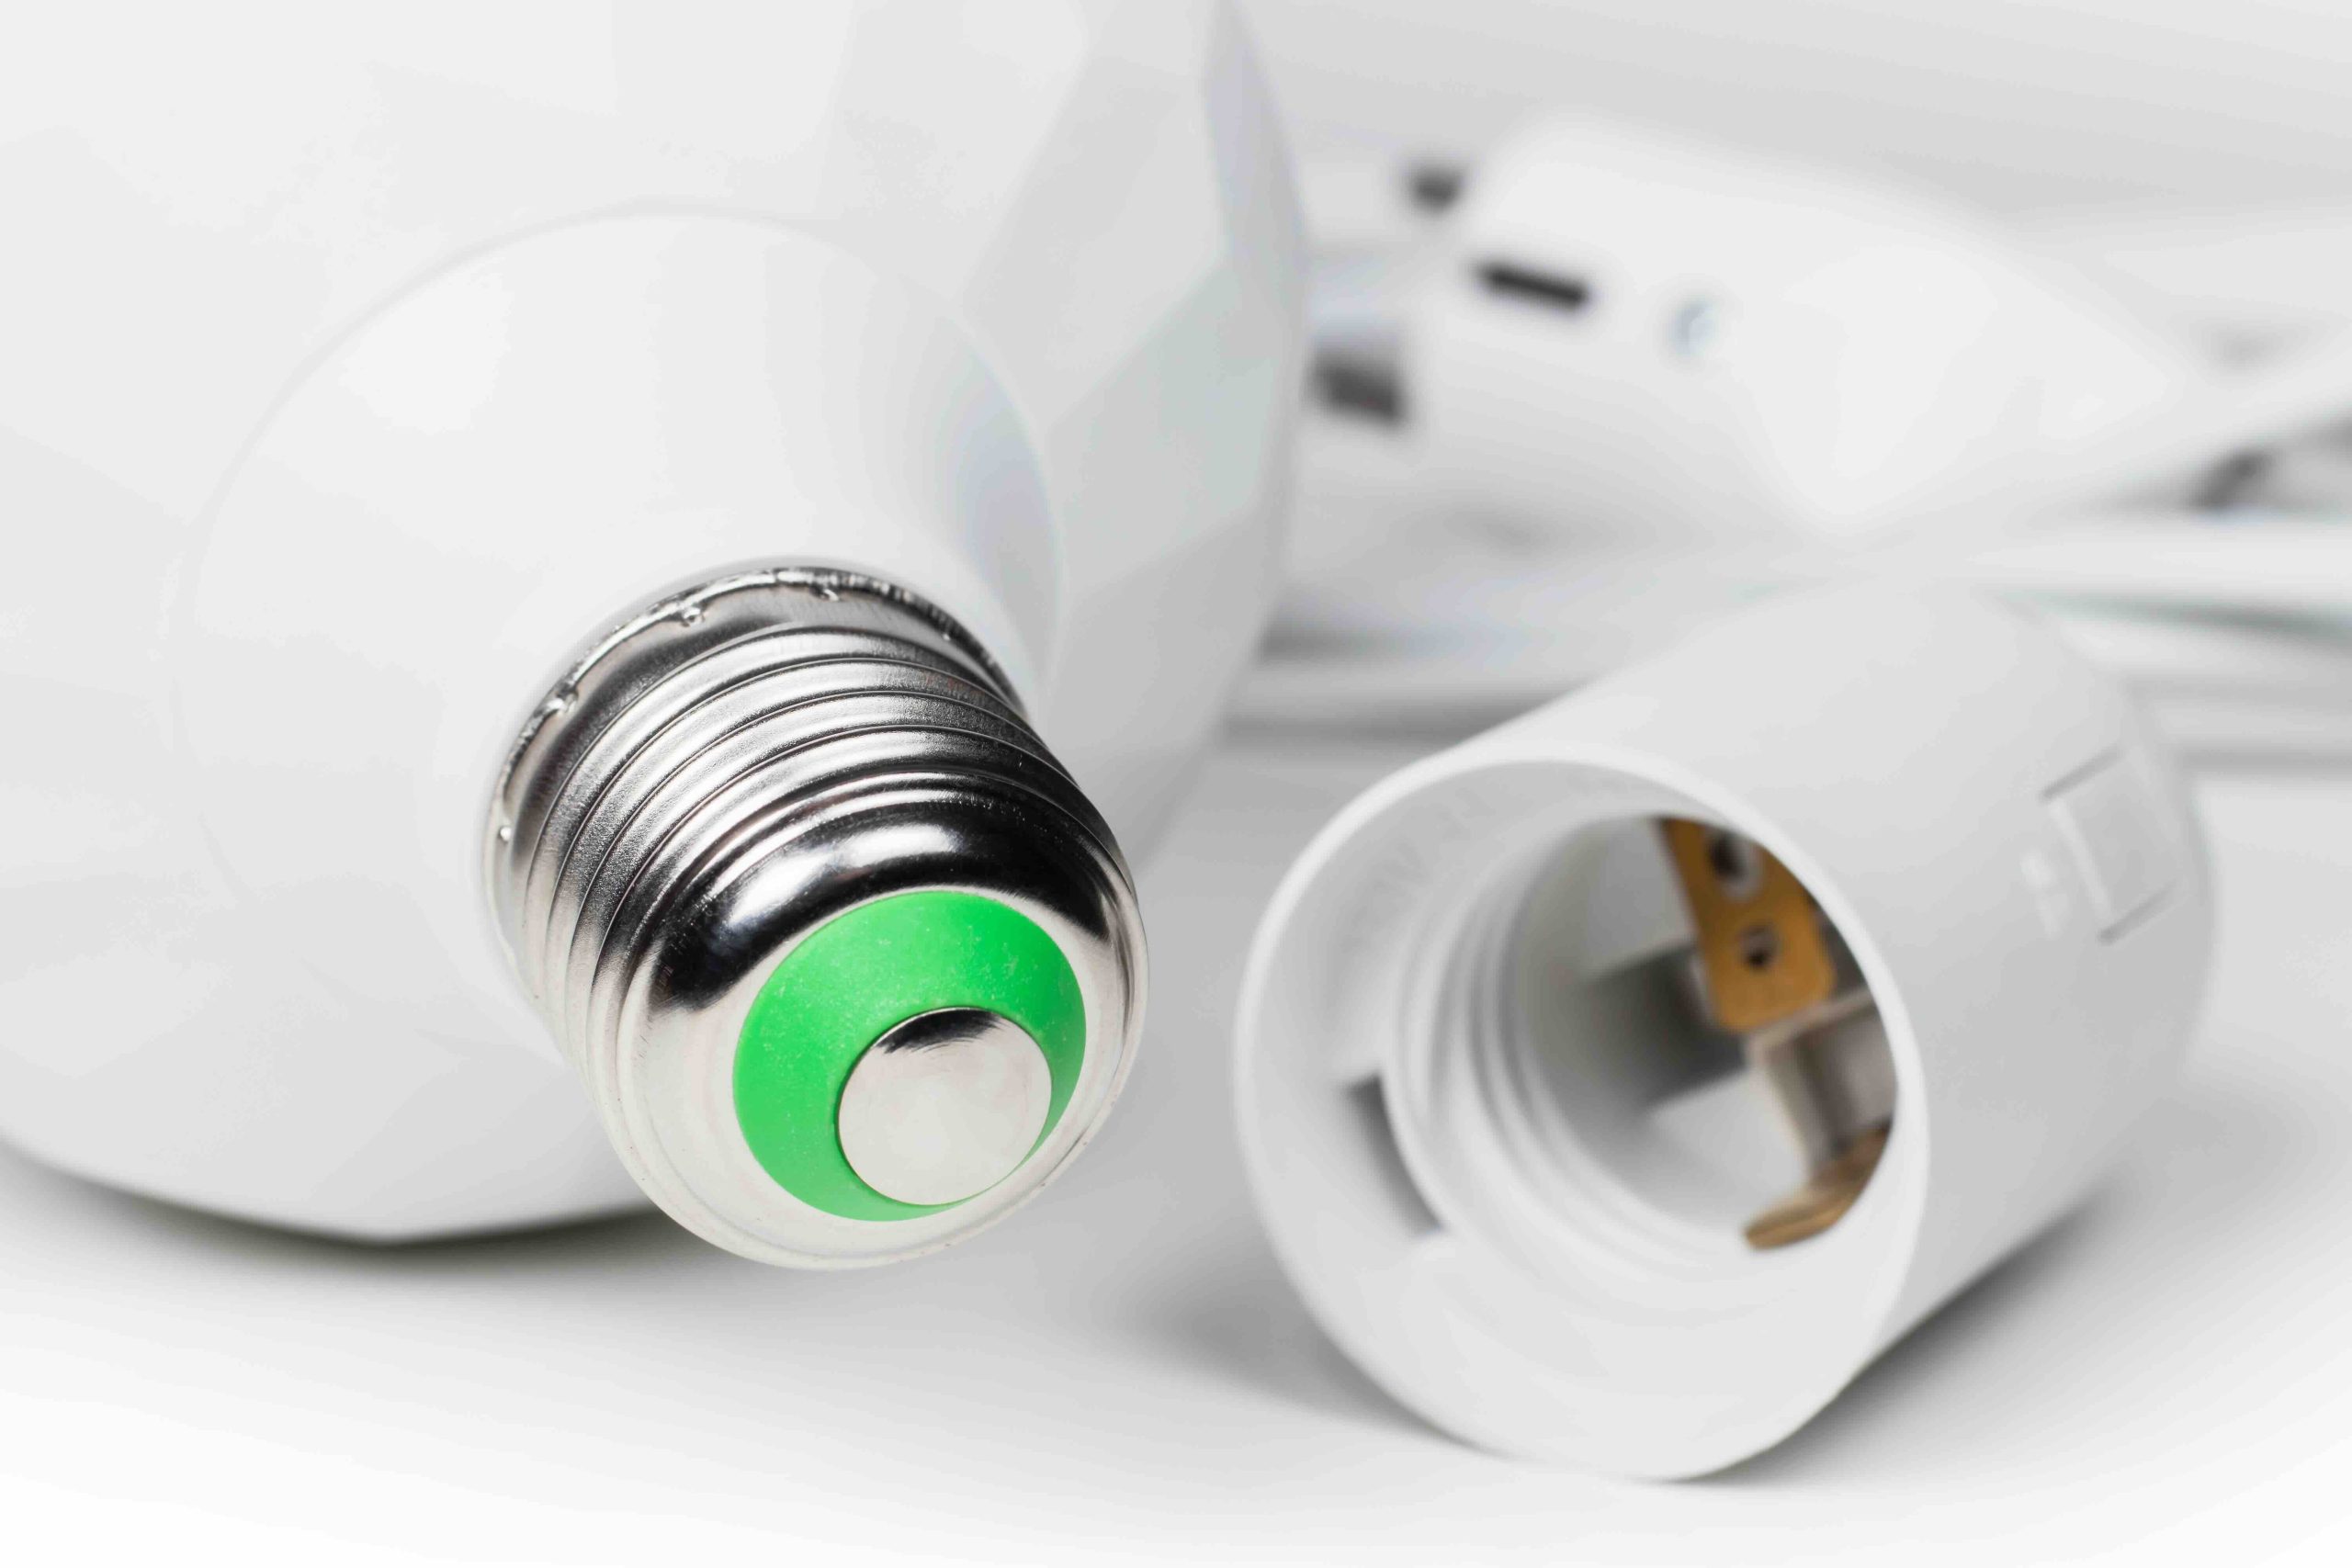
If you have ever unscrewed a lamp to replace a bulb and noticed a small plastic or metal piece sitting at the very top of the socket assembly, that is the lamp socket cap. It is one of those components that most homeowners never think twice about, right up until something goes wrong. The lamp socket cap is the topmost part of a lamp socket, the piece that holds everything together structurally and, more importantly, provides the insulation needed to keep the wiring safely contained inside the lamp base. It threads onto or snaps into the socket shell and works in combination with the socket shell, socket insulator, and socket interior to form the complete lamp socket assembly. Without a functioning cap, the lamp essentially has no anchor point for the wiring and no protective barrier between live electrical components and the outer surface of the lamp. That is not a minor detail. That is a safety concern.
How the Lamp Socket Cap Actually Works
Understanding how a lamp socket cap functions helps clarify why its condition matters. The cap sits at the base of the socket assembly and connects directly to the lamp’s center pipe, which runs through the body of the lamp. A threaded nut or set screw typically secures the cap to the pipe, locking the entire socket unit in place. Wires from the lamp cord pass through a hole in the center of the cap and connect to the terminal screws inside the socket interior. The cap essentially acts as the foundation of the socket. When you switch a lamp on and the circuit completes, electricity travels through the wiring, past the cap, through the socket interior, and into the bulb. The cap does not carry current itself in most standard configurations, but it does physically secure everything that does. If the cap is cracked, stripped, or improperly installed, the socket can shift, wiring can become exposed, and the lamp becomes unreliable at best and genuinely dangerous at worst.
Common Reasons a Lamp Socket Cap Fails
Lamp socket caps are not immune to wear, and several factors can contribute to failure over time. Here is what tends to cause problems most often:
- Heat exposure from high-wattage bulbs can warp or crack plastic caps and corrode metal ones over extended periods
- Physical stress from overtightening the socket nut during bulb changes can strip the threading on the cap
- Age-related brittleness causes older phenolic or early plastic caps to fracture, especially when any pressure is applied
- Moisture exposure in certain lamp placements, like outdoor fixtures or humid rooms, accelerates corrosion in metal caps
- Incorrect cap size for the socket shell creates a loose fit that allows the assembly to wobble and wear unevenly
Recognizing these causes early can help homeowners catch a failing cap before it creates a larger electrical issue inside the lamp or the outlet it is plugged into.
Signs Your Lamp Socket Cap Needs Attention
A lamp socket cap problem does not always announce itself loudly. Sometimes a lamp just starts behaving oddly, and the cap is the last thing on anyone’s mind. Flickering that persists even after a bulb swap is one of the more telling signs. If the socket assembly feels loose when you gently wiggle the bulb, that is another indicator. Visible cracks, discoloration from heat, or a cap that has begun to separate from the socket shell all suggest that replacement is overdue. In some cases, a burning smell from the lamp, especially when it is not coming from a new bulb burning off dust, can point to compromised insulation near the cap area. Any of these symptoms deserve prompt attention because lamp electrical issues, while often simple to fix, do carry real safety implications if left unaddressed.

How to Replace a Lamp Socket Cap at Home
Replacing a lamp socket cap is one of the more manageable DIY electrical tasks for homeowners who are comfortable working with basic tools. The process starts with unplugging the lamp completely, which is non-negotiable. After removing the shade and bulb, you press the socket shell inward where it is stamped with the word “press” and lift it off, exposing the socket interior. Disconnect the wires from the terminal screws and slide the old cap off the center pipe. Take the old cap to a hardware store to match the correct size, since caps are not universally interchangeable. Thread the new cap onto the lamp pipe, reconnect the wires using the correct polarity, and reassemble the socket components in reverse order. The entire repair, once you have the right part, typically takes under thirty minutes. If the wiring inside looks frayed or the socket shell shows significant corrosion, replacing the entire socket assembly rather than just the cap is the smarter call.
Choosing the Right Lamp Socket Cap
Lamp socket caps come in different sizes to correspond with different socket shell diameters. The most common household lamp sockets use a medium base configuration, but smaller candelabra base lamps require a narrower cap. Material matters too. Phenolic caps are the traditional choice and handle heat reasonably well. Porcelain caps offer superior heat resistance and are worth considering for lamps that use higher-wattage incandescent bulbs. Metal caps, often made from brass or steel, provide durability but can corrode in humid environments. When purchasing a replacement, matching the original cap’s threading and outer diameter ensures a secure fit. Reputable lighting supply stores and home improvement retailers carry a range of options, and the cost is typically quite low, making this one of the more budget-friendly lamp repairs a homeowner can make.
Safety Considerations Every Homeowner Should Know
Working on any lamp component requires treating electricity with appropriate respect, even for something as small as a socket cap. Always unplug the lamp before beginning any inspection or repair. Never assume a lamp is safe to touch simply because it is switched off at the switch, the cord can still carry current if it remains plugged in. Avoid using bulbs that exceed the wattage rating listed inside the socket shell, as this is one of the leading causes of heat-related socket damage, including cap degradation. If a lamp has been in use for many years and the wiring insulation appears cracked or brittle anywhere along its length, a full rewiring is a better investment than replacing only the cap. These are not dramatic warnings, just practical ones. Lamp repairs are generally safe when approached with care and the right information.
Lamp Socket Caps and Home Maintenance: The Bigger Picture
Most homeowners do not think of lamps as part of their home maintenance checklist, but the truth is that interior lighting fixtures are a consistent source of minor electrical headaches when neglected. A lamp socket cap failure that goes unaddressed long enough can cause arcing inside the socket, which creates a fire risk. It can also send unusual electrical signals back through the outlet, potentially tripping a breaker or, in older homes with outdated wiring, contributing to bigger problems. Staying proactive about lamp health, checking for heat discoloration, loose sockets, and flickering behavior seasonally, takes only a few minutes and prevents those small inconveniences from becoming something more costly. Lamps may be portable, but they interact with your home’s electrical system every time they are plugged in.
How Armadillo Home Warranty Supports Homeowners Dealing With Electrical Concerns
A lamp socket cap replacement is straightforward and affordable on its own, but electrical issues in a home rarely travel alone. When a lamp starts behaving strangely, it sometimes points to a broader wiring issue, an outlet problem, or a circuit concern that goes well beyond the lamp itself. That is where having solid home warranty coverage makes a real difference. Armadillo home warranty plans for electrical system protection are designed to cover the kinds of failures that catch homeowners off guard, and the company brings a straightforward, no-nonsense approach to the claims process that homeowners actually appreciate. If a lamp issue reveals a deeper problem with interior wiring or an outlet, that coverage can mean the difference between a manageable repair and an unexpected expense. Homeowners who want to take the guesswork out of home system protection can get a personalized home warranty quote covering electrical and more in just a few minutes. Protecting the big systems in your home starts with understanding the small things, and a lamp socket cap is a surprisingly good reminder of that.

Frequently Asked Questions About Lamp Socket Caps
What is a lamp socket cap?
A lamp socket cap is the topmost component of a lamp socket assembly that attaches to the lamp’s center pipe, secures the wiring, and provides the structural base for the entire socket unit.
Can I replace a lamp socket cap myself?
Yes, replacing a lamp socket cap is a manageable DIY repair for most homeowners. The key steps are unplugging the lamp, disassembling the socket, removing the old cap, and threading on a correctly sized replacement.
How do I know what size lamp socket cap to buy?
Bring the old cap to a hardware or lighting supply store and match it by outer diameter and threading. Most standard household lamps use a medium base cap, while candelabra lamps require a smaller size.
What causes a lamp socket cap to crack or fail?
Common causes include prolonged heat exposure from high-wattage bulbs, overtightening during bulb changes, age-related material brittleness, and moisture exposure in humid or outdoor environments.
Is a damaged lamp socket cap a fire hazard?
A cracked or improperly seated cap can expose wiring, allow the socket to shift, and potentially cause arcing, which does present a fire risk. Damaged caps should be replaced promptly.
What materials are lamp socket caps made from?
Lamp socket caps are commonly made from phenolic plastic, porcelain, brass, or steel. Porcelain offers the best heat resistance, making it a strong choice for higher-wattage applications.
How much does a lamp socket cap cost?
Lamp socket caps are generally inexpensive, often ranging from a couple of dollars to around ten dollars depending on the material and size. They are available at most hardware and home improvement retailers.
Should I replace just the cap or the entire socket assembly?
If the cap alone is damaged but the socket interior, shell, and wiring are all in good condition, replacing just the cap is sufficient. If any other component shows wear, corrosion, or damage, replacing the full socket assembly is the better choice.
Can a bad lamp socket cap affect my home’s electrical system?
While a lamp socket cap issue is typically isolated to the lamp itself, severe socket failures can cause unusual electrical behavior at the outlet level. In homes with older wiring, this warrants closer inspection.
Does a home warranty cover lamp socket cap repairs?
Home warranties typically focus on built-in home systems and appliances rather than portable lamps. However, if a lamp issue reveals a problem with a hard-wired fixture or connected electrical system, that coverage may apply depending on the plan.