Replacing a Dimmer Switch With a Regular Switch: What Every Homeowner Should Know
So you have a dimmer switch that is buzzing, flickering, or just not working the way it used to, and now you are wondering whether replacing a dimmer switch with a regular switch is something you can handle yourself. The short answer is yes, in most cases it is a manageable DIY task, but there are a few things worth understanding before you pick up a screwdriver. This guide walks through everything from why homeowners make this swap to what can go wrong if the job is done carelessly. By the end, you will know exactly what to expect and when to call in a professional.
Why Homeowners Choose to Replace a Dimmer Switch With a Regular Switch
Dimmer switches have their appeal. They set a mood, they can reduce energy consumption when used intentionally, and they add a layer of control over your home’s lighting. But they are not always the right fit for every situation. Some homeowners discover that their light fixtures are incompatible with dimmer technology, particularly older fixtures or ceiling fans where dimmers can cause humming and motor damage. Others simply want a no-fuss on and off switch that works without the occasional hiccup. Whatever the reason, replacing a dimmer switch with a standard toggle or rocker switch is one of the more straightforward electrical tasks you can take on around the house, provided you approach it carefully and prioritize safety above all else.
Understanding How a Dimmer Switch Works Compared to a Standard Switch
A regular switch is simple by design. It either completes a circuit or breaks it, sending full power to the light fixture or cutting it off entirely. A dimmer switch operates differently. It uses a component called a triac to rapidly cycle the electrical current on and off many times per second, which reduces the average power delivered to the bulb and allows you to control brightness. This cycling is what causes the occasional buzzing you might hear with certain bulb types. When you remove a dimmer and install a standard switch, you are essentially replacing a variable-output device with a fixed-output one. The wiring is similar, but the components inside the switch housing are quite different.
Tools and Materials You Will Need for This Project
Before starting, gather everything you need so the job goes smoothly. Here is what a typical switch replacement requires:
- A flathead and Phillips screwdriver
- A non-contact voltage tester
- A new standard single-pole switch rated for your circuit
- Wire nuts or the connectors included with the new switch
- Electrical tape
- A flashlight or headlamp for better visibility
The voltage tester is not optional. It is the tool that confirms the power is completely off before you touch any wiring, and skipping it is the kind of shortcut that leads to serious injury. Pick one up at any hardware store if you do not already own one.
Step-by-Step Process for Replacing a Dimmer Switch With a Regular Switch
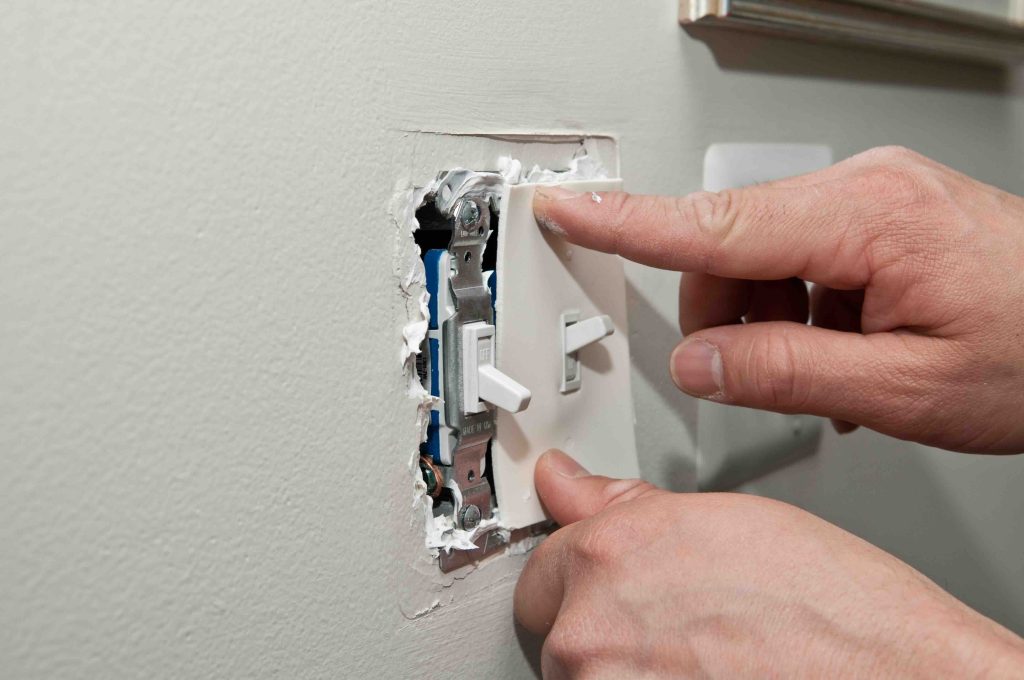
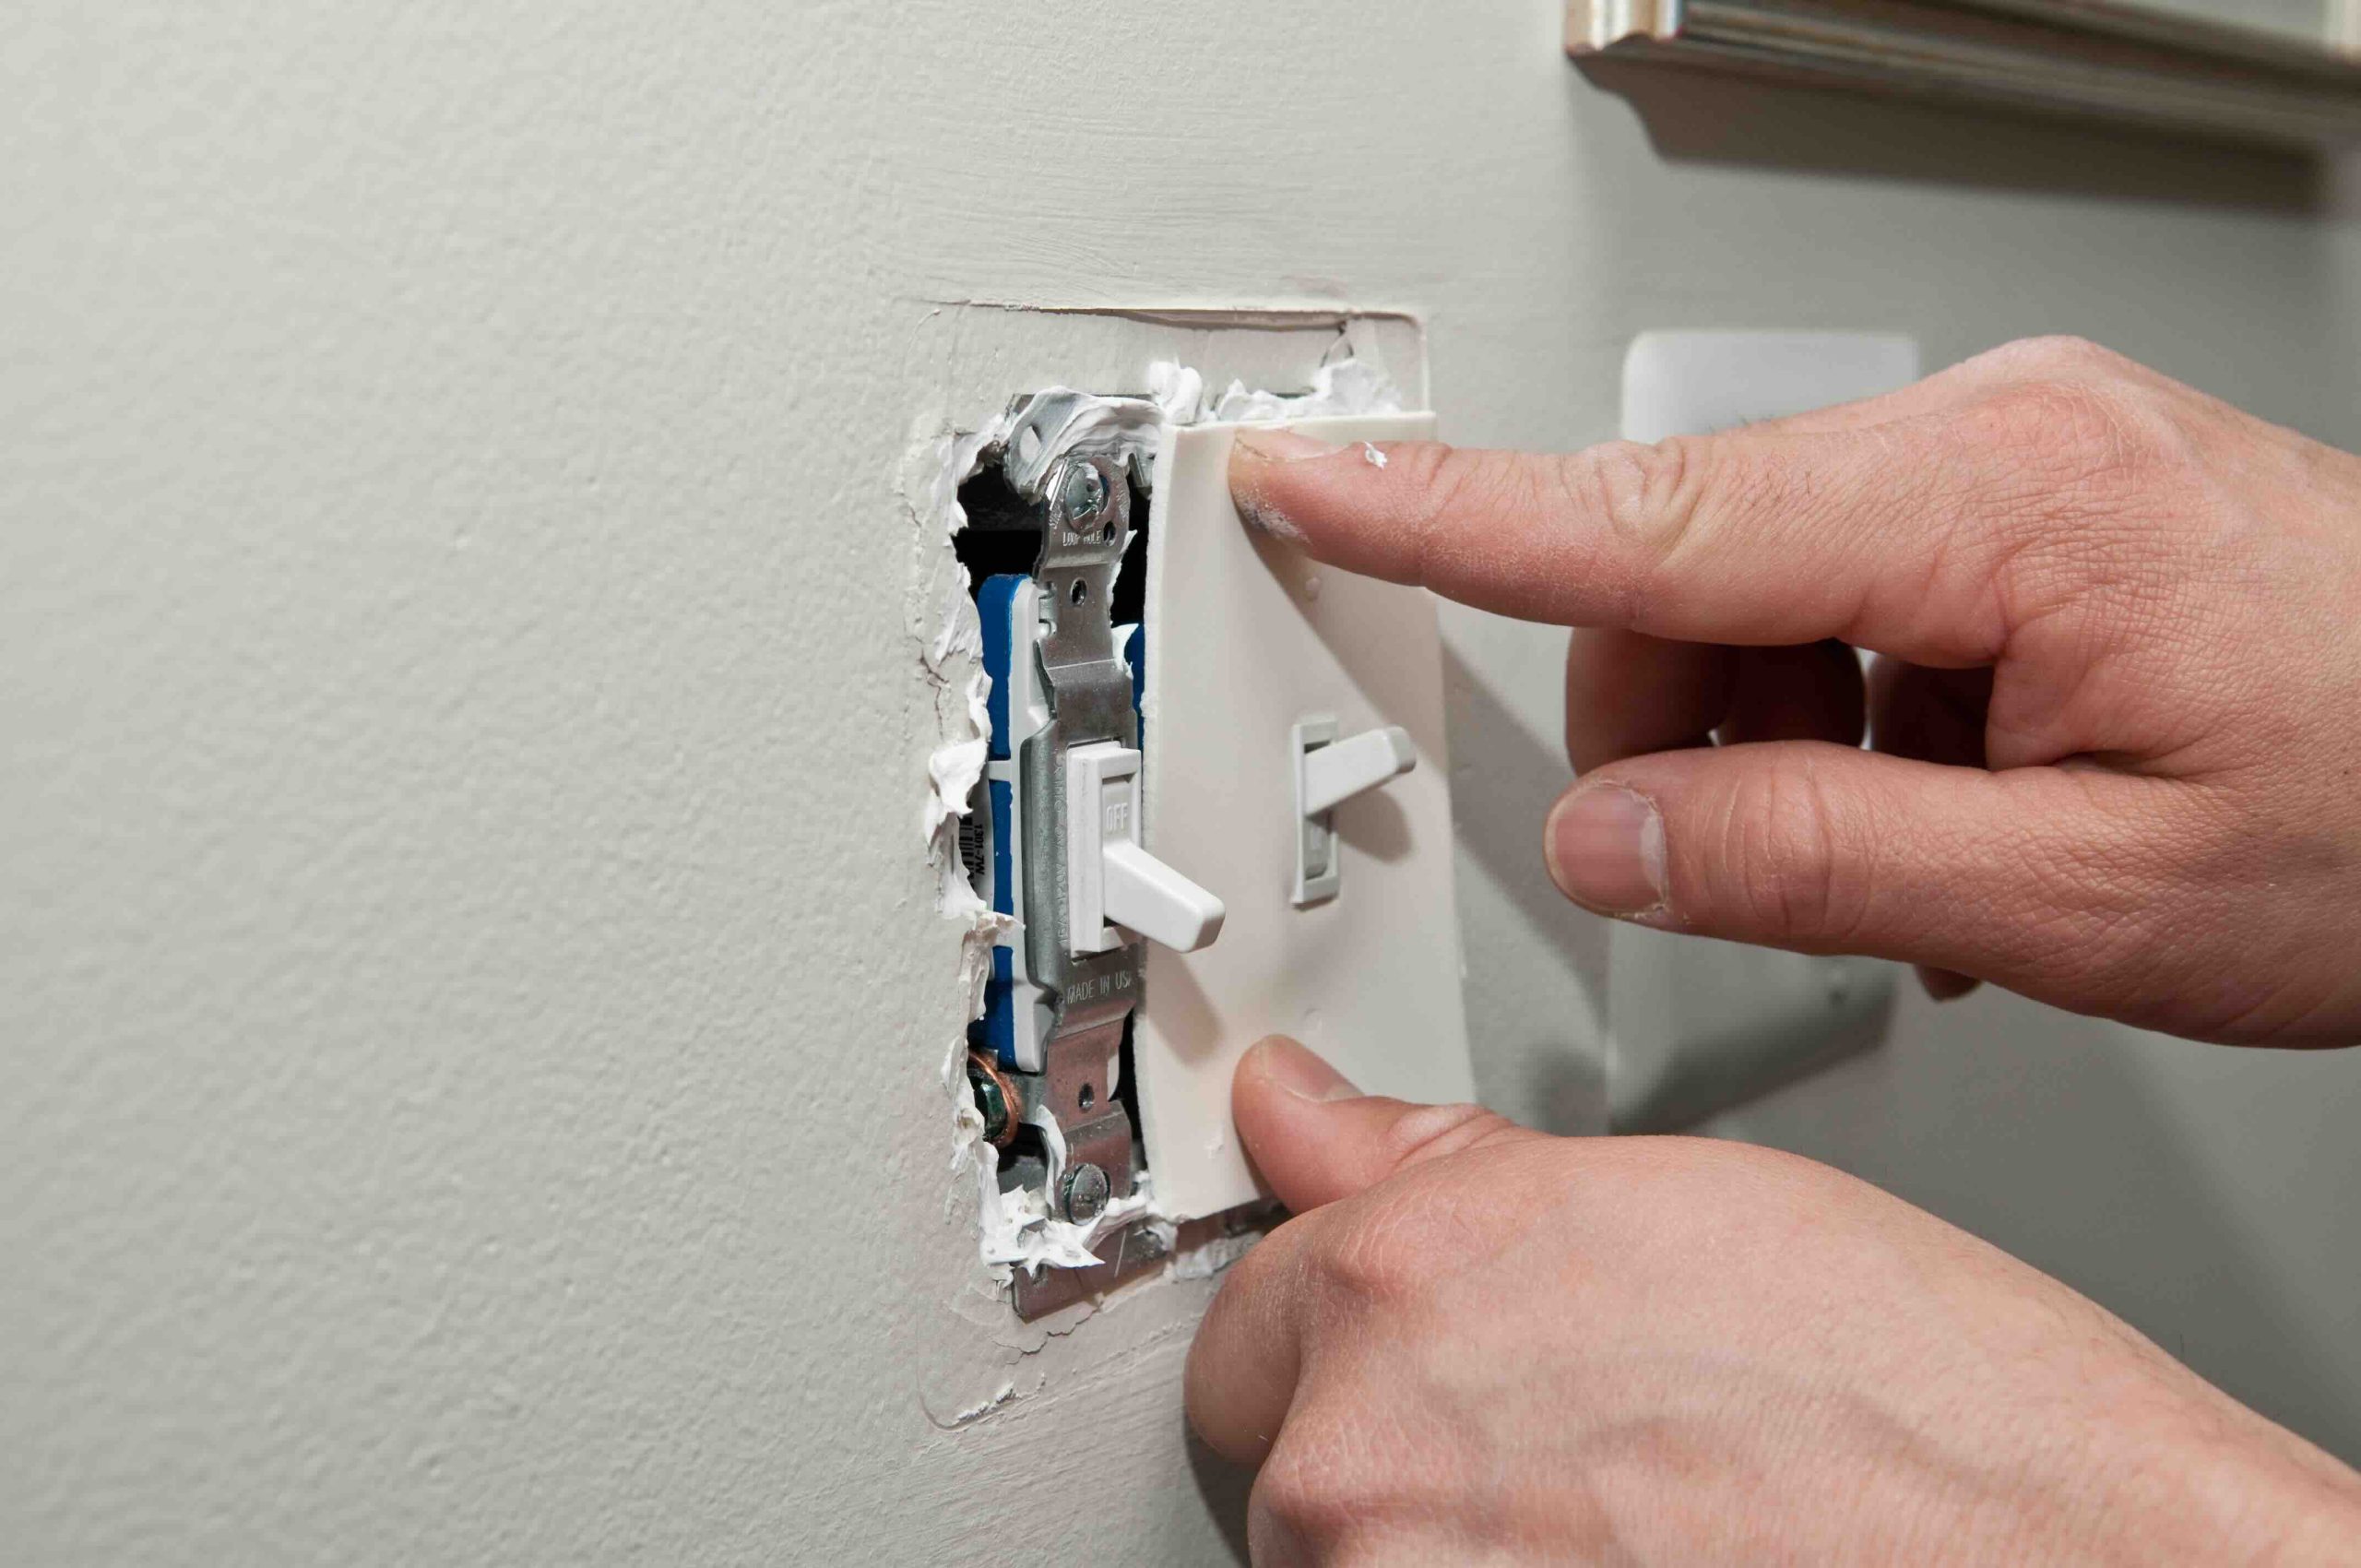
Start by going to your home’s electrical panel and switching off the breaker that controls the circuit where your dimmer switch is located. Flip the dimmer switch a few times after cutting the breaker to confirm the light no longer responds. Then use your non-contact voltage tester near the switch plate to verify no current is running through the wires. Once confirmed safe, remove the switch plate cover and unscrew the switch from the electrical box. Carefully pull the switch out enough to access the wiring. Take a photo of how the wires are connected before disconnecting anything. This one step saves a lot of confusion later. Disconnect the wires from the dimmer, noting that some dimmers have a green ground wire or screw while others may have a bare copper wire. Connect the same wires to your new standard switch, attach the ground wire to the green screw, and secure the switch back into the box. Replace the cover plate, restore power at the breaker, and test your new switch. That is the full process, and for most standard single-pole dimmer replacements, it takes under 30 minutes.
Common Mistakes to Avoid During This Electrical Swap
Even a job this manageable has a few ways it can go sideways. Skipping the voltage test is the most dangerous mistake. Another common error is not accounting for the ground wire, which is required by modern electrical code. If your older dimmer was installed without a ground connection and your new switch has a ground terminal, you will need to verify whether a ground wire is present in the box. If the electrical box has no ground wire at all, that is a code issue worth noting and potentially addressing before moving on. Homeowners also sometimes purchase a three-way switch by mistake when they only need a single-pole switch. Check the number of terminals and confirm the type of switch your circuit requires before purchasing a replacement.

When to Call a Licensed Electrician Instead of DIYing
Not every dimmer replacement is a straight swap. If you open the electrical box and find aluminum wiring, burnt or melted wire insulation, an absence of ground wires throughout, or wiring configurations you do not recognize, stop and call a licensed electrician. These are signs of underlying electrical issues that go beyond a simple switch replacement. Similarly, if your home is older and the wiring has not been inspected in many years, a small project like this can reveal larger problems that need professional attention. There is no shame in recognizing when a job is beyond the comfort zone of a weekend project, and electrical work done incorrectly creates real fire and safety hazards.
Compatibility Considerations Before Making the Switch
One thing homeowners sometimes overlook is whether the light fixture itself will behave differently once the dimmer is removed. If your fixture was always run at full brightness anyway, a standard switch is a perfectly fine replacement. But if the fixture is part of a smart home system or if it uses specialty bulbs that were calibrated for dimmer use, verify that simply running them at full power through a standard switch will not create any issues. Most LED and incandescent bulbs run just fine on a standard switch, but it is worth a quick check before assuming compatibility.
How This Relates to Home Maintenance and Electrical Upkeep
Replacing a dimmer switch is one of those small electrical maintenance tasks that keeps your home running safely and efficiently. Electrical components wear out over time, and switches, dimmers, and outlets that are years old may not meet current safety standards. Staying proactive about these kinds of updates is part of responsible home ownership. Beyond individual switches, it is worth periodically checking your electrical panel, outlet function throughout the home, and the condition of wiring in older spaces like garages and basements. Small fixes done on time prevent larger repairs later, which is a principle that applies across every system in your home.
Does a Home Warranty Cover Electrical Switch Repairs or Replacements
When homeowners start thinking about electrical repairs, the question of home warranty coverage often comes up. It is worth understanding what a home warranty typically covers in the electrical category. Most home warranty plans include coverage for interior wiring, electrical panels, and certain components that fail due to normal wear and tear. However, a simple switch swap, particularly one you are doing yourself as a DIY project, generally falls outside the scope of what a warranty claim would address. Where a home warranty becomes genuinely valuable is when you uncover a larger electrical problem during a small project, one that requires a licensed electrician and involves components like circuit breakers, wiring systems, or the panel itself. Those repairs can be expensive, and having coverage in place can make a meaningful difference in what comes out of your pocket.

Why Armadillo Is the Right Home Warranty Partner for Homeowners Like You
A project like replacing a dimmer switch is a good reminder that homes require constant attention, and sometimes what starts as a minor fix reveals a much bigger issue underneath. That is exactly the kind of moment where having a solid home warranty plan behind you matters. Armadillo home warranty coverage for electrical systems and home essentials is designed for real homeowners who want straightforward protection without the fine-print frustration. If that dimmer replacement reveals outdated wiring or a panel issue, Armadillo can help cover the cost of getting a licensed professional in to handle it properly. When you are ready to protect more than just one switch in your home, get a free home warranty quote for electrical and system coverage today and find out how affordable peace of mind can be. Armadillo keeps things simple, transparent, and built around what homeowners actually need.
Frequently Asked Questions About Replacing a Dimmer Switch With a Regular Switch
Can I replace a dimmer switch with a regular switch myself?
Yes, in most cases this is a manageable DIY task. As long as you turn off the breaker, verify power is off with a voltage tester, and follow basic wiring steps, most single-pole dimmer replacements are straightforward for a careful homeowner.
Do I need to turn off the power before replacing a dimmer switch?
Absolutely. Always switch off the breaker controlling that circuit and confirm the power is off using a non-contact voltage tester before touching any wiring. This is non-negotiable for safety.
Will a regular switch work with any light fixture that had a dimmer?
In most cases, yes. A standard switch simply delivers full power to the fixture rather than a variable amount. As long as the fixture itself is functional and uses compatible bulbs, a regular switch will work fine.
Why does my dimmer switch buzz or hum?
Dimmer switches use a triac to cycle power rapidly, and certain bulb types, especially older incandescent or some LEDs, can vibrate at that cycling frequency, creating an audible hum. Replacing the dimmer with a standard switch eliminates this issue entirely.
What type of switch do I need to replace a single dimmer?
You need a single-pole switch, which is the most common type sold at hardware stores. It has two terminals for the hot wires and one for the ground. If you have two switches controlling one light, you may need a three-way switch instead.
What do I do if I do not see a ground wire in the electrical box?
If there is no ground wire present in the box, that is a code issue in most jurisdictions. You can still install the switch without connecting a ground, but it is worth consulting a licensed electrician to assess whether the wiring needs to be updated for safety.
How long does it take to replace a dimmer switch with a regular switch?
For a straightforward single-pole replacement, most homeowners complete the job in 20 to 30 minutes. More complex wiring situations or older homes with unusual configurations may take longer.
Does a home warranty cover replacing a dimmer switch?
A simple DIY switch replacement typically falls outside of home warranty coverage. However, if the project reveals a larger electrical issue such as a failing panel, damaged wiring, or a circuit problem, a home warranty plan with electrical coverage can help offset those repair costs significantly.
Can I put a dimmer switch back in later after replacing it with a regular switch?
Yes. The process is reversible. As long as your light fixture and bulbs are compatible with dimmer technology, you can swap a standard switch back out for a dimmer at any time following the same safety steps.
What should I do if the light does not work after I install the new switch?
First, check that the breaker is fully reset and the new switch is in the on position. Then verify the wire connections are secure and correctly placed on the terminals. If the light still does not work, the issue may be with the fixture or bulb rather than the switch itself.