What Is Bathroom Caulk and Why Does It Matter So Much?
Bathroom caulk is that thin, flexible sealant running along the edges of your tub, shower, sink, and tile. It keeps water from sneaking into the gaps between surfaces, which sounds simple enough until you realize what happens when it fails. Water intrusion behind walls and under floors is one of the most common causes of structural damage in homes, and a lot of it starts with deteriorated caulk that nobody noticed. The stuff looks minor. It is not minor. A well-sealed bathroom is one of the quietest protections your home has against moisture damage, mold growth, and costly repairs down the line.
Why Bathroom Caulk Breaks Down Over Time
Caulk does not last forever. Most silicone or latex caulk in a bathroom has a functional lifespan of five to ten years, depending on how the bathroom is used, how well it was applied in the first place, and what kind of product was used. Daily exposure to humidity, temperature fluctuations, soap scum, and cleaning chemicals gradually degrades the material. It shrinks, cracks, discolors, and eventually pulls away from the surfaces it was meant to seal. When that happens, water finds the gap. And water, given any opportunity at all, will take full advantage of it.
How to Tell When Bathroom Caulk Needs to Be Replaced
There are a few signs that are hard to miss once you know what to look for. Discoloration is usually the first thing homeowners notice, particularly that grayish or black staining that signals mold has taken hold inside the caulk itself. Cracking or peeling is another clear indicator, and so is caulk that feels spongy or soft instead of firm and flexible. Any visible gaps between the caulk line and the surface it is supposed to be sealing are a problem. If the caulk is pulling away from the tile or tub in any section, water is almost certainly getting through.

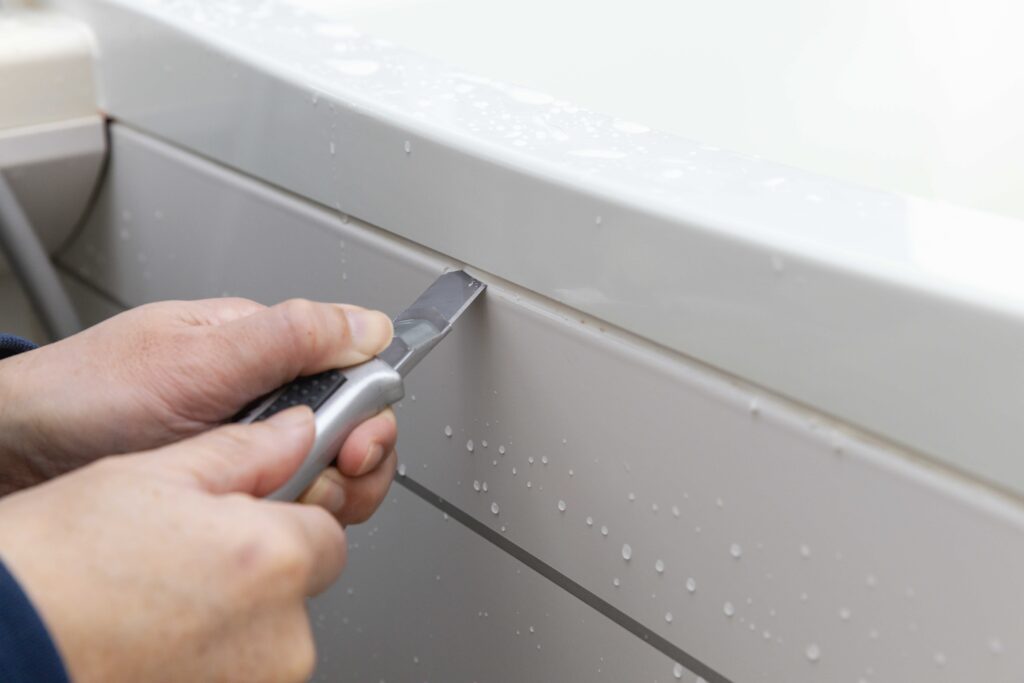
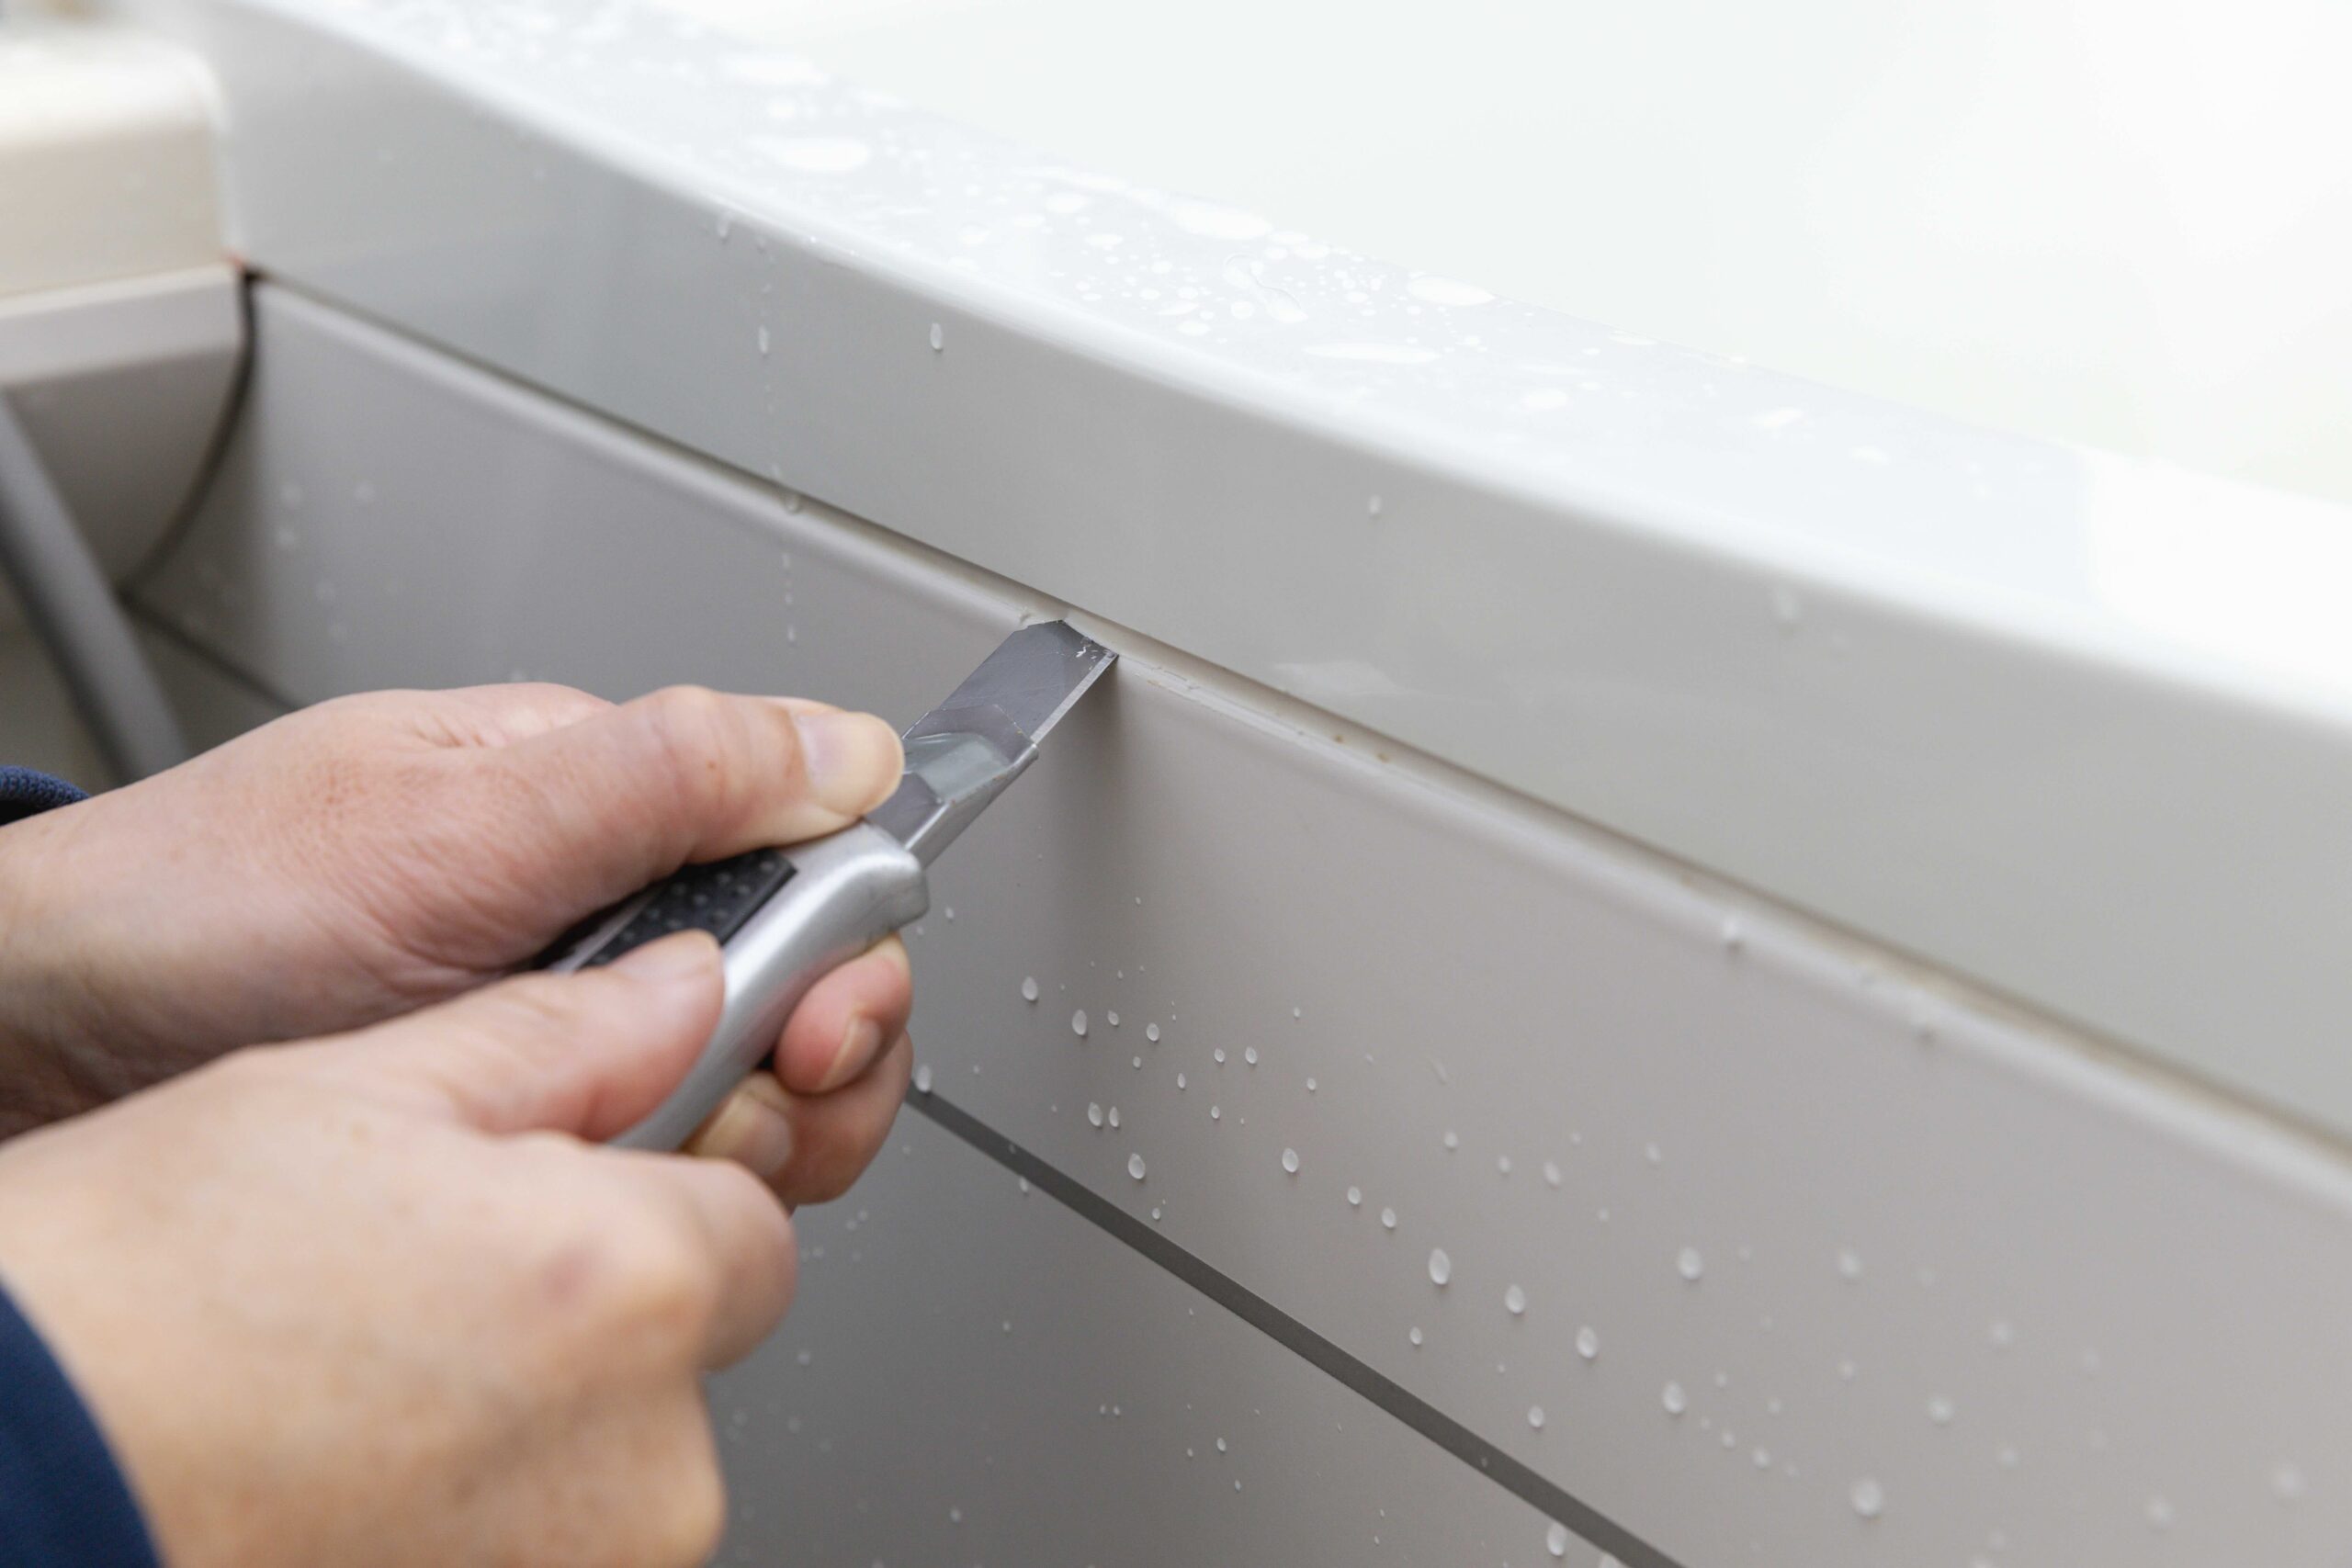
The Right Way to Remove Old Bathroom Caulk
Removing old caulk correctly matters more than most people expect. Rushing through this step is actually one of the most common reasons new caulk fails prematurely. The process takes patience, but it is manageable for most homeowners with the right tools and approach. Start by softening the old caulk using a commercial caulk remover product or a hairdryer on low heat. Once it is pliable, use a plastic or metal caulk removal tool to carefully score and lift the old material away from the surface. Avoid using sharp blades aggressively on tile or acrylic tubs since surface scratches create new entry points for moisture.
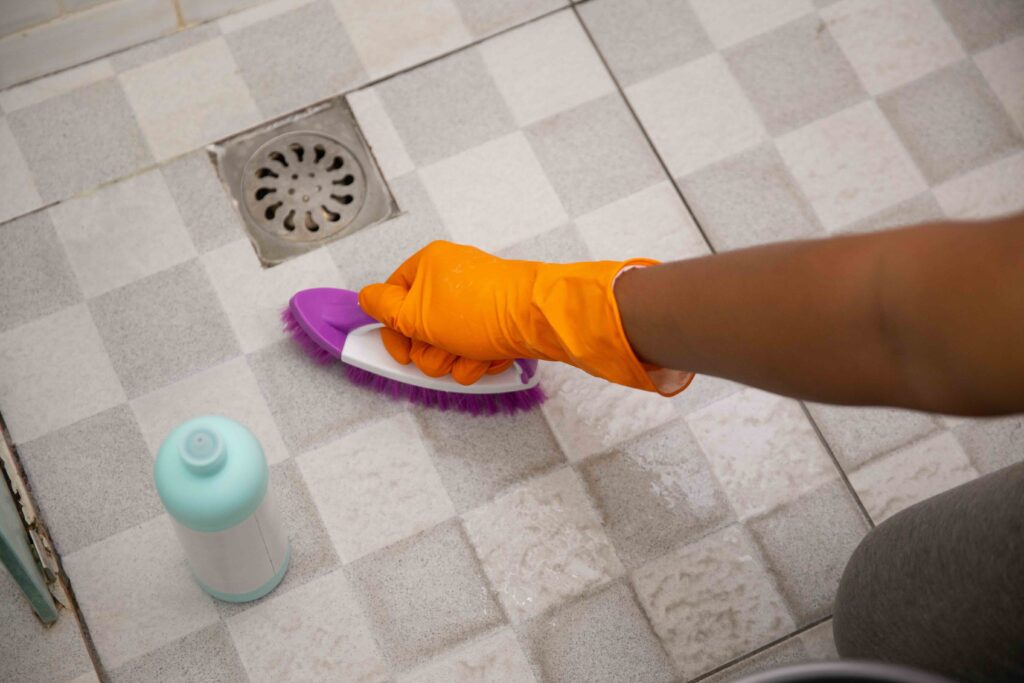
Cleaning and Prepping the Surface Before Recaulking
This step is where a lot of DIY recaulking jobs go wrong. After removing the old caulk, the surface has to be completely clean and completely dry before new caulk goes anywhere near it. Any residue, soap film, mold, or moisture left behind will compromise adhesion and invite mold to return quickly. Use a mildew-removing cleaner or a mixture of bleach and water to treat the area, then let it dry thoroughly, sometimes overnight, before applying new sealant. The surface prep is not optional and it cannot be rushed.
Choosing the Right Type of Caulk for Your Bathroom
Not all caulk products are interchangeable. Picking the right one for your specific application makes a real difference in how long it holds up. Here are the main types relevant to bathrooms:
- Silicone caulk is the most durable and water-resistant option, ideal for areas with direct water contact like tub surrounds and shower floors.
- Latex or acrylic caulk is easier to apply and clean up, but less resistant to standing moisture over time.
- Siliconized latex blends offer a middle ground with decent flexibility and water resistance, and they paint well if aesthetics matter.
- Always choose a product labeled specifically for kitchens and baths, as these formulations include mold and mildew inhibitors built into the compound.
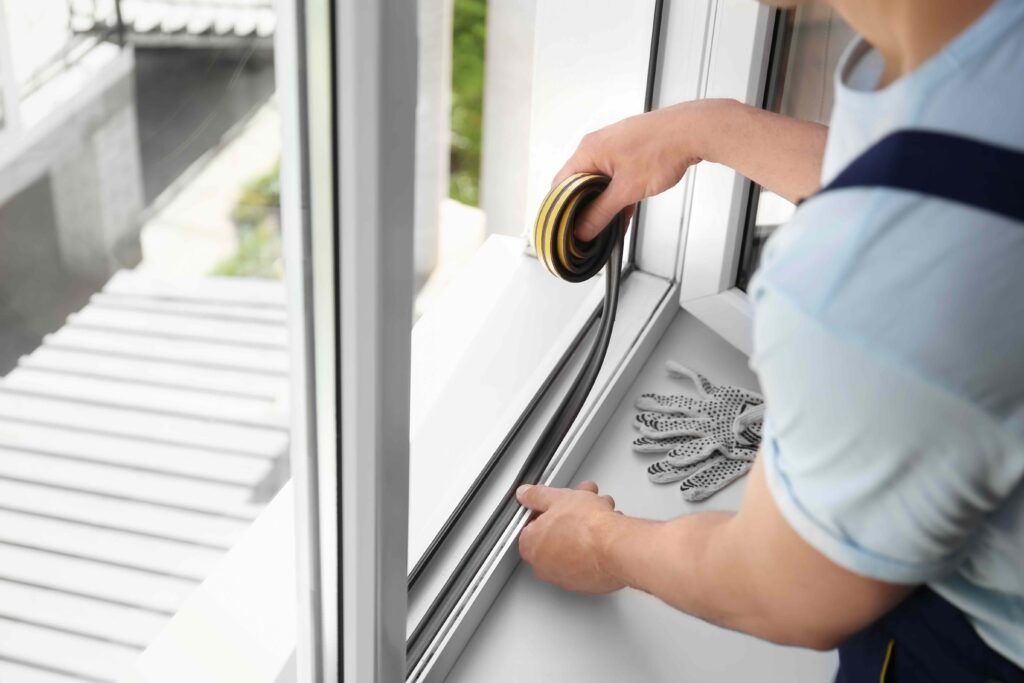
How to Apply New Caulk Like a Professional
Once the surface is clean and dry, cut the tip of your caulk tube at a 45-degree angle to create a small, controlled opening. Load it into a caulk gun and apply a steady, even bead along the seam without stopping. Consistency in pressure and pace matters a lot here. After applying the bead, smooth it using a wet fingertip or a caulk finishing tool to press it into the joint and create a clean, slightly concave finish. Remove any excess immediately with a damp cloth before it begins to skin over. Most silicone caulks need at least 24 to 48 hours to cure fully before the area is exposed to water.
Common Mistakes Homeowners Make When Recaulking
Even a straightforward home maintenance task like recaulking can go sideways. These are some of the most frequent missteps worth knowing about ahead of time:
- Applying new caulk directly over old caulk, which leads to poor adhesion and early failure.
- Not allowing adequate drying time before using the shower or tub again.
- Using the wrong type of caulk, such as a general-purpose product not rated for wet areas.
- Skipping the mold treatment step before recaulking, which allows existing mold to continue growing beneath new sealant.
- Cutting the caulk tube opening too wide and applying too thick a bead, which shrinks unevenly and is harder to smooth cleanly.
How Bathroom Caulk Maintenance Connects to Your Home Warranty
Here is where things get practical from a home protection standpoint. Bathroom caulk removal and replacement falls squarely into routine homeowner maintenance, which is the kind of upkeep that keeps larger systems functioning and protected. Home warranty plans are designed to cover the failures of major systems and appliances, things like plumbing systems, water heaters, and HVAC. But what most homeowners do not realize is that preventable water damage, often traced back to something as basic as failed caulk, can create exactly the kind of secondary damage that complicates warranty claims and repair outcomes. Staying on top of small maintenance tasks protects the bigger investments a home warranty is built to cover. If you are thinking seriously about protecting your home against the unexpected, Armadillo home warranty plans for homeowners who want real coverage represent a straightforward, transparent option worth evaluating. And if you want to understand exactly what your home could be covered for, you can get a free home warranty quote to protect your plumbing and home systems in just a few minutes.

Frequently Asked Questions About Bathroom Caulk Removal and Replacement
The following questions reflect what homeowners commonly want to know when tackling bathroom caulk maintenance for the first time or after years of letting it slide.
How often should bathroom caulk be replaced?
Most bathroom caulk should be inspected annually and replaced every five to ten years, depending on visible wear, discoloration, or adhesion failure. High-use bathrooms may require more frequent attention.
Can I apply new caulk over existing caulk?
No. Applying fresh caulk over old caulk almost always results in premature failure. The new sealant cannot bond properly to a compromised surface, and the underlying mold or damage remains unaddressed.
What is the best caulk for a shower or bathtub?
100 percent silicone caulk is generally the best choice for areas with direct, sustained water contact. It is flexible, highly water-resistant, and durable. Choose a product specifically formulated with mildew inhibitors for bathroom use.
How long does bathroom caulk take to dry?
Most silicone caulk becomes touch-dry within a few hours but requires a full 24 to 48 hours to cure completely before water exposure. Latex and acrylic formulas may dry faster but should still be given adequate cure time.
Is black mold in bathroom caulk dangerous?
Black discoloration in caulk is typically surface mold caused by moisture, and it should be treated and removed promptly. While bathroom mold is a health concern, the more immediate risk is the water intrusion damage it often signals beneath the surface.
Can bathroom caulk failure void a home warranty?
A home warranty generally does not cover damage resulting from lack of routine maintenance. If caulk failure leads to water damage that affects a covered system, a warranty provider may investigate whether the damage was preventable through basic upkeep.
What tools do I need to remove old bathroom caulk?
The basic toolkit includes a caulk softener or remover solution, a plastic or metal caulk removal tool, a utility knife for scoring, a mildew-eliminating cleaner, and clean rags. A hairdryer can substitute for commercial softener on small jobs.
How do I prevent mold from returning after recaulking?
Use a caulk product with built-in mold and mildew inhibitors, ensure the bathroom is properly ventilated during and after showers, and dry standing water from tub edges and tile grout lines regularly. Good airflow is one of the most effective long-term defenses.
Does bathroom caulk color matter?
Functionally, no. Aesthetically, matching the caulk to your tile grout or fixture finish creates a cleaner look. White and clear are the most universally used options, but coordinating colors are available for most standard bathroom finishes.
How much does it cost to have bathroom caulk professionally replaced?
Professional recaulking of a standard tub or shower typically ranges from one hundred to three hundred dollars depending on the scope of work, the region, and whether any surface preparation or mold remediation is also required. For most homeowners, it is a manageable DIY project that saves on labor costs.