Why Your LiftMaster Keypad Stopped Working and What to Do About It
You walk up to your garage, punch in your code, and nothing happens. The keypad is dark, unresponsive, or just blinking without doing a thing. Before you assume the worst, there is a very good chance the fix is simpler than you think. Learning how to change the battery in your LiftMaster keypad is one of those small maintenance tasks that most homeowners overlook until it becomes an inconvenience at the worst possible moment, usually when your hands are full or it is raining. This guide walks you through exactly what you need to know, from the type of battery required to what to do if swapping it does not solve the problem.
How the LiftMaster Wireless Keypad Actually Works
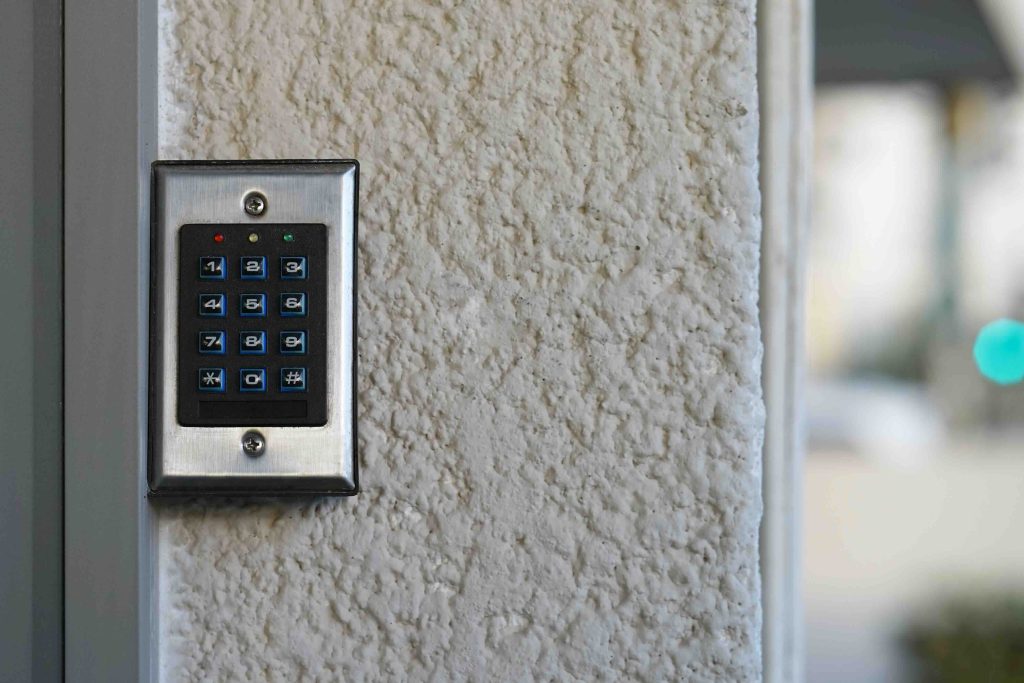
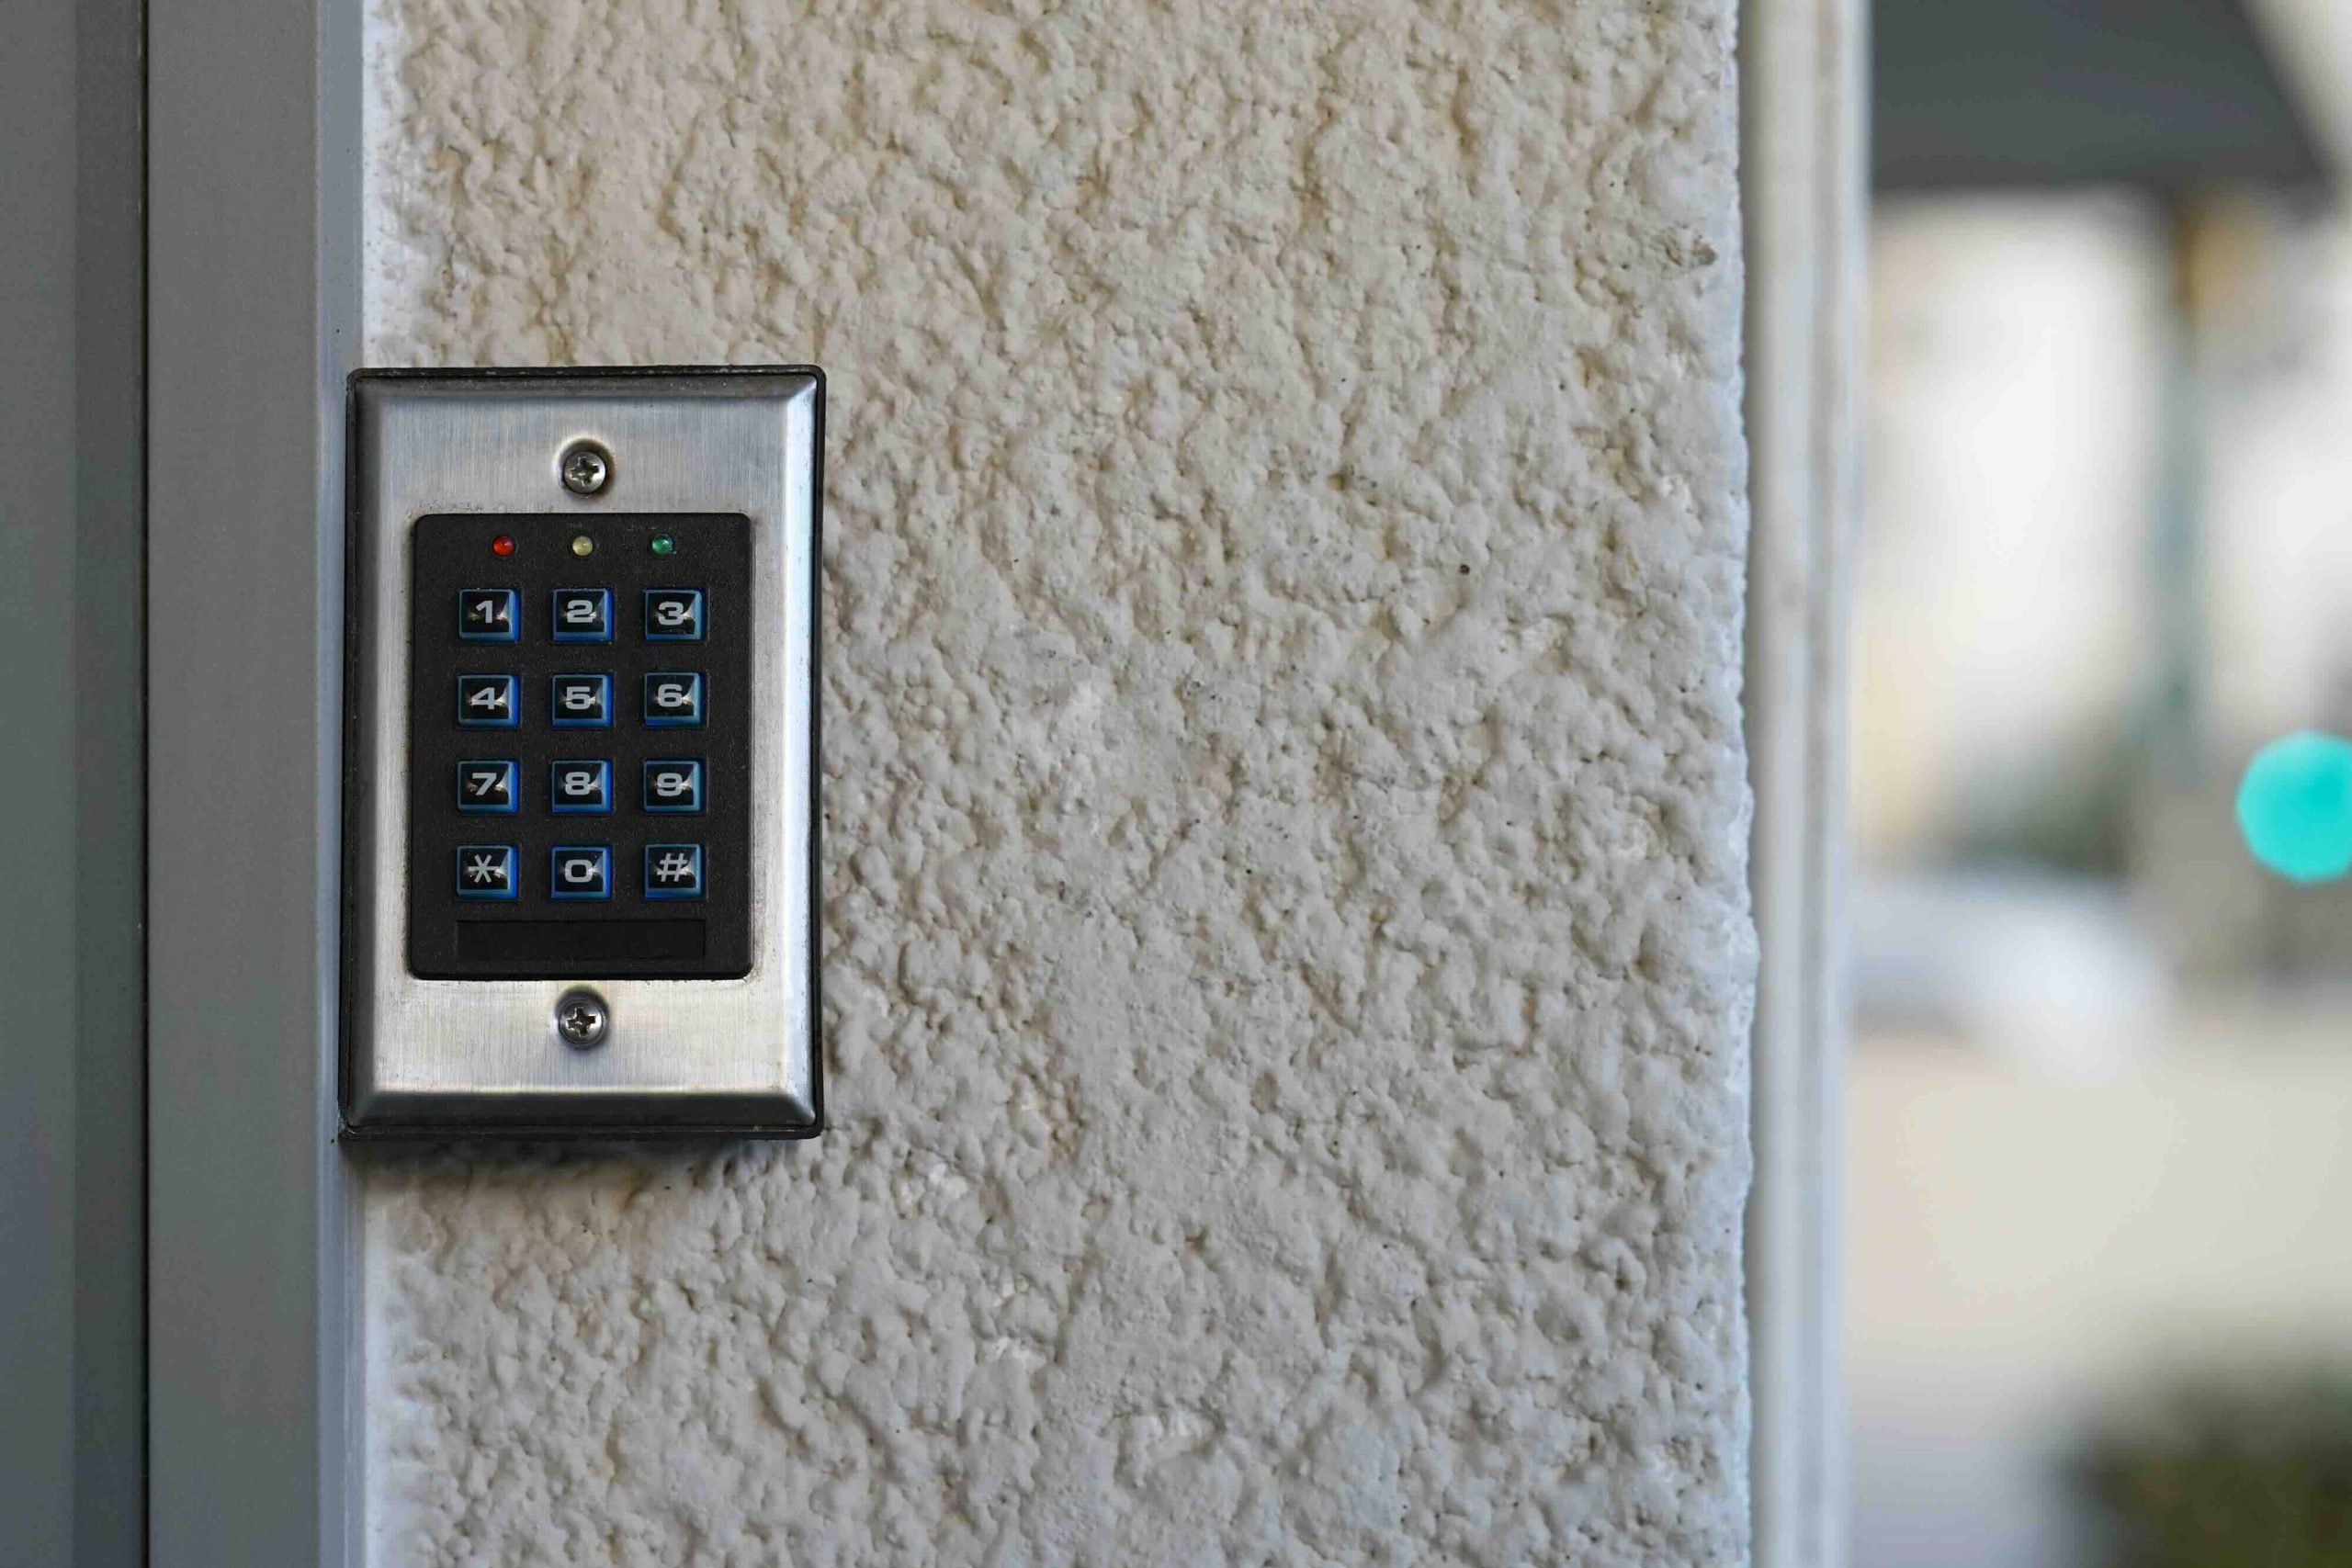
The LiftMaster wireless keypad is a battery-powered device that communicates with your garage door opener through a radio frequency signal. When you enter your PIN and press the enter button, the keypad sends that signal to the receiver unit inside your garage. The opener then verifies the code and activates the door motor accordingly. Because it runs entirely on battery power with no hardwired connection, the keypad depends completely on a healthy battery to transmit that signal with enough strength to reach the opener. When the battery starts to drain, the signal weakens before the keypad stops working entirely, which is why you might notice sluggish response times or the keypad lighting up without actually triggering the door. That is your first clue.
What Type of Battery Does a LiftMaster Keypad Use
Most LiftMaster wireless keypads use a single 9-volt alkaline battery. This is true for several of the most popular models, including the 387LM, 877MAX, and 976LM. That said, it is always worth checking your model number, which is typically printed on a label inside the battery compartment or on the back of the keypad housing. Some older models may use a different battery configuration. When you go to replace the battery, stick with a quality alkaline 9-volt from a reputable brand. Cheap batteries can drain faster and may not provide consistent voltage output, which affects how reliably the keypad signals your opener. It is a small detail that actually matters.
Step-by-Step: How to Change the Battery in a LiftMaster Keypad
The process is genuinely simple once you know what you are looking for. Here is a straightforward breakdown of how to do it correctly:
- Locate the battery compartment, usually found on the back of the keypad or underneath a sliding or hinged cover on the front
- Use a flathead screwdriver or your fingernail to open the cover if it does not slide open easily
- Remove the old 9-volt battery by disconnecting the snap connector
- Connect the new 9-volt battery to the snap connector, making sure the polarity terminals match
- Place the battery securely inside the compartment and close the cover
- Test the keypad by entering your PIN and confirming the door responds normally
That is it. The whole process typically takes under two minutes. If the keypad lights up and the door responds, you are good to go. If not, there may be something else going on beyond the battery.

How Often Should You Replace the LiftMaster Keypad Battery
Under normal use conditions, a 9-volt alkaline battery in a LiftMaster keypad typically lasts anywhere from one to two years. If you live somewhere with extreme temperature swings, that lifespan can shorten noticeably, since cold temperatures in particular reduce the effective capacity of alkaline batteries. A good rule of thumb is to replace the battery once per year as part of your seasonal home maintenance routine, ideally in the fall before temperatures drop. That way, you are rarely caught off guard. Some LiftMaster keypads have a low battery indicator, which shows up as a faint backlight or a slow response before full failure. Pay attention to those early warning signs rather than waiting for a complete shutdown.
What to Do When a New Battery Does Not Fix the Problem
Sometimes a fresh battery does not bring the keypad back to life, and that is worth taking seriously. If the keypad still fails to respond or the door still does not activate after a battery swap, consider a few other possibilities. The keypad may have lost its programming and needs to be re-synced to the opener, which involves pressing the learn button on the motor unit and re-entering your PIN. The keypad housing may have experienced water intrusion if it is mounted outdoors without proper weather protection. The receiver on the opener itself could have an issue, or the opener motor unit may need attention. A keypad that has physically cracked or shows corrosion inside the battery compartment likely needs to be replaced entirely rather than repaired.
Common Mistakes Homeowners Make With Keypad Maintenance
A few missteps come up repeatedly when it comes to LiftMaster keypad maintenance. Using the wrong battery size is one of them. Another is installing the battery backwards, which is an easy error with 9-volt connectors if you are not paying attention to the terminal alignment. Homeowners also sometimes overlook the keypad when troubleshooting a garage door opener problem, assuming the issue is always with the opener motor or the door itself. Skipping annual battery replacement is probably the most common oversight, because the keypad works until it does not. Keeping a spare 9-volt battery on hand is a simple preventive measure that costs almost nothing and saves a real headache.
The Connection Between Keypad Maintenance and Overall Garage Door Health
Your LiftMaster keypad is just one component in a larger system that includes the opener motor, drive mechanism, springs, sensors, and door panels. Keeping the keypad powered and functioning properly contributes to the smooth operation of that entire system. A failing keypad that makes you force manual overrides more frequently, or causes you to troubleshoot unnecessarily, adds stress to other mechanical parts of the system over time. Treating garage door maintenance as a whole, rather than addressing individual parts only when they fail, is the smarter approach. That mindset is one that also benefits homeowners who carry a home warranty, since keeping systems maintained is a standard requirement for coverage eligibility.
When Home Warranty Coverage Becomes Relevant to Your Garage Door System
A home warranty can cover the mechanical and electrical components of your garage door opener system, including the motor unit and its internal components. Coverage typically does not extend to consumable items like batteries, but if your opener motor fails, your drive system breaks down, or your opener stops responding even after keypad and sensor troubleshooting, that is when a home warranty earns its value. Many homeowners do not think about this connection until they are facing a repair estimate that is much larger than expected. Maintaining the accessible parts yourself, including keeping the keypad battery fresh, helps demonstrate that you are a responsible homeowner, which supports a smoother claims process if something larger does go wrong.
Why Armadillo Is Worth Considering for Garage Door and Home System Protection
Routine maintenance like a LiftMaster keypad battery swap is something every homeowner can handle on their own, but the unexpected failures that follow years of normal wear are a different story entirely. That is where having the right coverage behind you makes a genuine difference. Armadillo home warranty plans designed to protect garage door openers and major home systems give homeowners a clear path forward when repairs go beyond a simple fix. If your opener motor burns out, your drive mechanism fails, or your garage door system needs professional service, Armadillo connects you with qualified technicians without the scramble of finding someone on your own. You can take a few minutes right now to get a personalized home warranty quote that covers your garage door opener and other essential home systems and see exactly what protection looks like for your home. The cost of a warranty plan often pays for itself the first time something unexpected breaks down, and knowing you are covered takes real pressure off routine homeownership.

Frequently Asked Questions About LiftMaster Keypad Battery Replacement
These are the questions homeowners ask most often when dealing with a LiftMaster keypad that has stopped working or is behaving erratically.
What battery does a LiftMaster keypad use?
Most LiftMaster wireless keypad models use a standard 9-volt alkaline battery. Always check your specific model number to confirm, as a few older models may differ.
How do I open the battery compartment on my LiftMaster keypad?
The battery compartment is typically located on the back of the keypad or under a sliding panel on the front face. A flathead screwdriver may help pry open a stubborn cover.
Why is my LiftMaster keypad not working after I changed the battery?
If the keypad still does not function after a battery replacement, it may have lost its programming. Try re-syncing it to your opener by pressing the learn button on the motor unit and re-entering your PIN.
How long does a LiftMaster keypad battery last?
Under typical conditions, a 9-volt alkaline battery in a LiftMaster keypad lasts approximately one to two years. Cold climates or frequent use can shorten that lifespan.
Can I use a rechargeable 9-volt battery in my LiftMaster keypad?
It is possible, but not recommended. Rechargeable 9-volt batteries typically output slightly lower voltage than alkaline versions, which can affect signal strength and keypad performance.
Does changing the battery on a LiftMaster keypad erase the PIN?
In most cases, no. The PIN is stored in the keypad’s memory and should remain after a battery swap. However, if the keypad has been without power for an extended period, some older models may lose their programming.
How do I know when my LiftMaster keypad battery is getting low?
Common signs include a dim or slow-to-light backlight, delayed door response after entering your code, or the keypad requiring multiple attempts before triggering the opener.
Is a LiftMaster keypad covered under a home warranty?
Battery replacement is generally considered routine maintenance and is not covered. However, if the garage door opener motor unit or its internal components fail, those repairs may fall under home warranty coverage depending on your plan.
How do I reprogram my LiftMaster keypad after changing the battery?
Press and release the learn button on your garage door opener motor unit, then within 30 seconds enter your desired PIN on the keypad and press and hold the enter button until the opener lights flash, confirming successful programming.
Should I replace my LiftMaster keypad battery on a schedule?
Yes. Replacing the battery once a year as part of a seasonal home maintenance routine is the most practical approach. Fall is an ideal time, before cold weather reduces battery performance.