





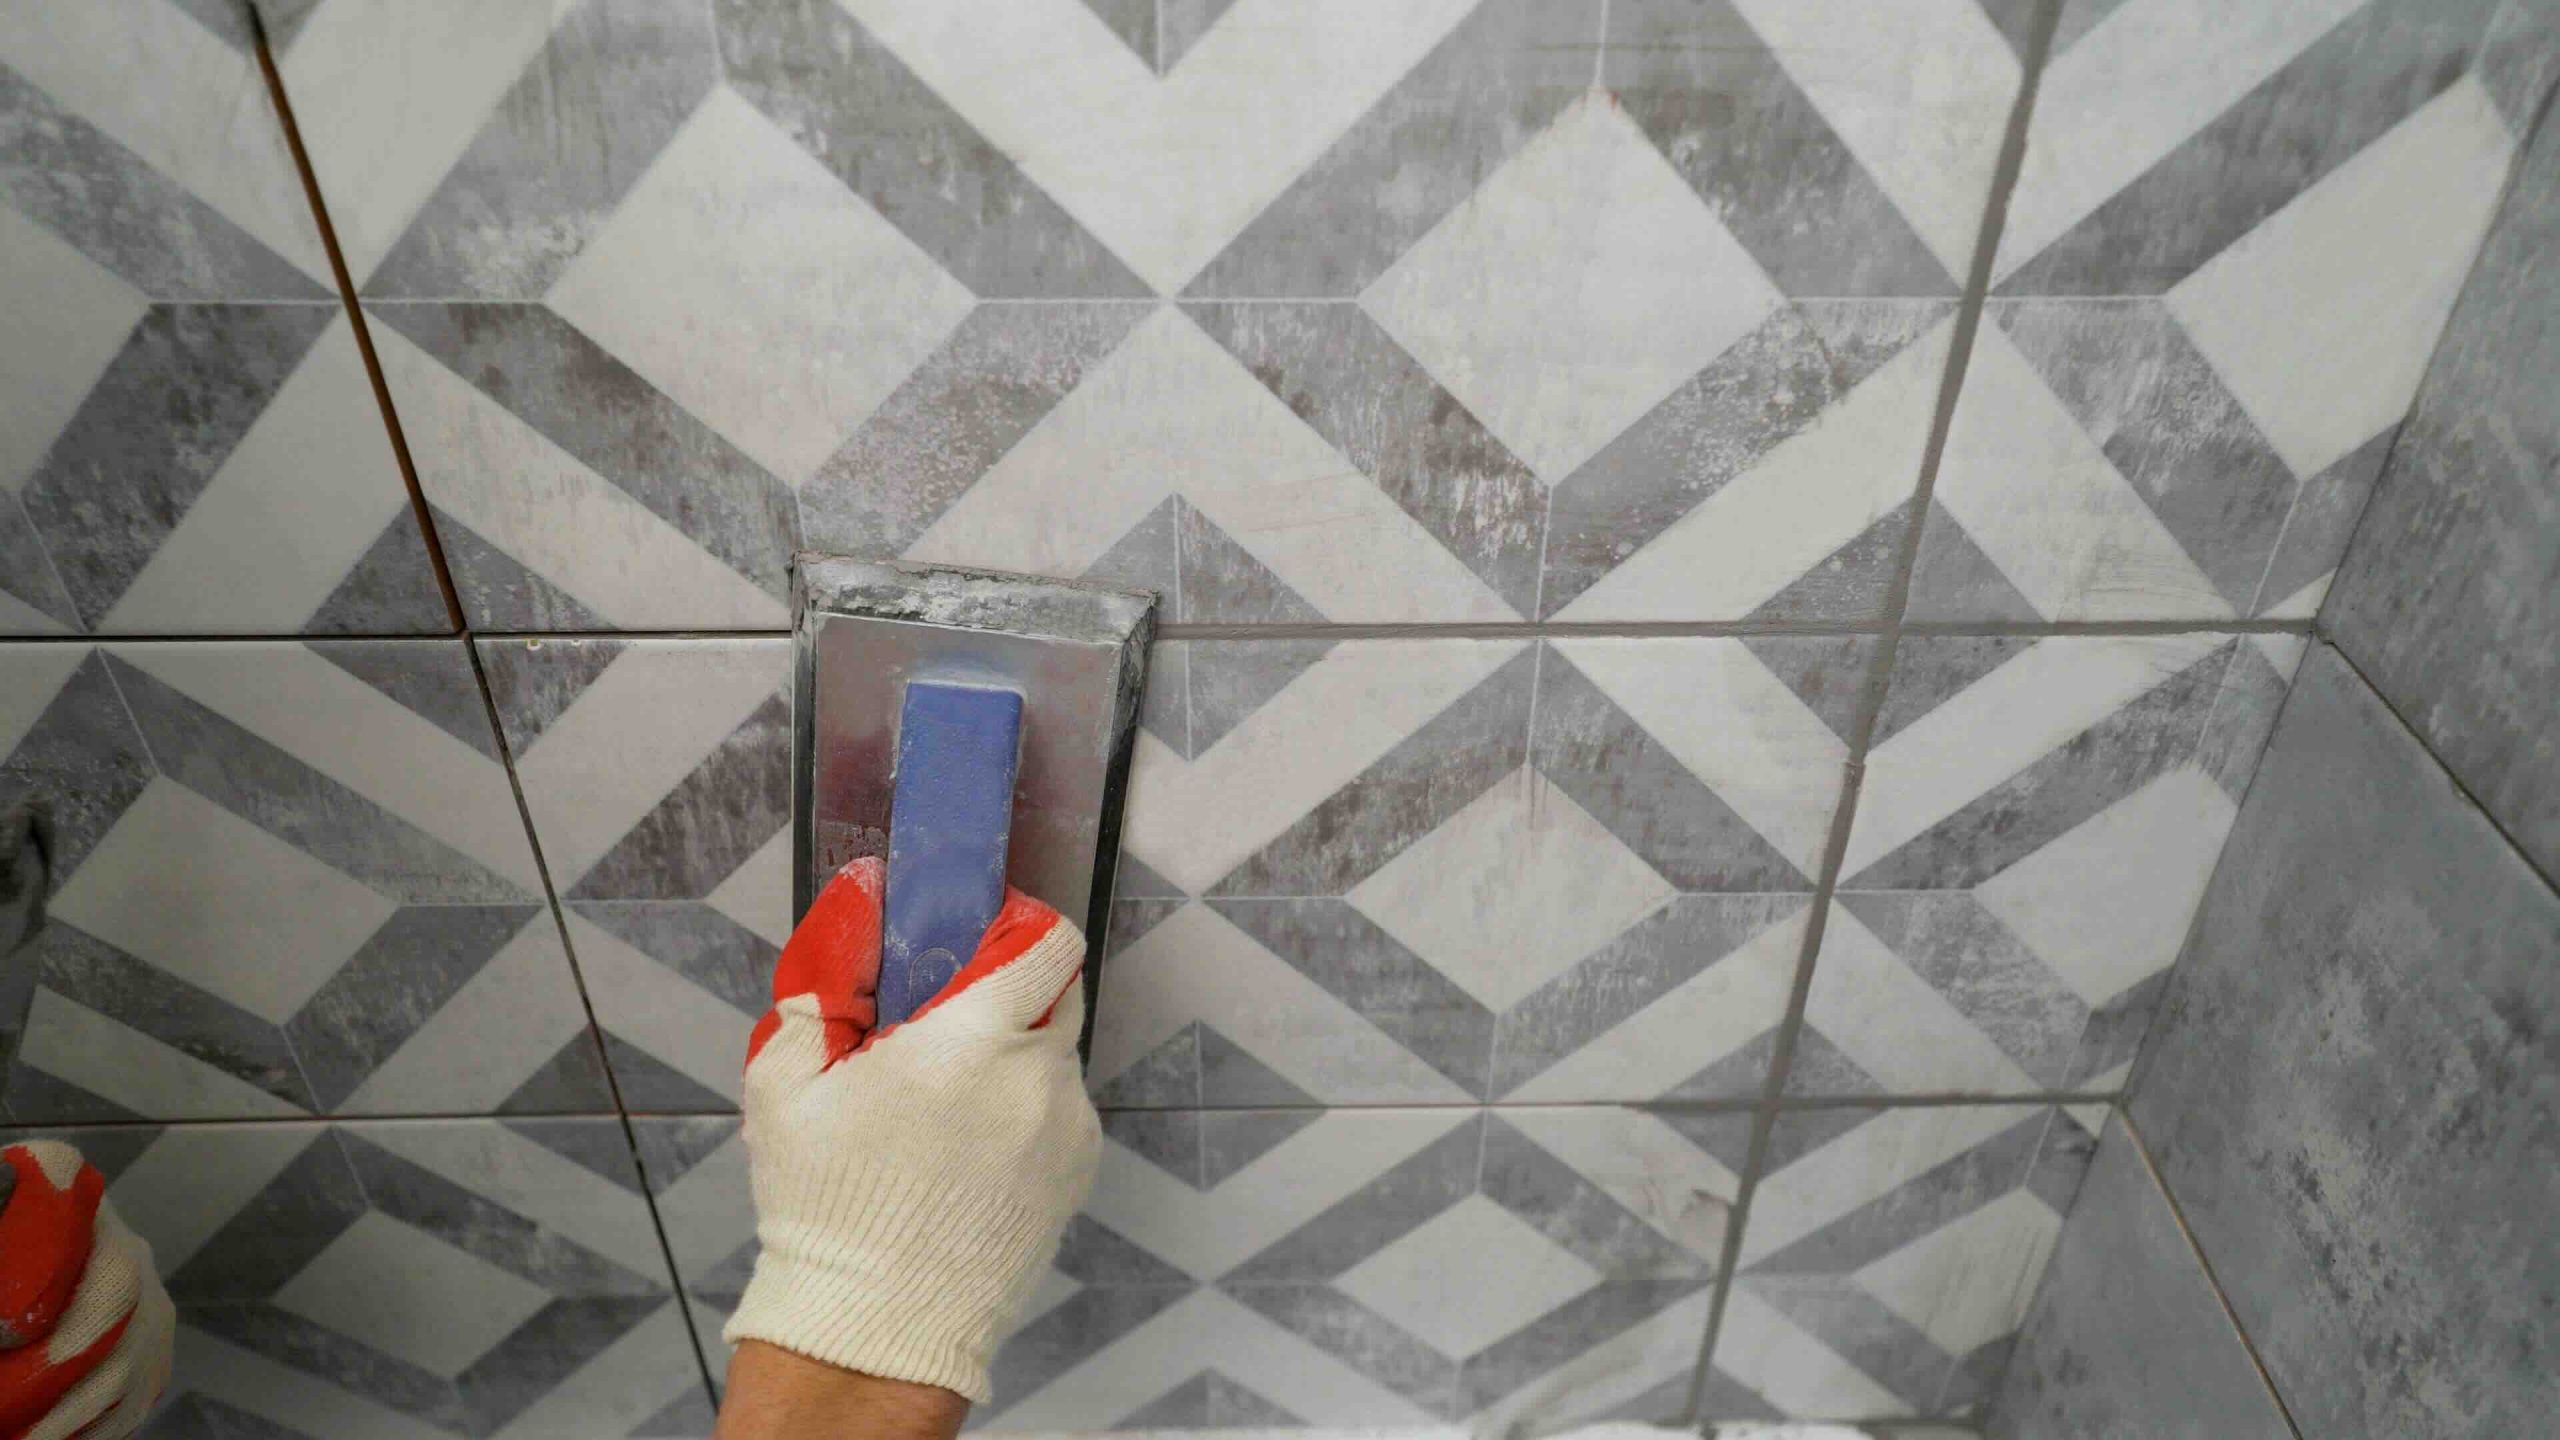
What Does It Mean to Regrout and Seal a Shower?
If you have spent any time staring at your shower walls and noticed crumbling, discolored, or missing grout lines, you are looking at a problem that goes deeper than aesthetics. Grout is the mortar-based material that fills the joints between tiles, holding everything together and creating a barrier against moisture. Over time, grout deteriorates. It cracks, stains, and erodes, and when it does, water starts finding its way behind your tiles. That is when the real damage begins. Regrouting means removing the old, compromised grout and replacing it with fresh material. Sealing is the follow-up step that protects that new grout from water penetration, staining, and premature wear. Together, they are one of the most effective ways to extend the life of a tiled shower and protect the structural integrity of your bathroom.
Why Shower Grout Fails in the First Place
Shower grout takes a beating every single day. Constant exposure to heat, moisture, soap scum, cleaning chemicals, and physical contact gradually breaks down even high-quality grout installations. Most grout is cement-based, which means it is porous by nature. Without a proper sealant, water works its way in, encouraging mold and mildew growth and weakening the grout’s bond to the tile edges. Movement in the home’s structure, settling over time, and minor vibrations from daily use also contribute to hairline cracks. In many cases, improper installation is a root cause as well. Grout that was mixed too wet, applied unevenly, or never sealed in the first place will deteriorate much faster. Understanding why grout fails helps homeowners recognize early warning signs before small issues become expensive repairs.
Signs It Is Time to Regrout Your Shower
Knowing when to act is half the battle. Shower grout does not fail overnight, so the warning signs tend to sneak up on you. Here are the most common indicators that regrouting is overdue:
- Grout lines that appear cracked, crumbling, or visibly missing in sections
- Persistent dark staining or black discoloration that does not respond to cleaning
- Tiles that feel loose or shift slightly when pressed
- Musty odors in the bathroom even after regular cleaning
- Visible mold growth along the grout lines or behind tile edges
- Water stains appearing on the wall or ceiling of a room adjacent to the shower
If you notice any combination of these signs, it is worth addressing the situation promptly. Delaying grout repairs allows water to continue penetrating the substrate, which can lead to subfloor damage, wall rot, and mold remediation costs that far exceed the price of a simple regrout job.

How to Regrout a Shower Step by Step
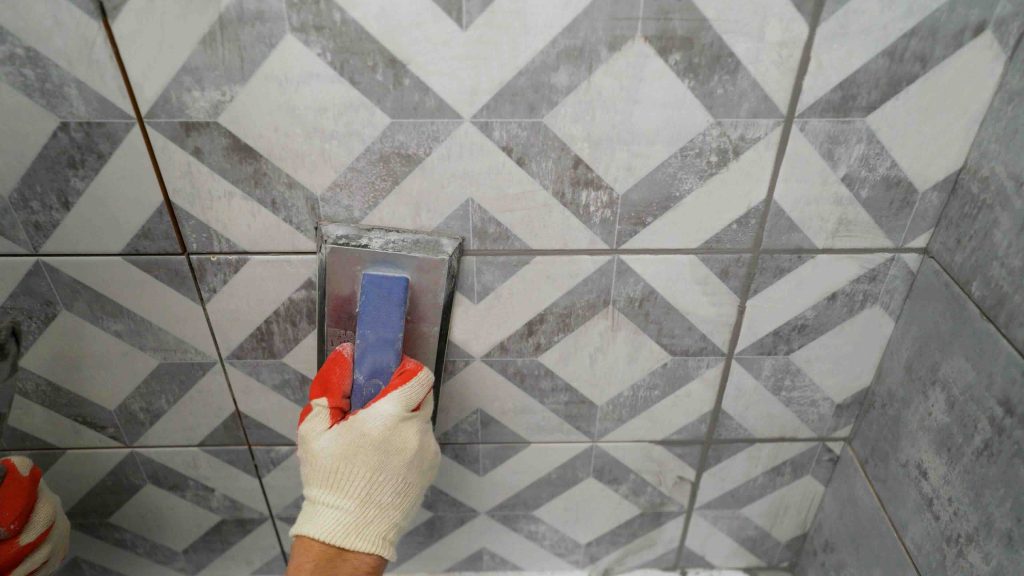
Regrouting a shower is a manageable DIY project for homeowners with patience and attention to detail. The process starts with removing the old grout using a grout saw, oscillating tool, or rotary tool fitted with a grout removal bit. You want to remove grout to a depth of roughly one-eighth of an inch without damaging the tile edges. Once the joints are cleared, vacuum out all the dust and debris, then wipe the area down with a damp cloth. Next, mix your new grout according to the manufacturer’s instructions, aiming for a consistency similar to peanut butter. Apply it with a rubber grout float, pressing firmly into the joints at a diagonal angle. Work in small sections, wiping away excess with a damp sponge before it hardens. Allow the grout to cure fully, which typically takes 24 to 72 hours depending on the product and ambient conditions, before exposing it to water.
How to Seal Grout After Regrouting
Sealing grout is a step that many homeowners skip, and that is a mistake worth understanding. Once your new grout has fully cured, apply a penetrating grout sealer using a small applicator brush or roller. Penetrating sealers soak into the porous surface of the grout rather than sitting on top of it, providing protection that does not peel or chip. Apply the sealer in thin, even coats, wiping away any excess from the tile surface immediately to avoid hazy residue. Most products recommend two coats for maximum protection. After the final coat, allow the sealer to cure according to label instructions before running the shower. Going forward, plan to reseal your shower grout every six to twelve months, or whenever water stops beading on the surface. That simple test tells you when protection has worn off.
Key Advantages of Regrouting and Sealing Your Shower
The benefits of this maintenance task extend well beyond cosmetic improvement. Fresh grout and a proper sealant create a moisture barrier that actively protects your home’s structure. Sealed grout resists staining from soap, hard water minerals, and body oils, which means your shower stays cleaner longer with less effort. Regrouting also stabilizes tiles that may have begun to loosen, preventing tile replacement costs down the road. From a home value perspective, a well-maintained bathroom signals to potential buyers that the property has been cared for consistently. And from a health standpoint, eliminating mold and mildew growth from compromised grout improves the air quality in your bathroom, which matters more than most people realize.
Common Drawbacks and Challenges to Be Aware Of
Regrouting and sealing is not without its challenges. Grout removal requires steady hands and careful technique, because aggressive tool use can nick or crack tiles. Matching new grout color to existing tile and surrounding grout is tricky, especially in older showers where original grout has shifted in color over years of use. Curing times demand patience, and resealing on a consistent schedule requires a level of ongoing commitment that some homeowners may overlook. For larger showers or showers with intricate tile patterns, the process can be physically demanding and time-consuming. In some cases, water damage discovered during grout removal reveals underlying issues that require professional intervention, such as damaged backer board or compromised waterproofing membranes, which elevates both cost and complexity significantly.
DIY Versus Hiring a Professional
Deciding whether to regrout your shower yourself or hire a tile professional depends on the scope of the project and your comfort level with the tools involved. A standard shower with straightforward tile work and minor grout deterioration is a reasonable DIY undertaking with a weekend and the right materials. However, if the grout failure is widespread, if tiles are cracked or extensively loose, or if there is evidence of water damage behind the tile, professional assessment is the wiser choice. A licensed tile contractor has access to commercial-grade tools, proper waterproofing materials, and the expertise to evaluate structural concerns you might miss. The cost difference between DIY and professional regrouting is real, but so is the cost of an improperly completed job that allows moisture problems to continue unchecked.
Where Home Warranty Coverage Fits Into This Picture
Here is something worth considering as you think about shower maintenance. Regrouting and sealing grout are generally classified as routine homeowner maintenance tasks, and most home warranty plans do not cover the cost of these services directly. That said, the consequences of neglected grout can absolutely trigger coverage-related situations. If water infiltration from failed grout causes damage to plumbing, leads to mold that affects covered systems, or results in structural deterioration that eventually impacts mechanical systems in your home, things get complicated quickly. Understanding the boundary between routine maintenance and covered system failures helps homeowners manage expectations and plan budgets accordingly. Preventive care, like consistent regrouting and sealing, is exactly the kind of practice that keeps your home out of costly repair territory in the first place.
Why Armadillo Is the Right Partner for Protecting Your Home
Staying on top of shower maintenance is one piece of responsible homeownership, but no amount of diligence fully eliminates the risk of unexpected system and appliance failures. That is precisely where a home warranty earns its place. Armadillo home warranty coverage for plumbing, appliances, and major home systems gives homeowners the financial protection they need when something breaks down without warning, whether it is a water heater, an HVAC unit, or a plumbing system stressed by years of moisture exposure. When you are already investing time and energy into protecting your shower from water damage, it makes sense to extend that same protective thinking to the systems that keep your whole home running. Get a free home warranty quote to protect your plumbing and home systems today and see how affordable that peace of mind can be. Armadillo keeps things simple, transparent, and built for real homeowners who have enough on their plates already.

Frequently Asked Questions About Regrouting and Sealing a Shower
These are the most common questions homeowners ask when tackling shower grout repair and maintenance.
How often should you regrout a shower?
Most showers need regrouting every 10 to 15 years under normal use, though high-traffic showers or those with poor original installation may need attention sooner. Inspect your grout annually for cracking, crumbling, or discoloration.
Can you regrout over existing grout without removing it?
Applying new grout directly over old grout is not recommended. The bond will be weak and the new material will not adhere properly, leading to premature failure. Always remove the old grout to a proper depth before applying fresh material.
How long does regrouted shower grout need to dry before use?
Most grout products require 24 to 72 hours of curing time before the shower can be used. Always follow the specific manufacturer’s instructions, as curing times vary by product type and environmental conditions.
What type of grout is best for showers?
Epoxy grout is highly durable and naturally resistant to moisture and staining, making it an excellent choice for showers. Cement-based grout with a polymer additive is also widely used and performs well when properly sealed.
How do you know when grout sealer needs to be reapplied?
Pour a small amount of water onto the grout surface. If the water beads up and rolls off, the sealer is still effective. If the water absorbs into the grout within a few seconds, it is time to reseal.
Is black grout mold or just staining?
It can be either. Superficial staining from soap scum or hard water often responds to deep cleaning with a grout brush and pH-neutral cleaner. Persistent black discoloration that returns quickly after cleaning is more likely mold and indicates a moisture infiltration problem that requires regrouting.
Does home warranty cover grout repair or replacement?
Standard home warranty plans typically do not cover grout repair or regrouting because these are considered routine maintenance tasks. However, water damage that results from failed grout and affects covered systems such as plumbing may fall under different terms depending on your specific plan.
Can failed shower grout cause structural damage?
Yes. When grout fails and water penetrates behind the tile, it can deteriorate the cement backer board, rot wood framing, damage subfloor materials, and promote significant mold growth. Left unaddressed, the repair costs escalate well beyond a simple regrout job.
What is the difference between caulk and grout in a shower?
Grout is used to fill the joints between tiles on flat surfaces, while caulk is a flexible sealant used at corners, changes in plane, and where the shower meets the tub or floor. Both serve important waterproofing roles and should be inspected and maintained regularly.
How much does professional shower regrouting typically cost?
Professional shower regrouting costs vary by region and shower size, but most homeowners can expect to pay between 200 and 500 dollars for a standard shower stall. Larger showers, intricate tile patterns, or underlying damage discovered during the process will increase that estimate.